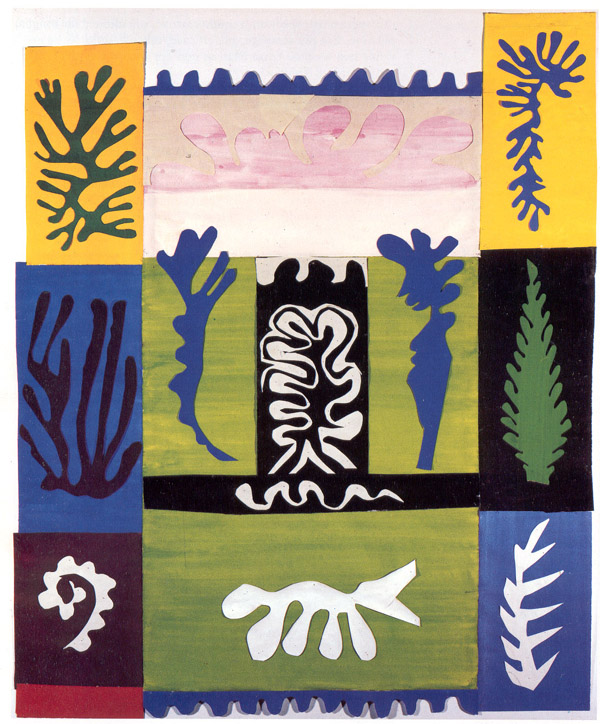
Anfitrite was created using decoupage by Henri Matisse in 1947
Want to add something fresh and whimsical to a room in your home?
Do you need to add new life to a furniture piece that’s seen better days? Try Decoupage. It’s fun, virtually fail-proof and really easy to do!
Decoupage is the art of decorating an object by gluing colored paper cutouts in a combination with special paint effects. You can use virtually any paper from magazine cutouts to specialty papers. The papers are layered and sealed to create the effect of a painting.
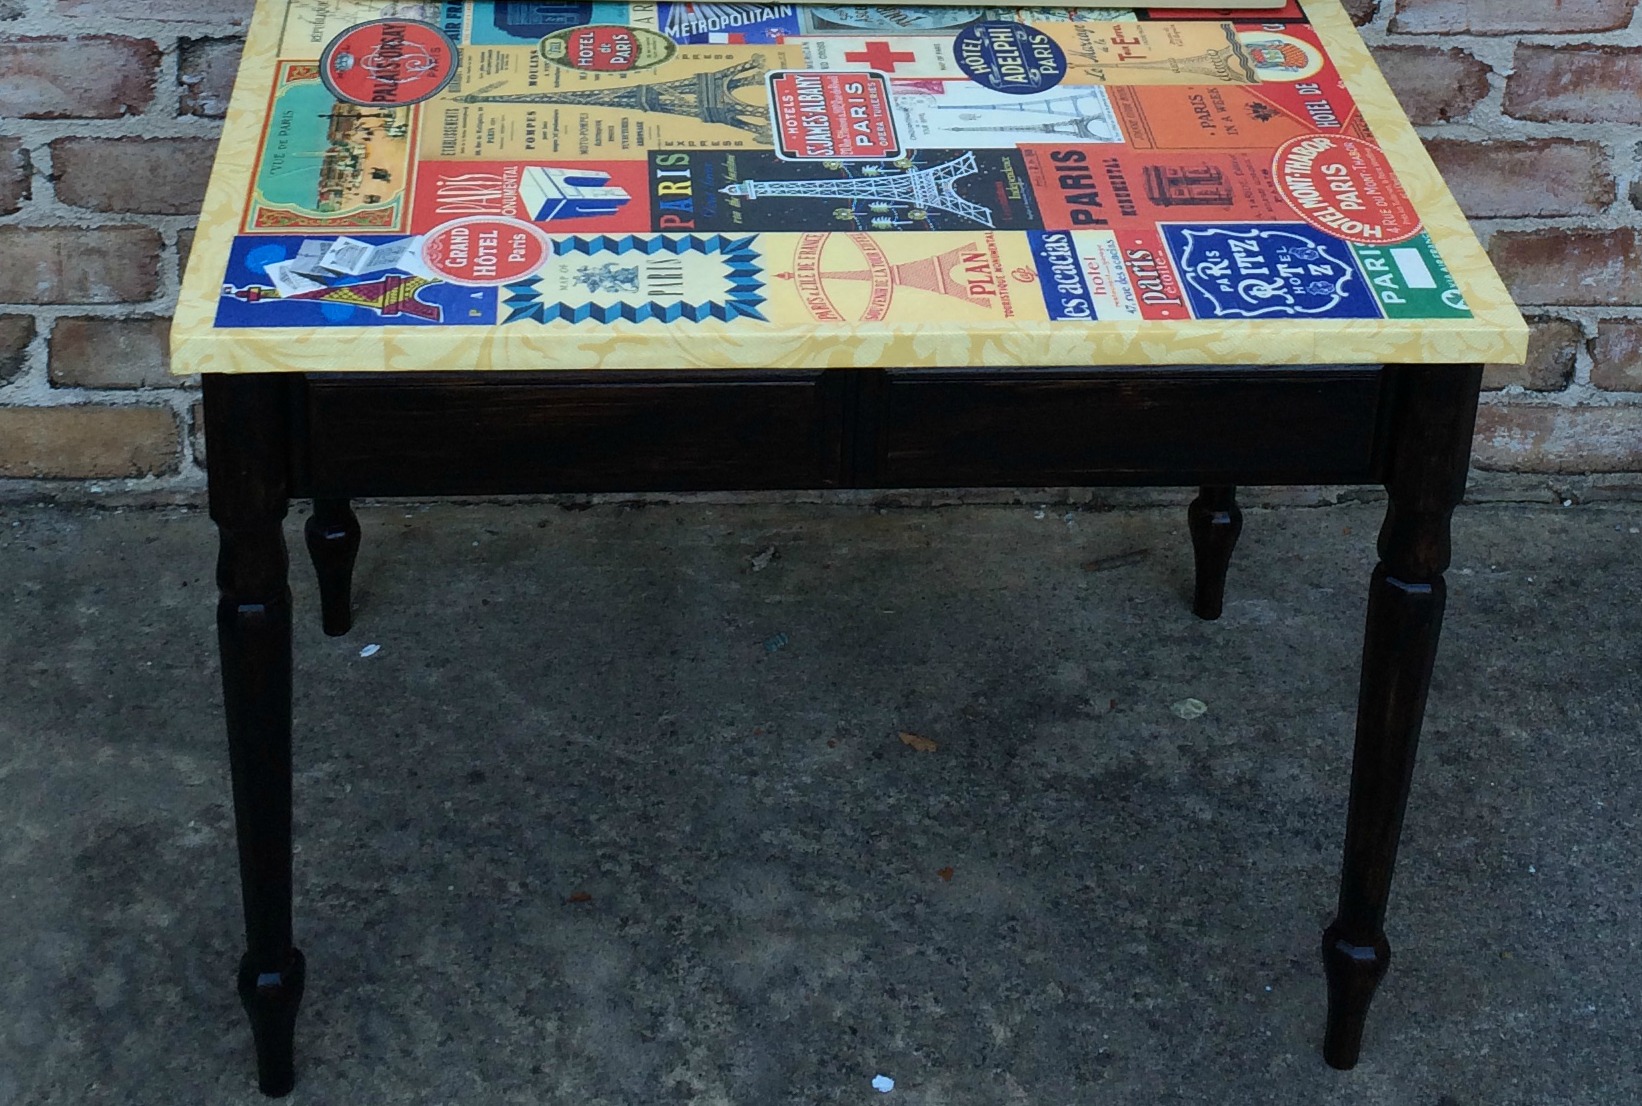
I was able to transform the side table below using decoupage in a short time, except for the protective coats. Now, I have a table that adds some character to the room.
Here’s what I did and the supplies I used:
- Table (or item to decoupage)
- Decoupage paste
- Variety of Papers or Fabric remnants
- Sponge brush for paste
- Paint brush and a protective finisher (Polyurethane or Polyacrylic)
- Paint or stain if you plan to change the color or finish of the table (optional)
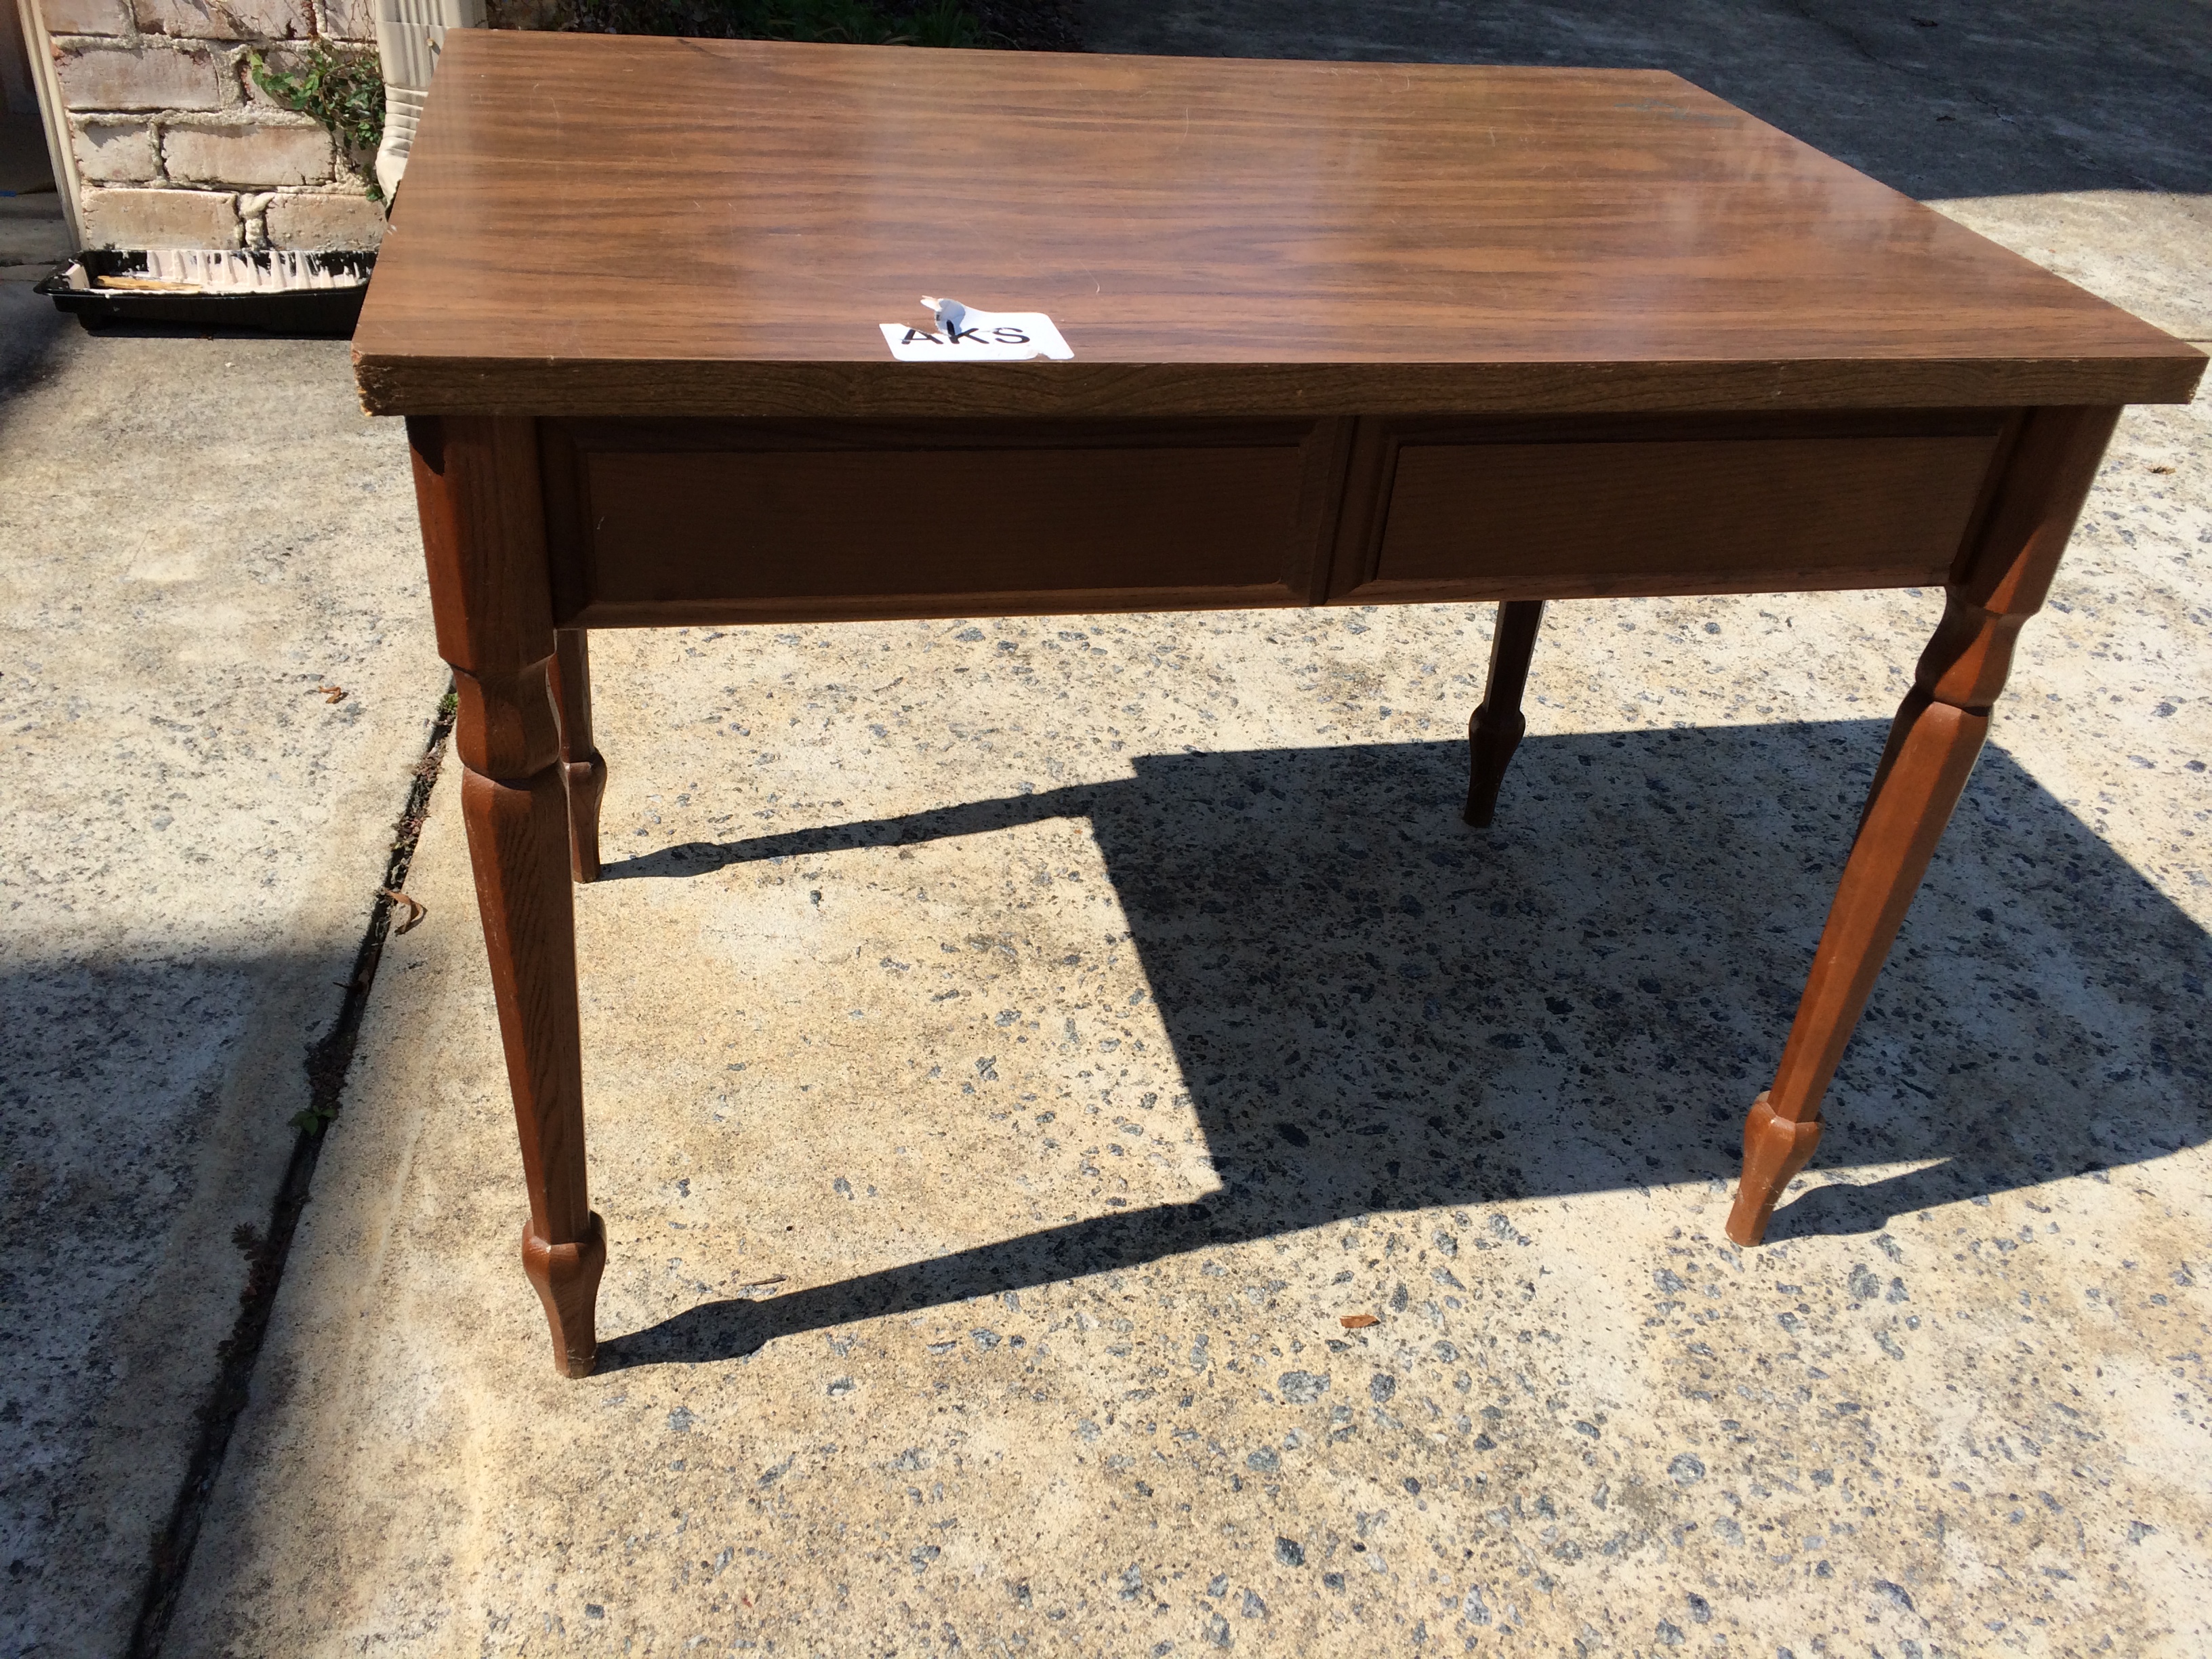 I found this table for $4. at a local thrift store.It was in great shape and very sturdy.
It looked like a good candidate for decoupage so I grabbed it up quick.
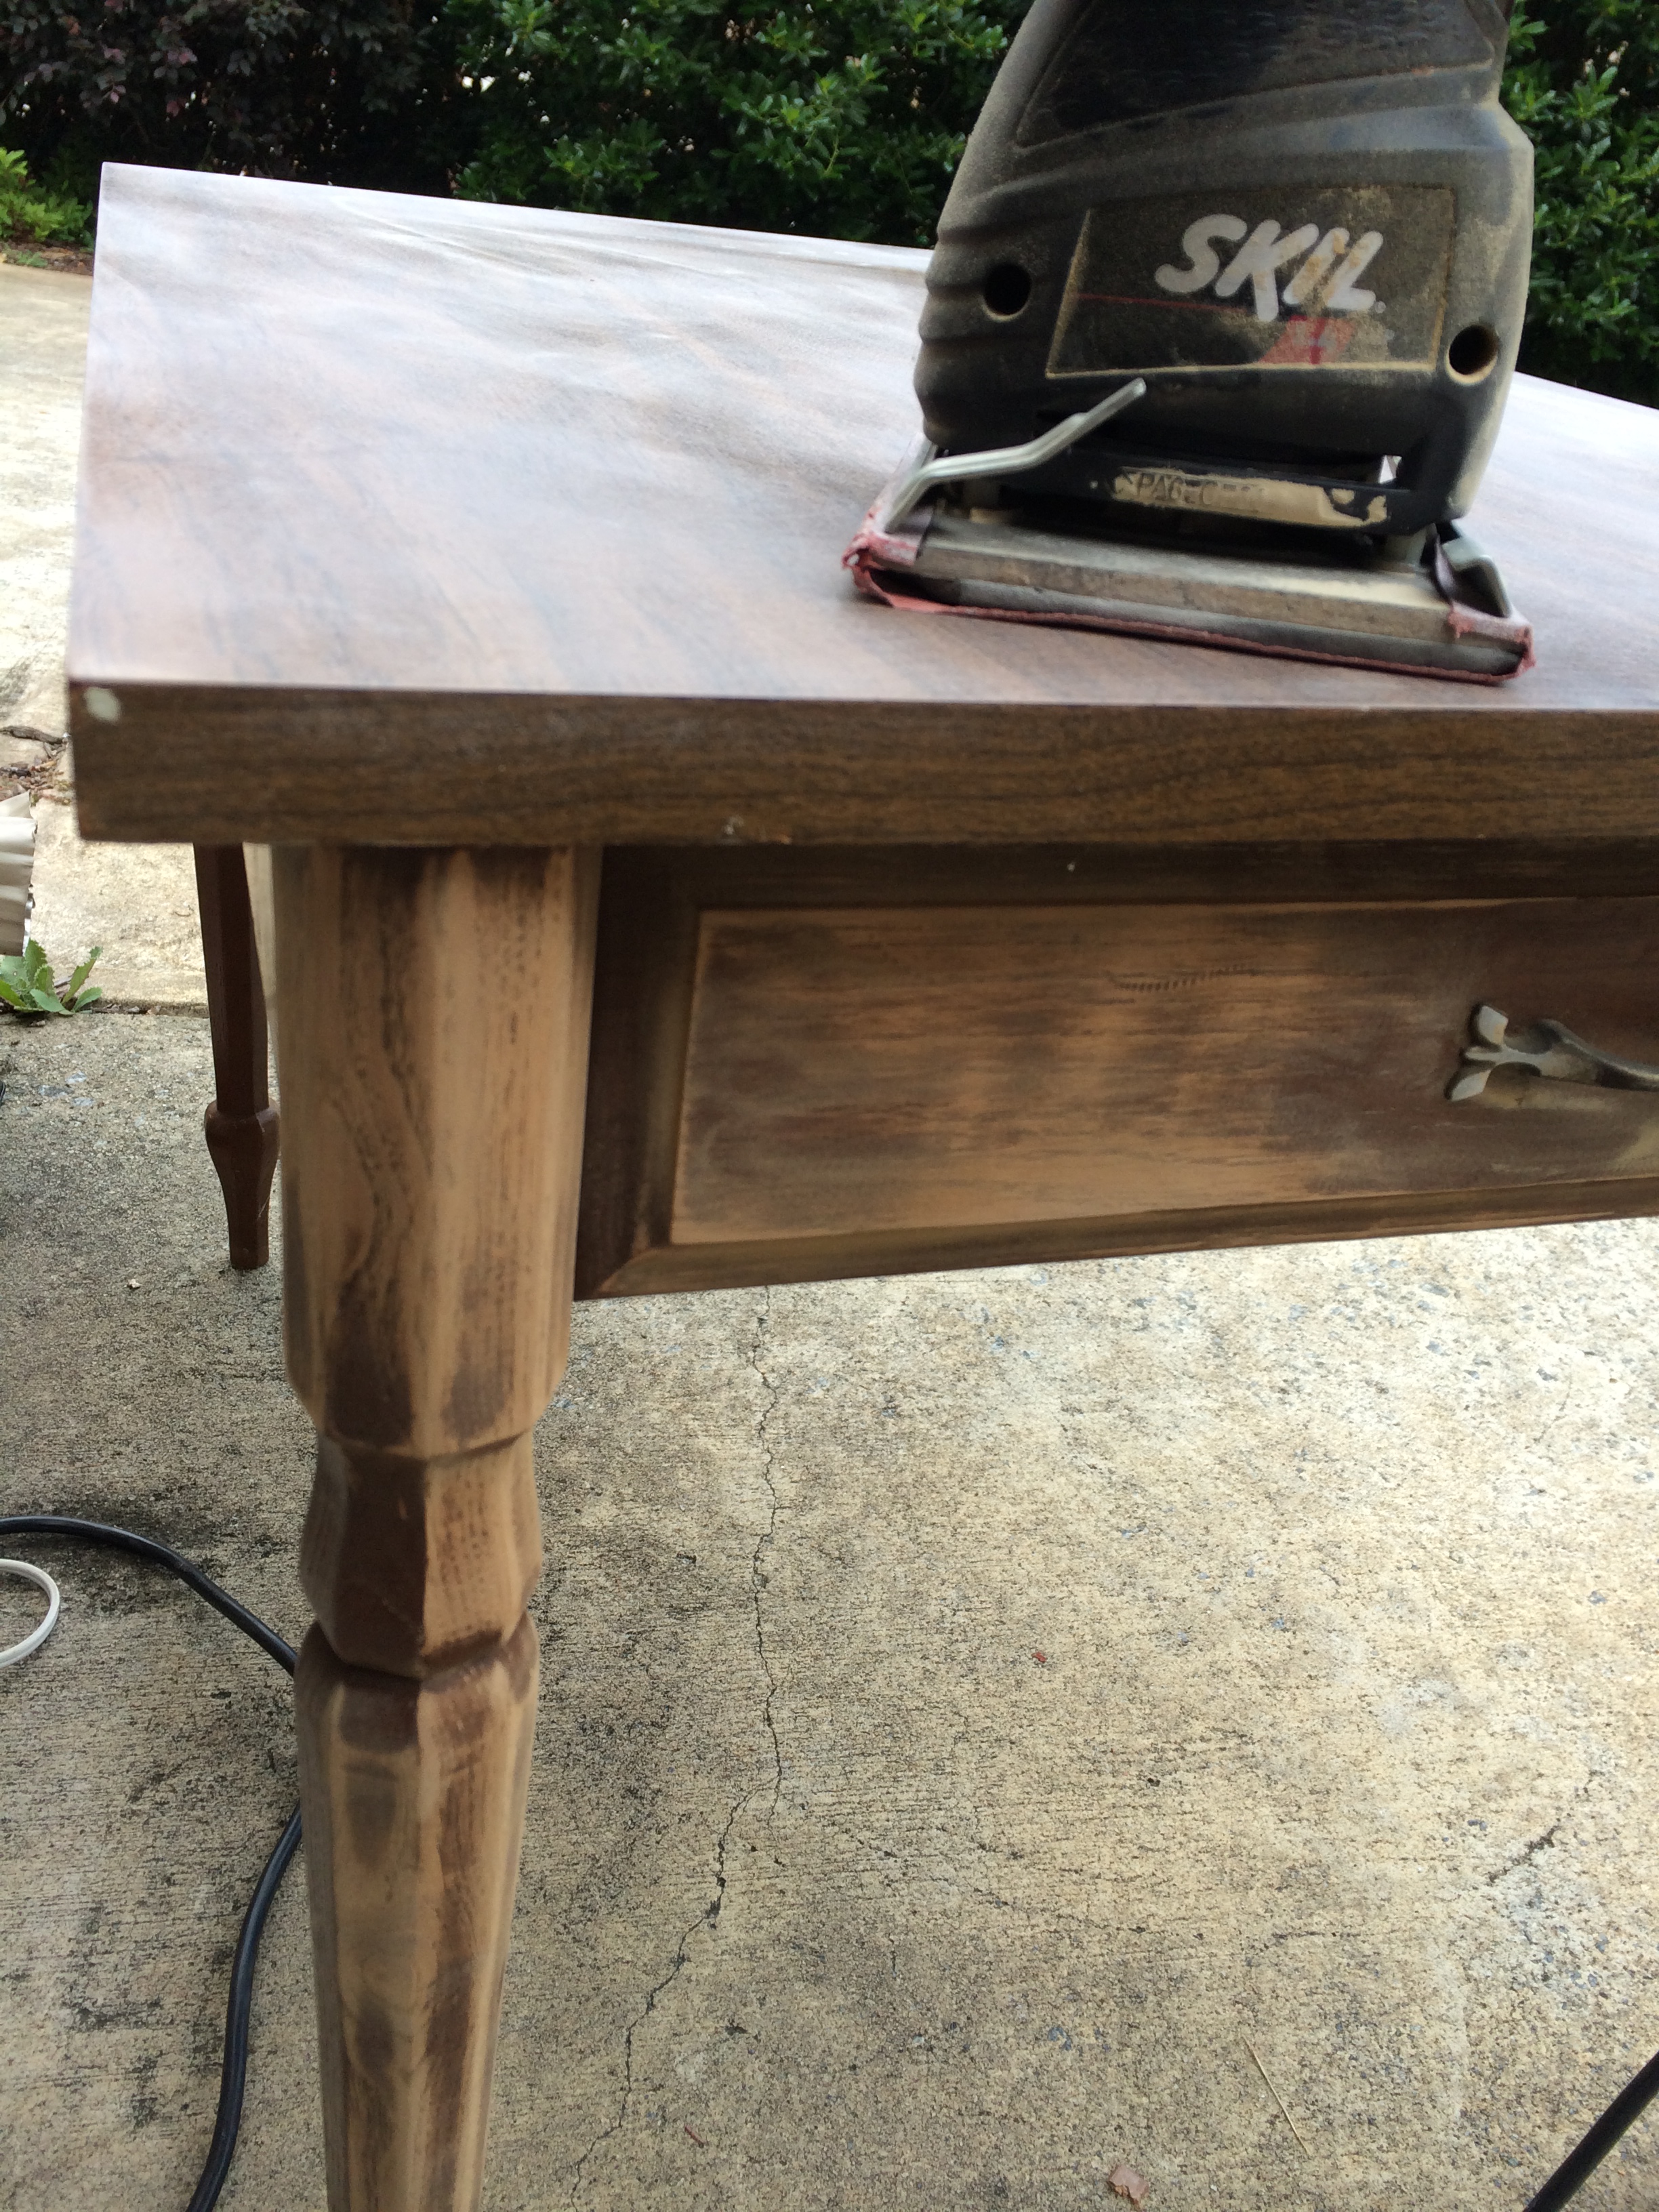 I did a light sanding all over the table to rough up the finish. Then, I cleaned the grit off using an aftewash.
Before I started the decoupage I stained the legs and sides of the table. If you paint do the same and let it completely dry.
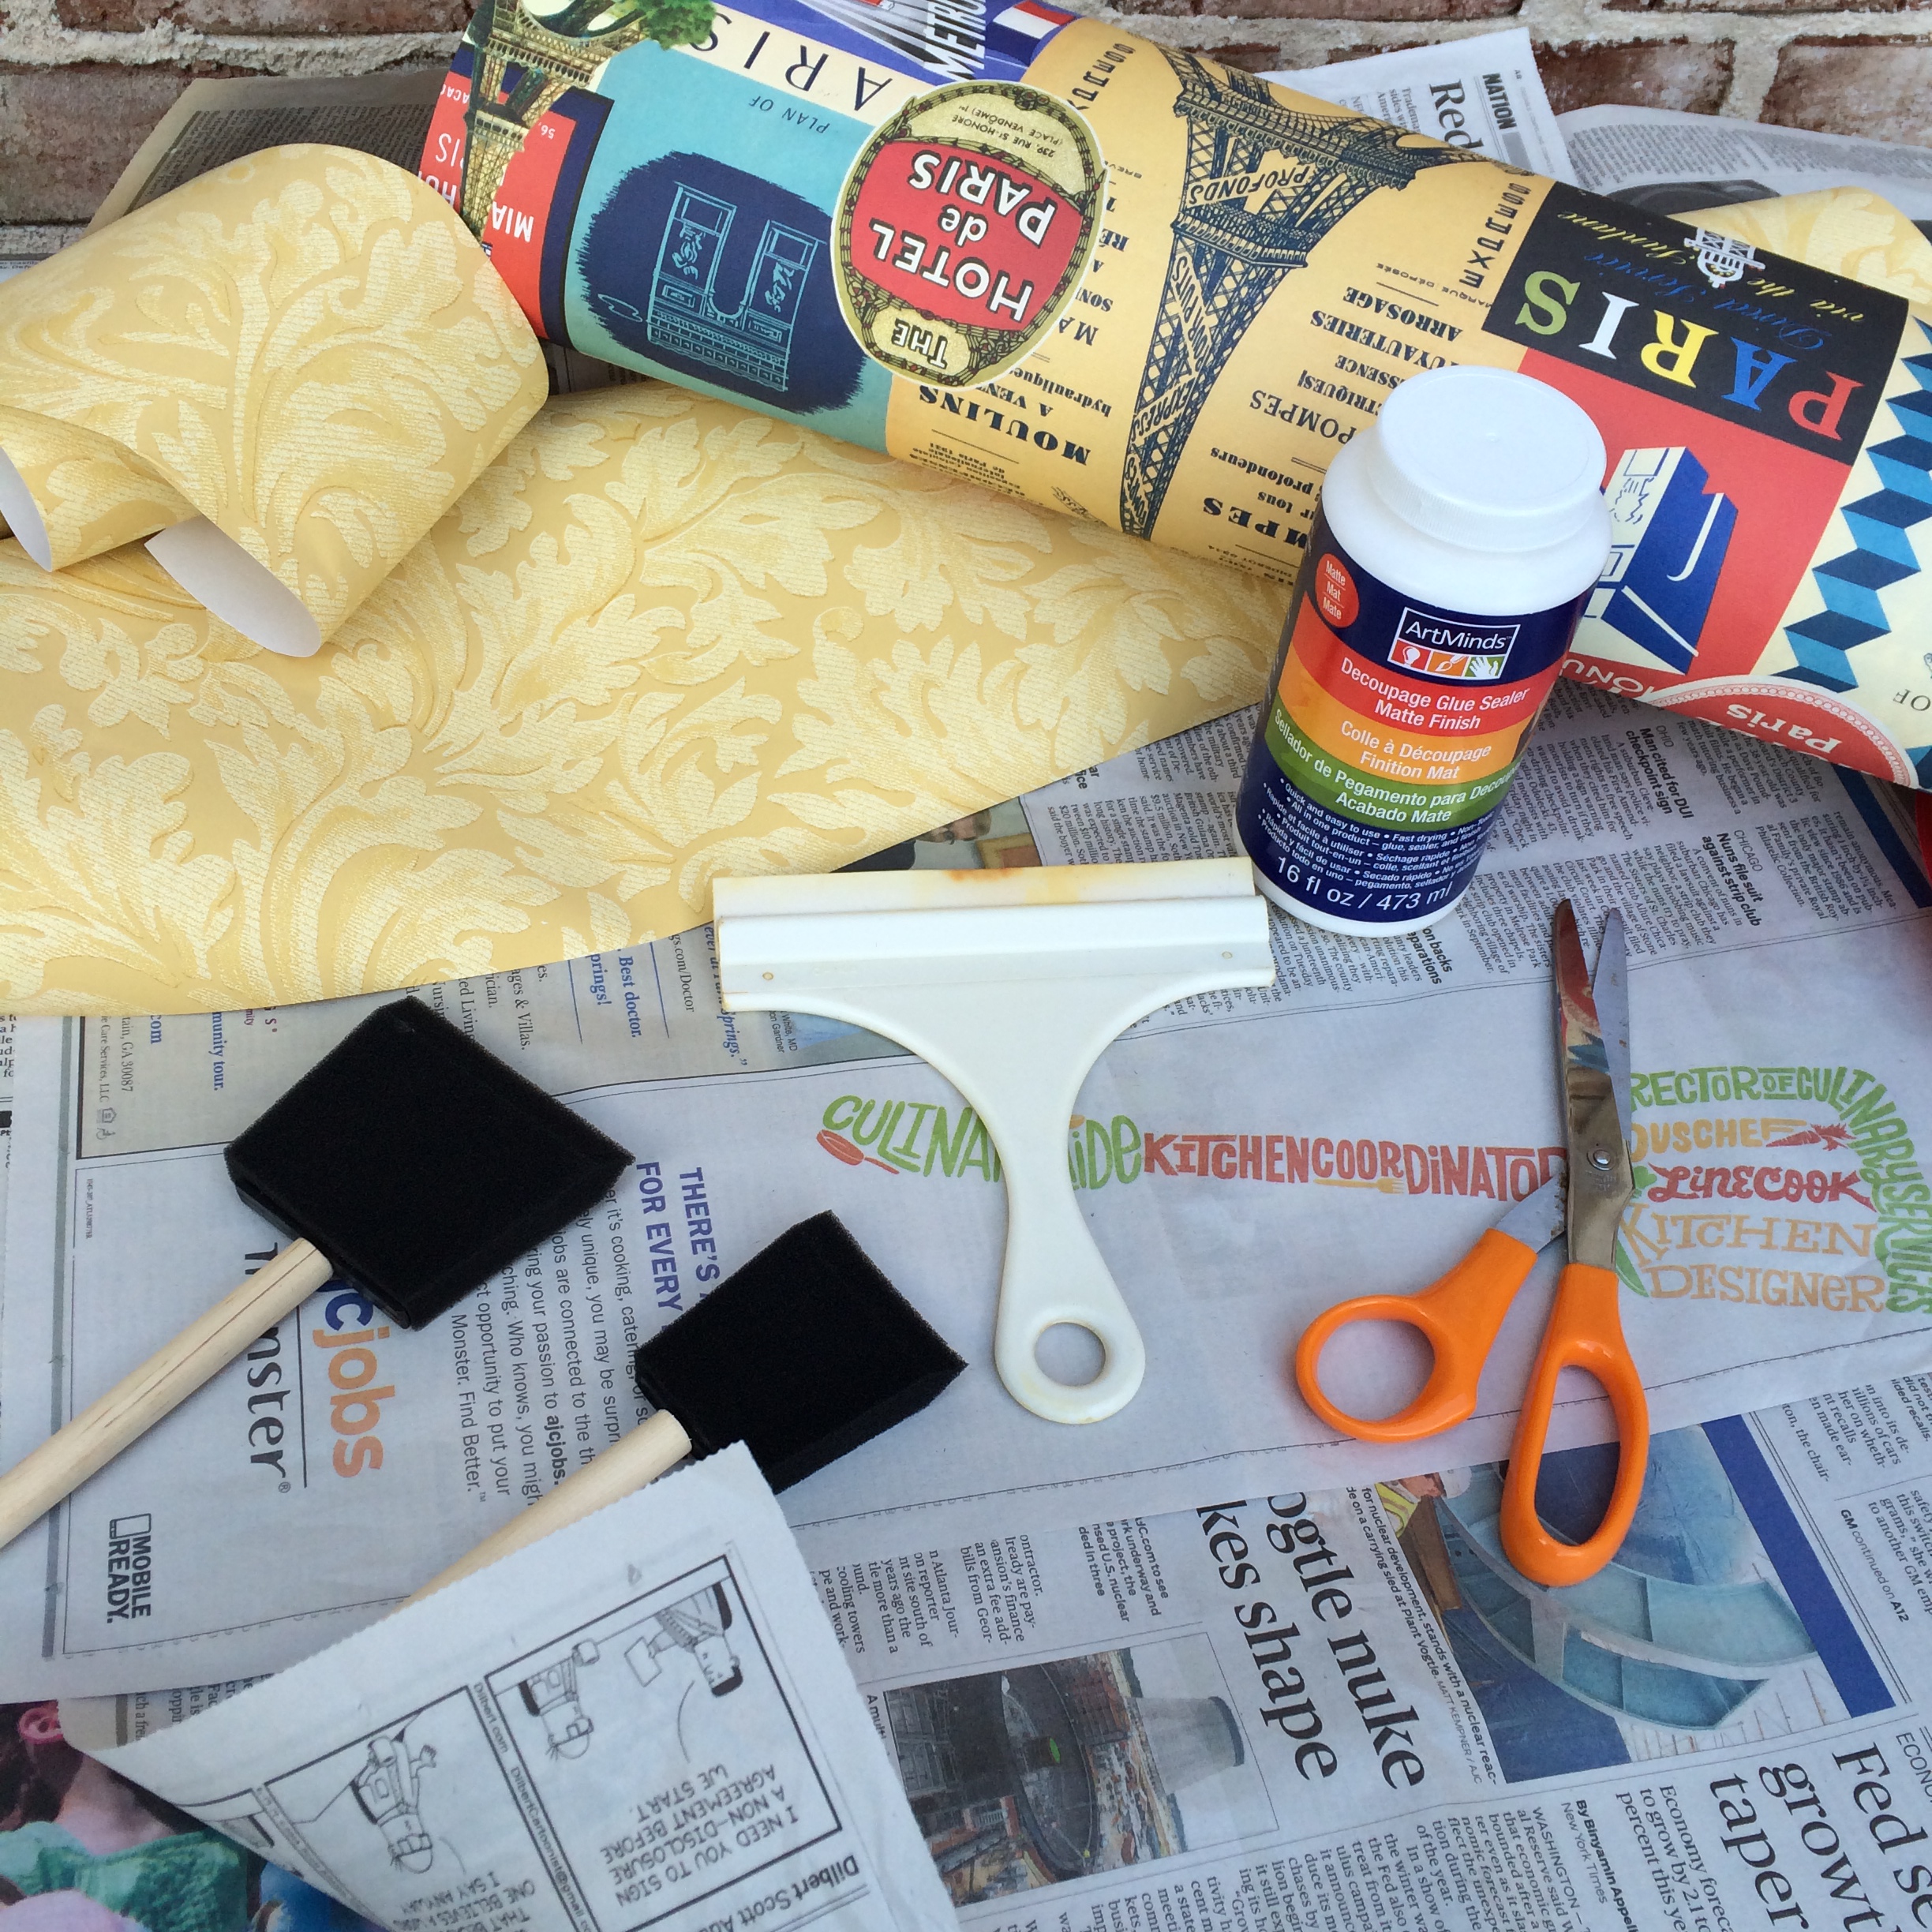 You can use any paper to decoupage. I used gift wrap and wallpaper for this project but I also like to use fabric.
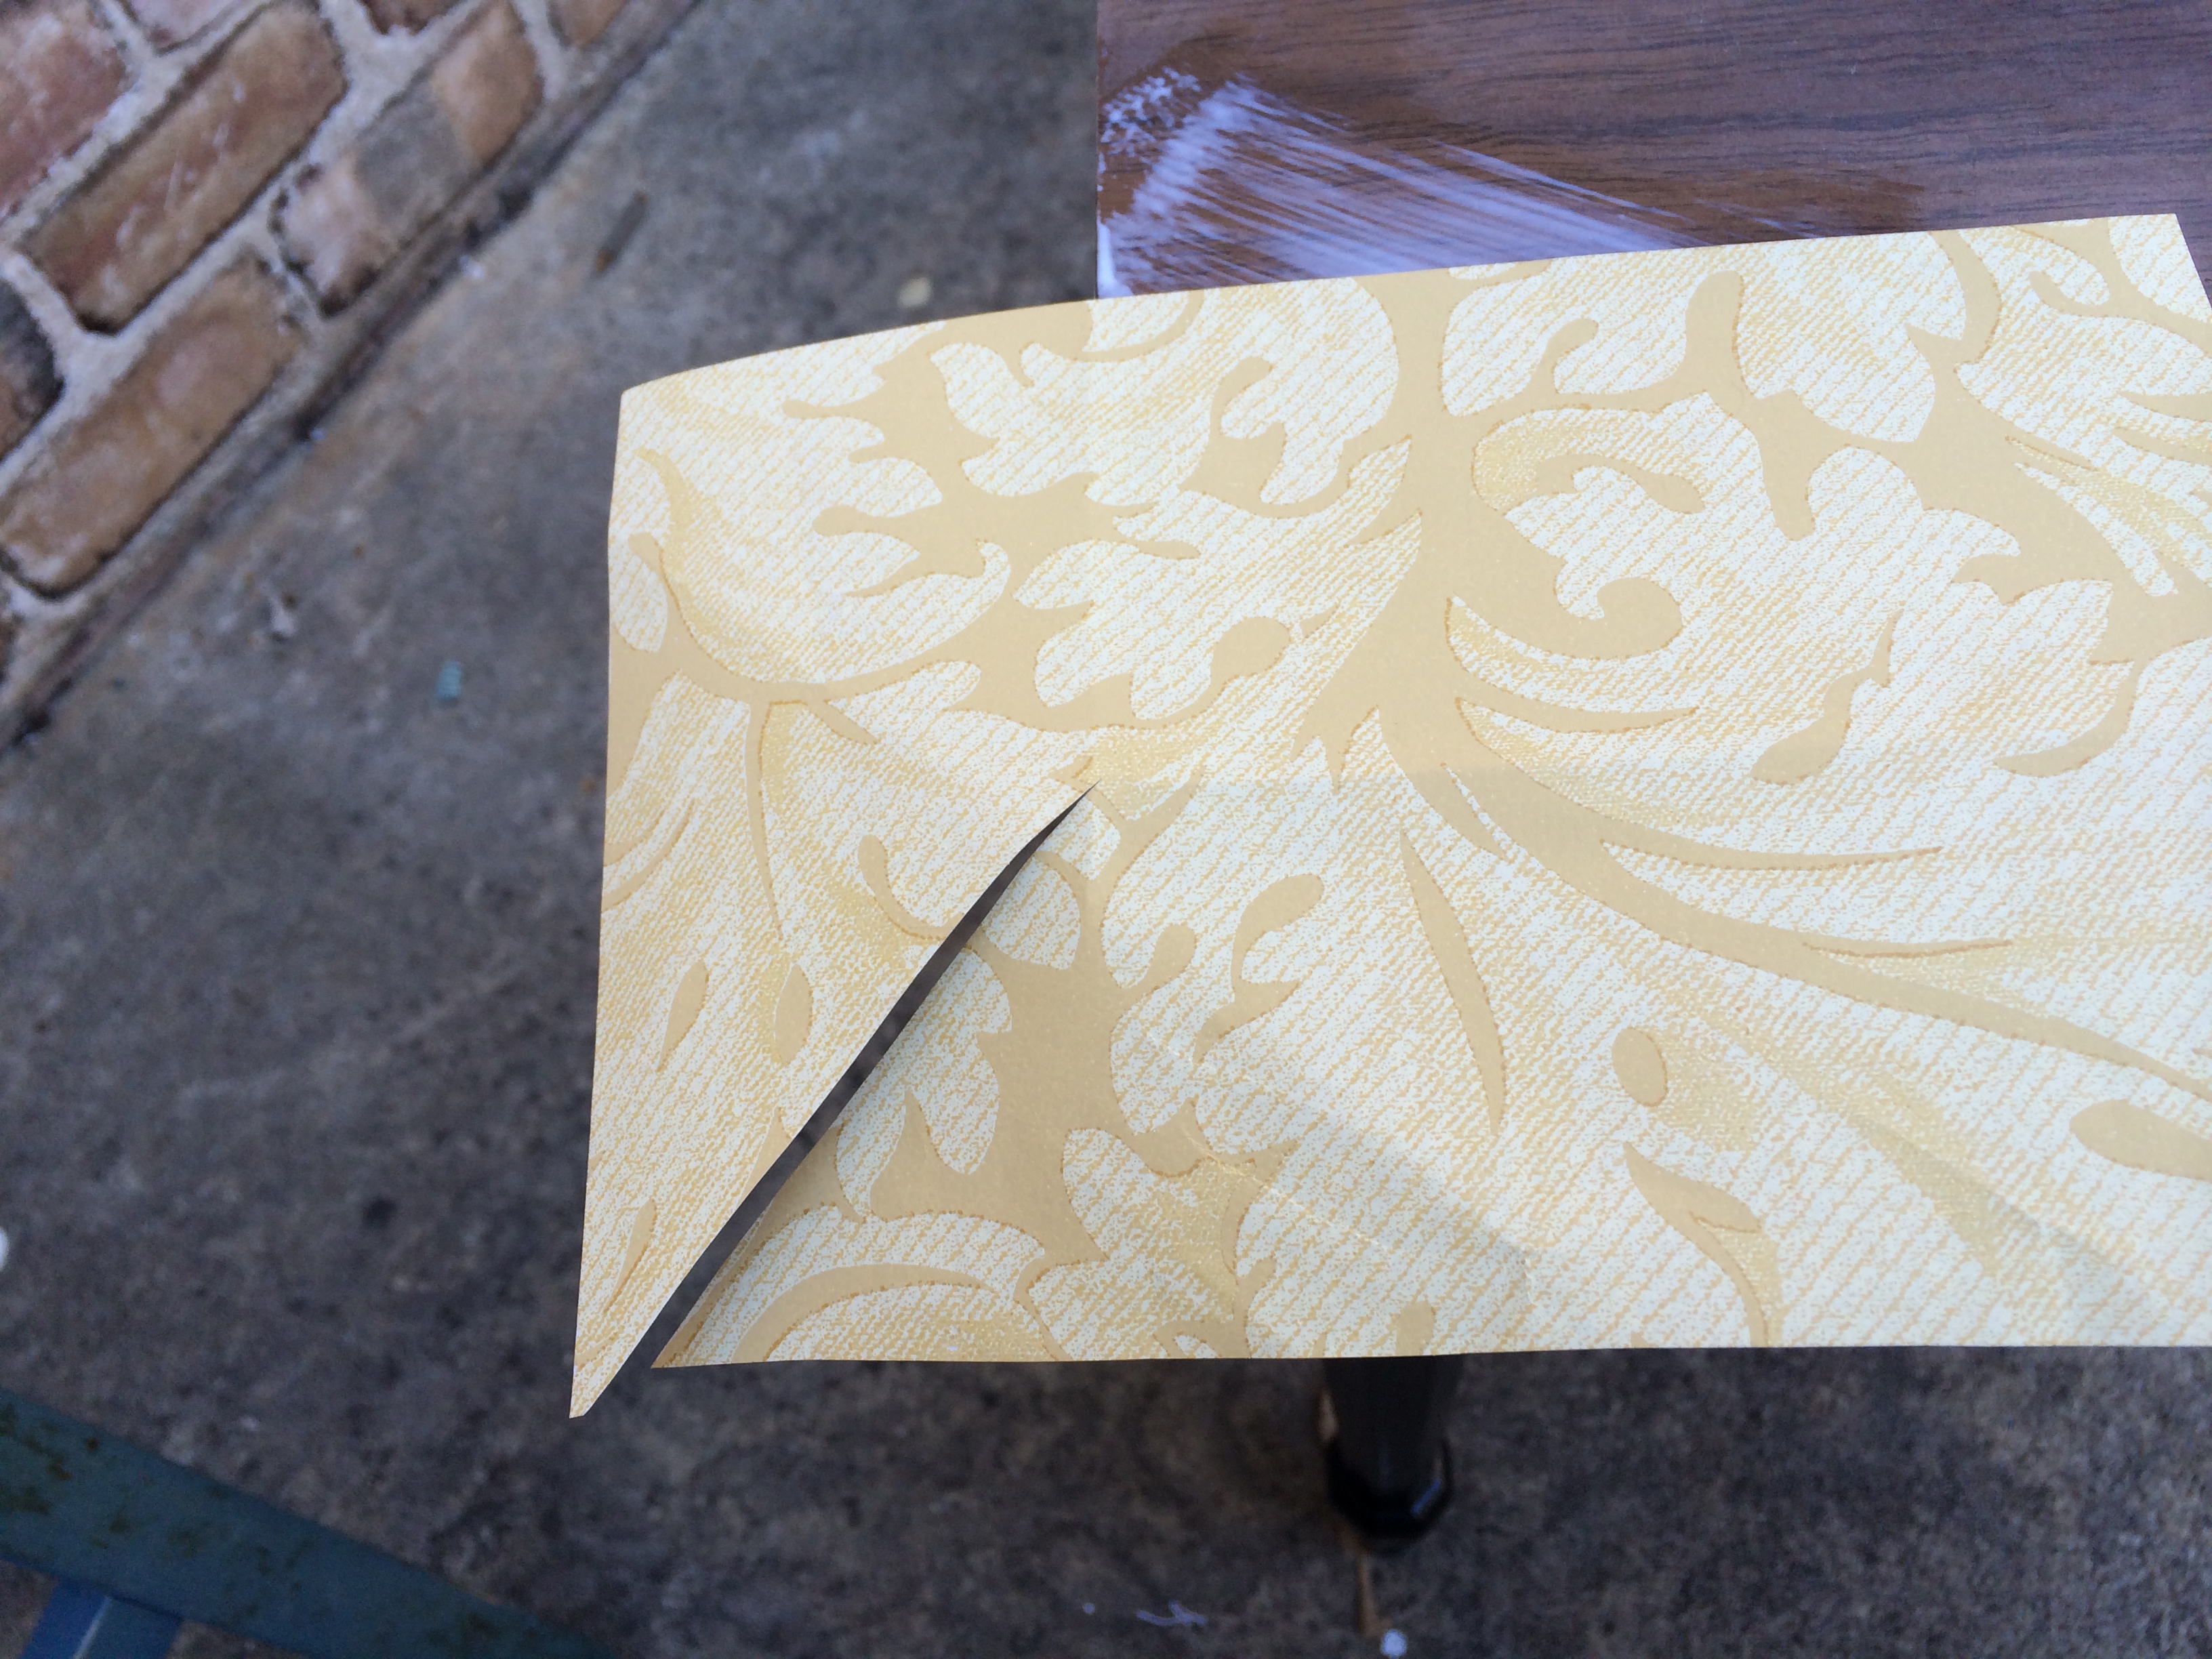 I began by adhering each corner of the table with the wallpaper.
To get tight corners I split my wallpaper and wrapped the corners neatly as you would if wrapping a gift.
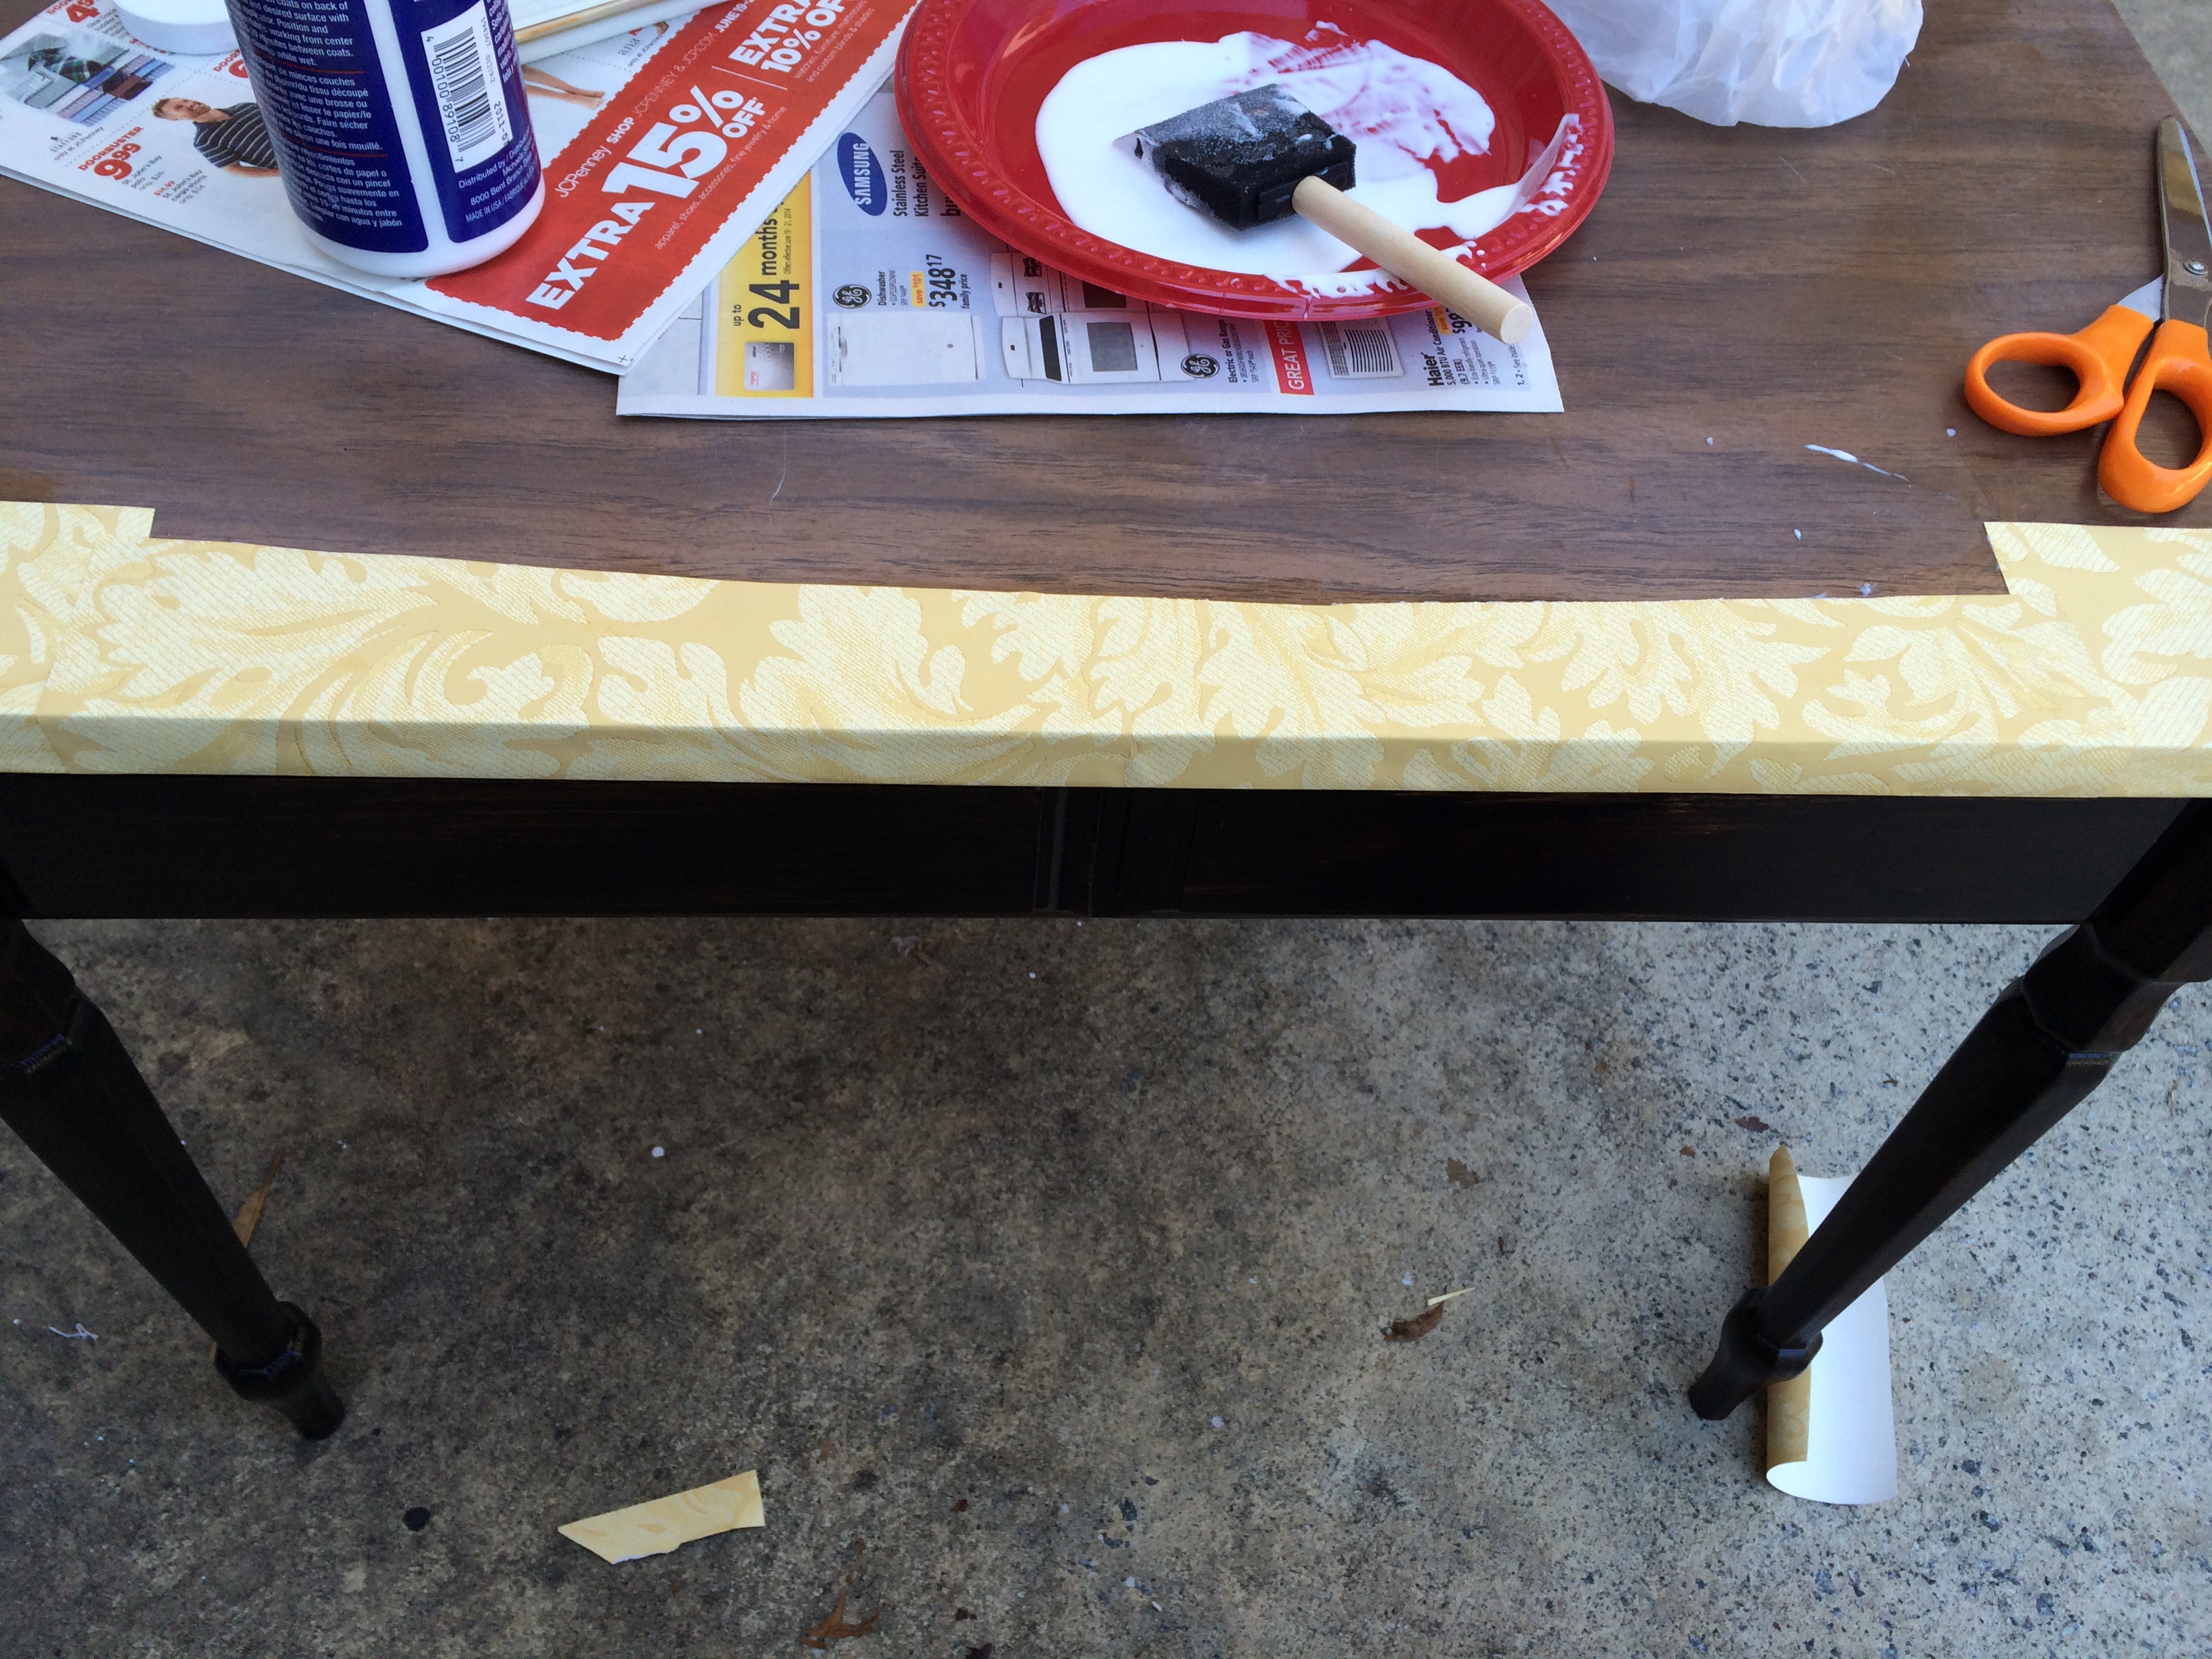 After decoupaging the corners, I continued applying the paper around the table edges.
You apply the glue with a brush on the table surface and the paper or fabric side that will touch the table then wrap it.
Note: Always layout your design before you start so you know how you want it to look.
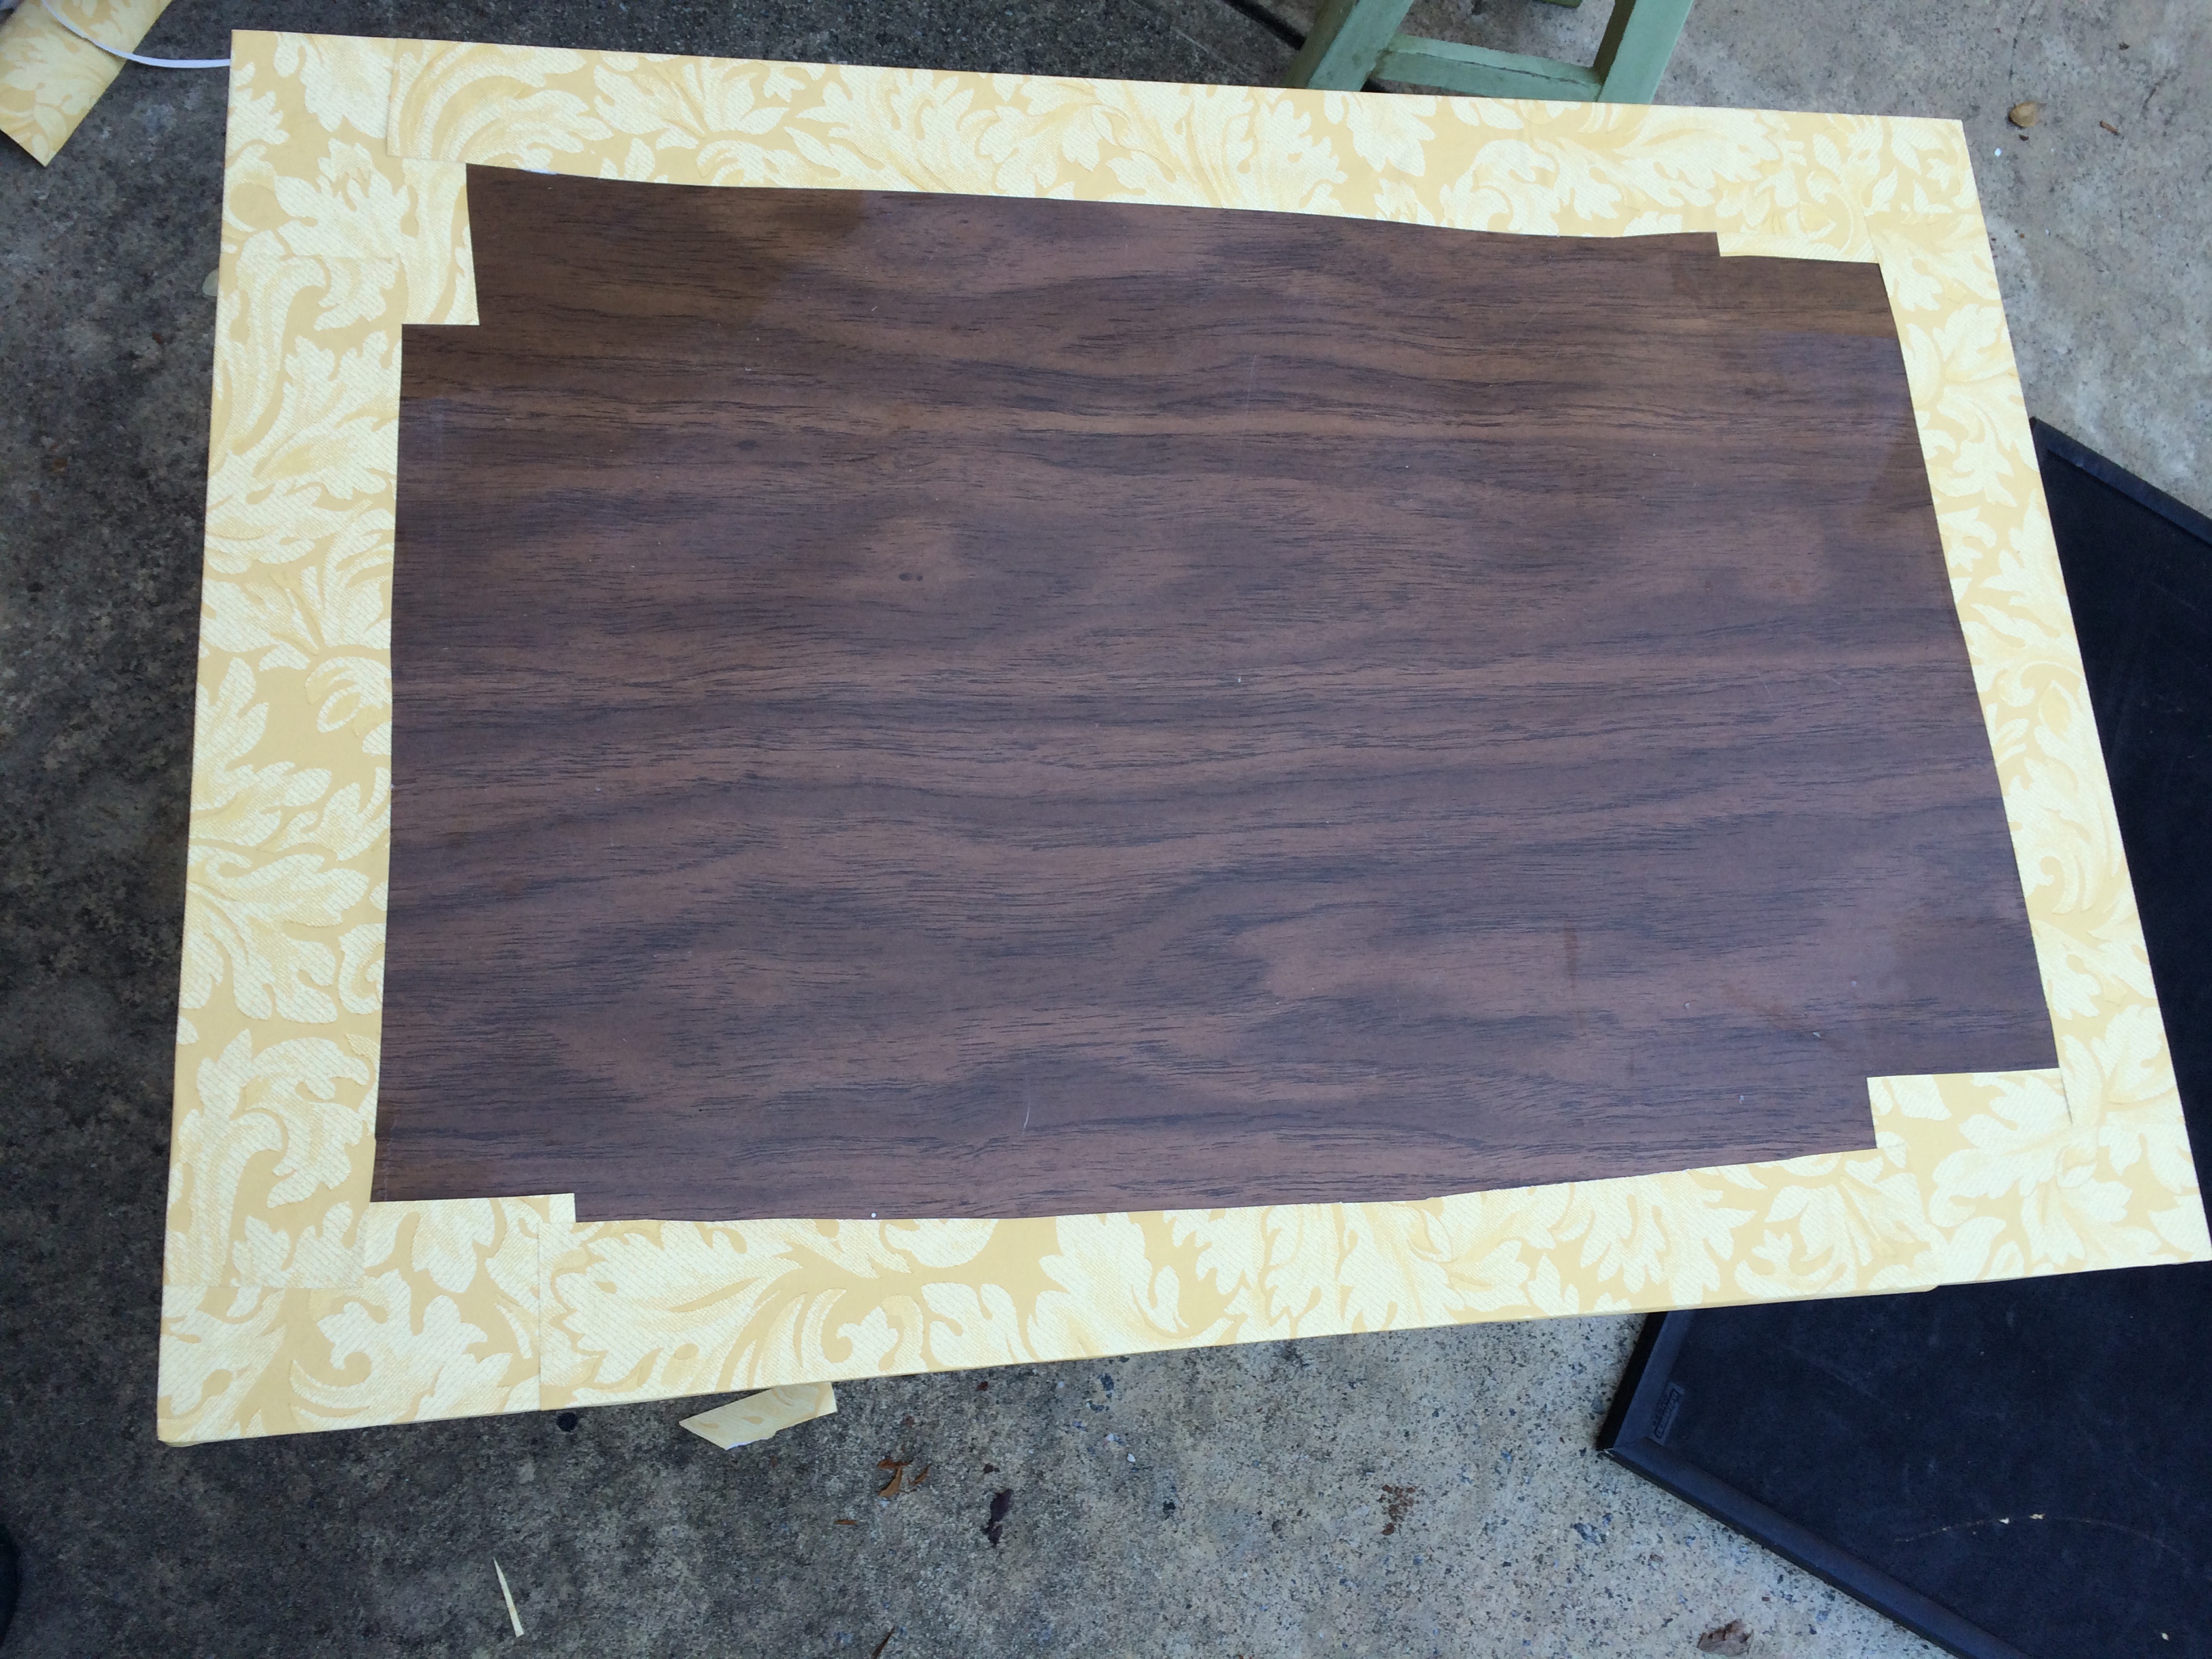 Now you are ready to attach the paper in the center with the design pattern you want.
I found this great wrapping paper from Ballards Design. It made my project super simple and colorful too.
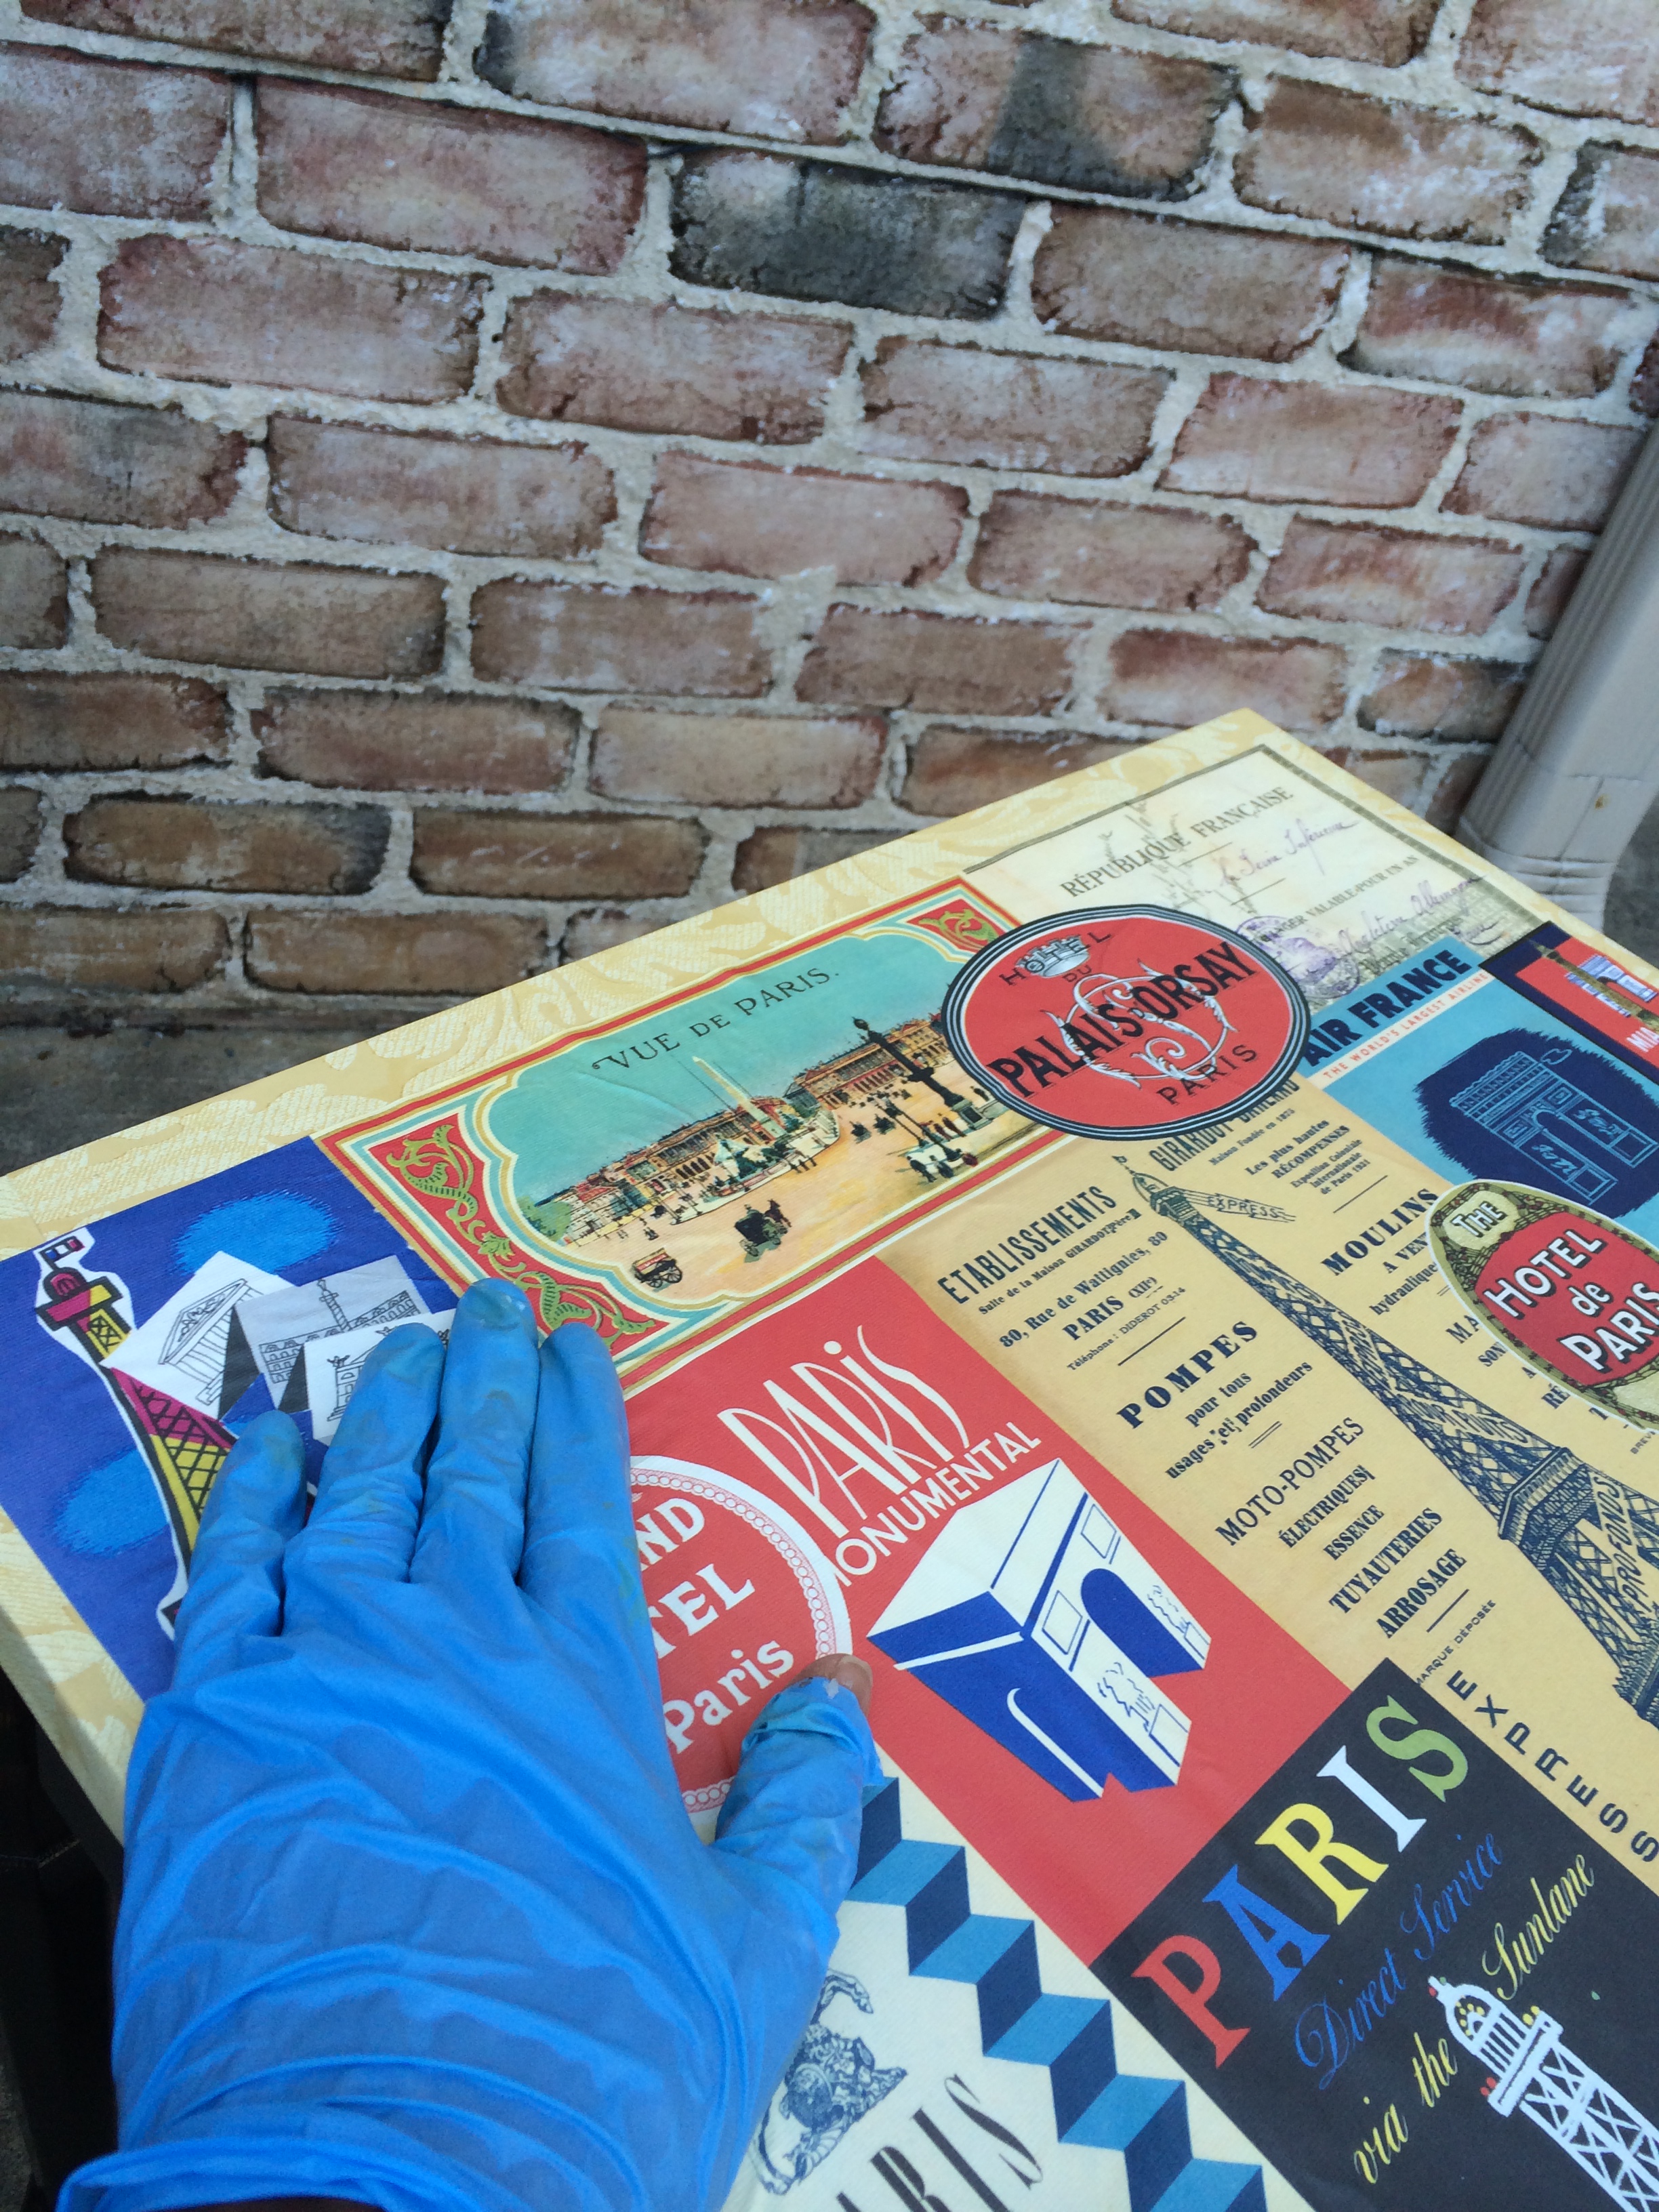 I added the paste to the table top and the paper back then slowly laid it over the top. Be sure to smooth it out as you lay it down. The hardest part was smoothing the paper out so it didn’t dry with bubbles underneath. Once the paper is covering the table apply paste on top of all the paper and let it dry completely.
 The final step is to apply polyacrylic as a finishing coat with a paint brush. Apply as many coats as you need to make a durable surface.
I applied 3 coats and waited 24 hours between each coat.
There’s no limit to what you can use to decoupage: giftwrap, maps, wallpaper, magazine pages, blueprints, tissue paper or fabrics all work well. You’re only limited by your imagination so try something wonderful and have some fun!
Are you ready to decoupage? What will you transform?
Whatever it is enjoy creating something beautiful!
6 Comments
Jamala
That looks great… I’ve been wanting to try that.. You made it look easy
Elle
Jamala,
It IS super easy to do. Give it a try. I know you will make something beautiful. Thanks for the comment.
Elle
Shelly@ConfettiStyle
Wow Elle, this table is adorable. I love the paper you used. What a great way to update a thrift store table in a flash.
Elle
Shelly,
Thanks for the compliment. I’m glad you like it. The best part is the paper cost less than $5. a sheet. You can’t beat that for styling a redo. Have fun creating. i’m doing some boxes next.
Love,
Elle
chris aka monkey
decoupage is one of my favorite media for the biggest change for the least amount of money and easy peasy too love your designs xx
Elle
Yes Chris, so true. Decoupage is fantastic and full proof! I love it. Thanks for commenting.
Elle