When You Can’t Find What You Want – Make It Yourself
I’ve been looking for a new bookcase to add to my office redesign and wanted something highly functional and attractive. I needed a bookcase with extra deep shelves to accomodate some of the project items I work with regularly. I was surprised at how difficult it was to find, especially at a price I wanted to pay.
My solution was to create my own by converting storage boxes I found at a thrift store into a bookcase by stacking them and securing them together with brackets in the back. The boxes were made of plywood which made them an excellent choice for the conversion because this bookcase will serve as a workhorse in my office.
Here’s what I did to create my new bookcase.
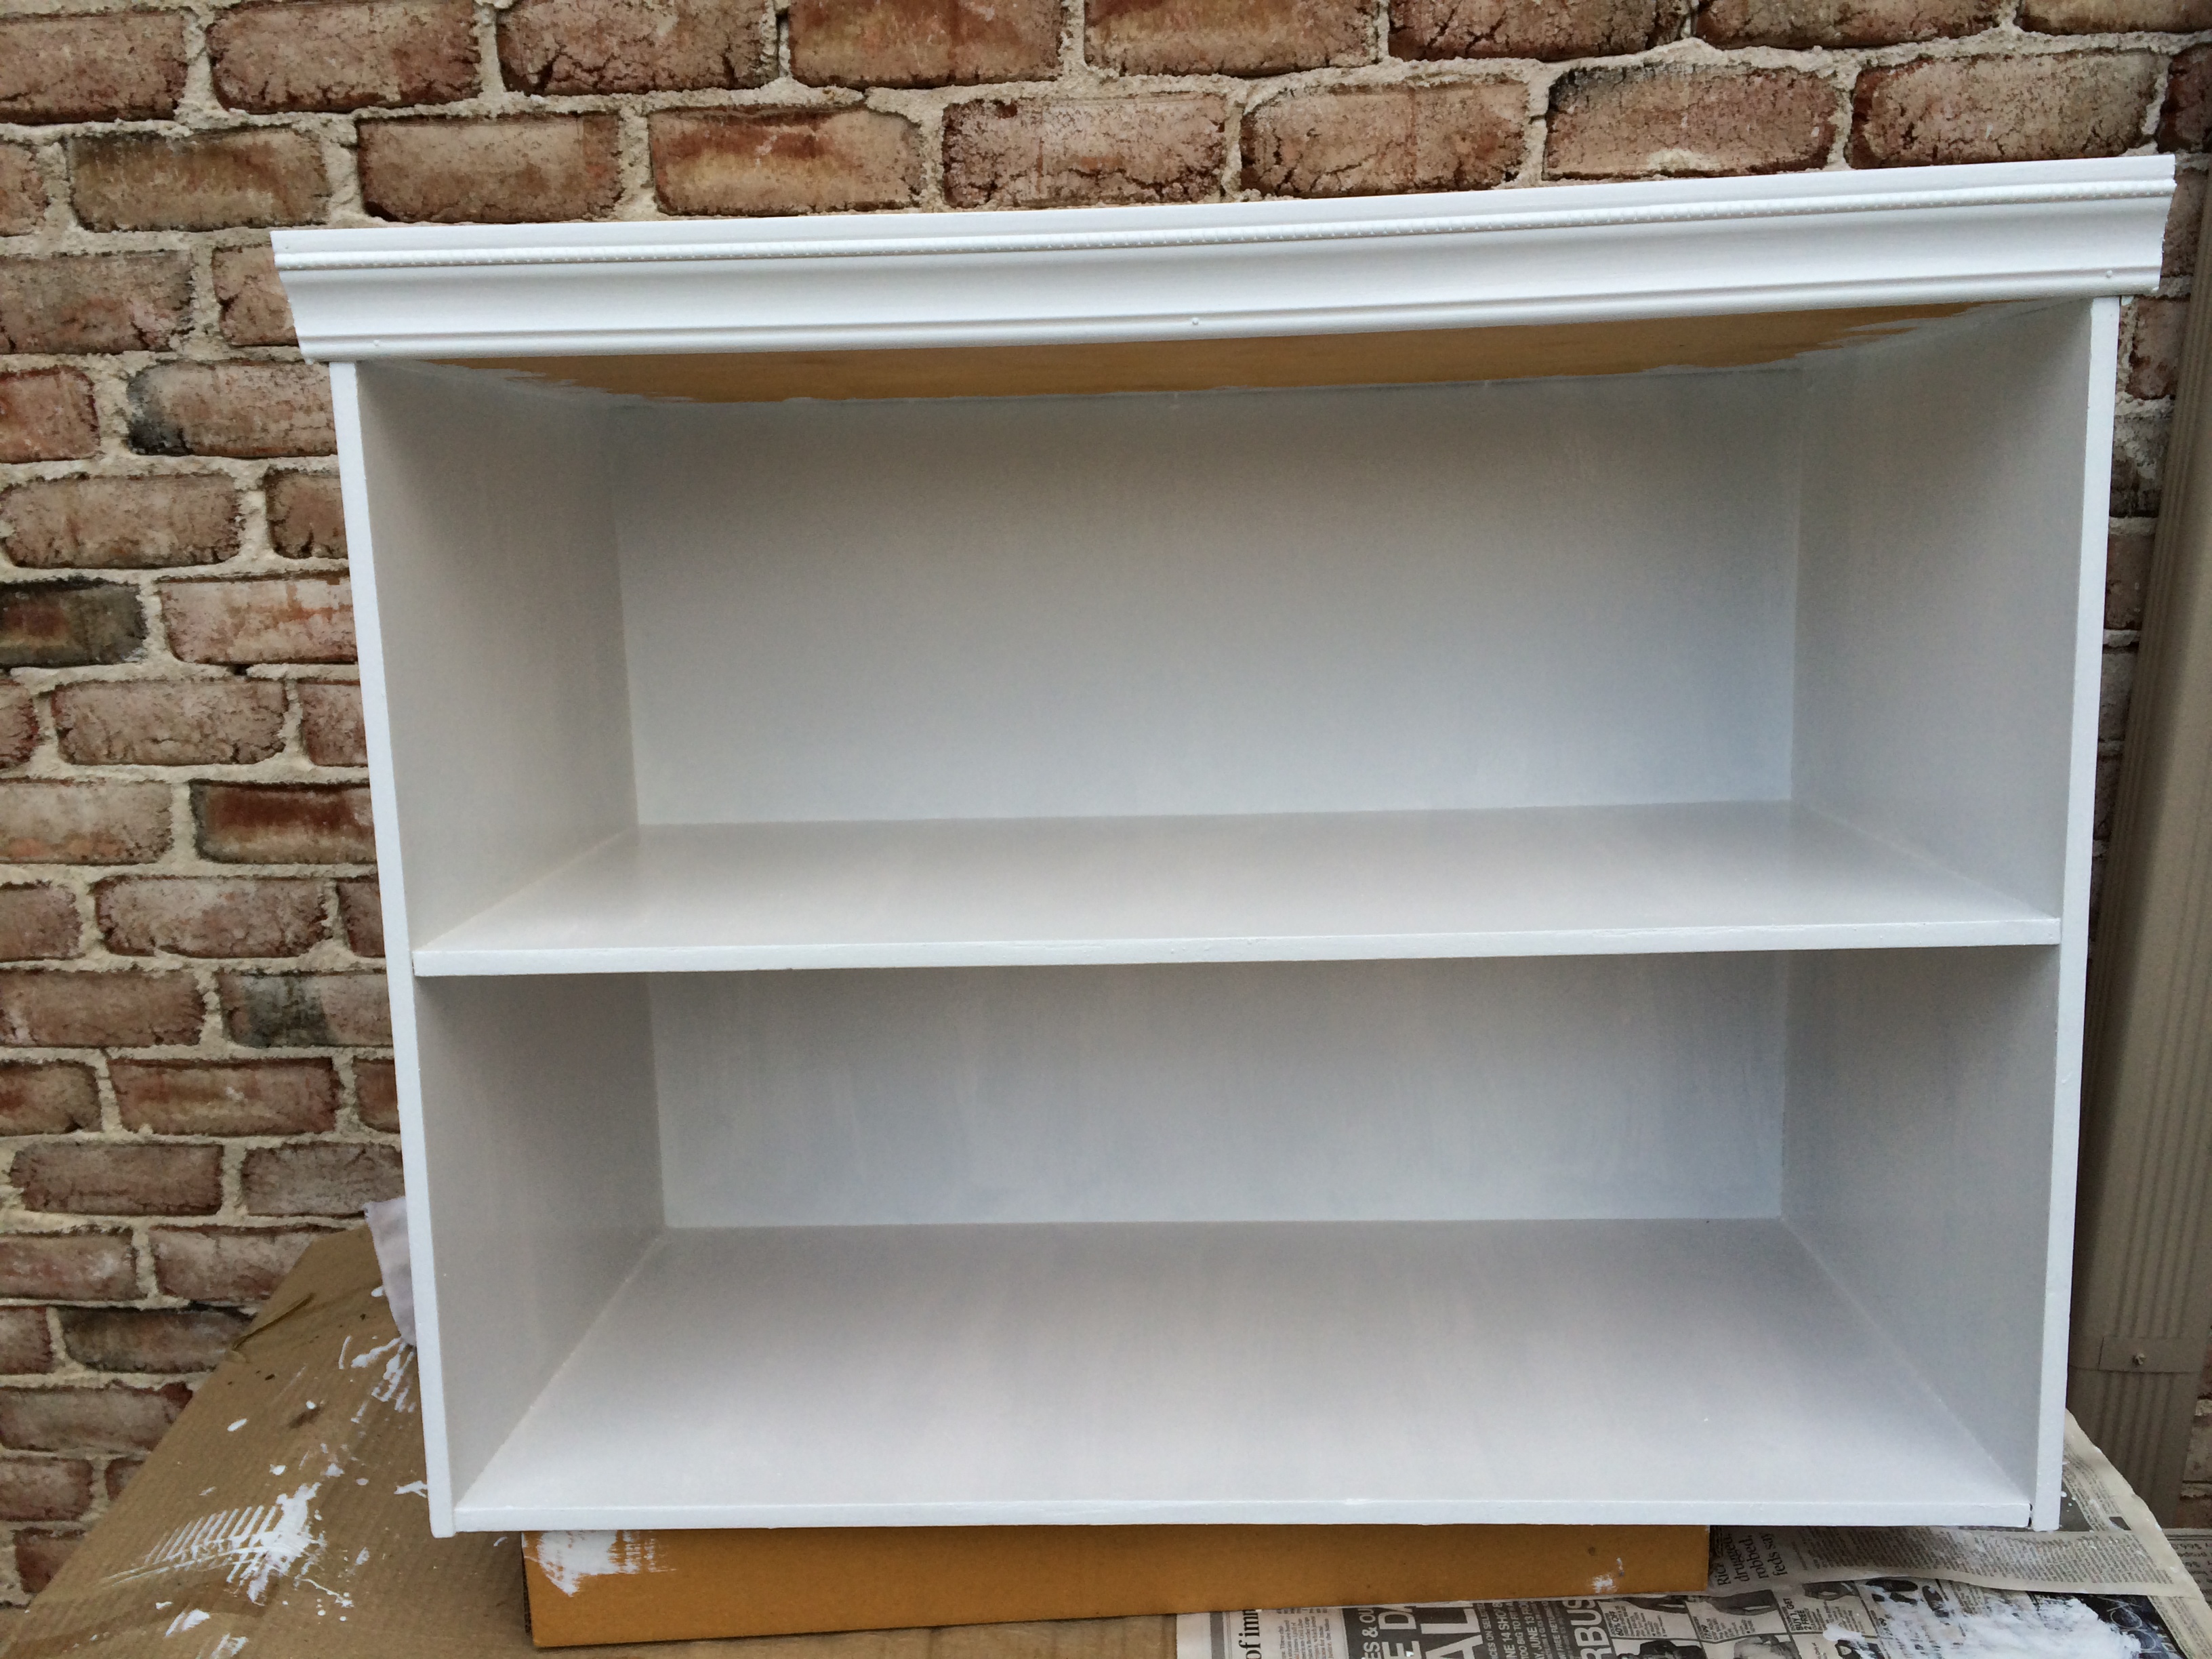
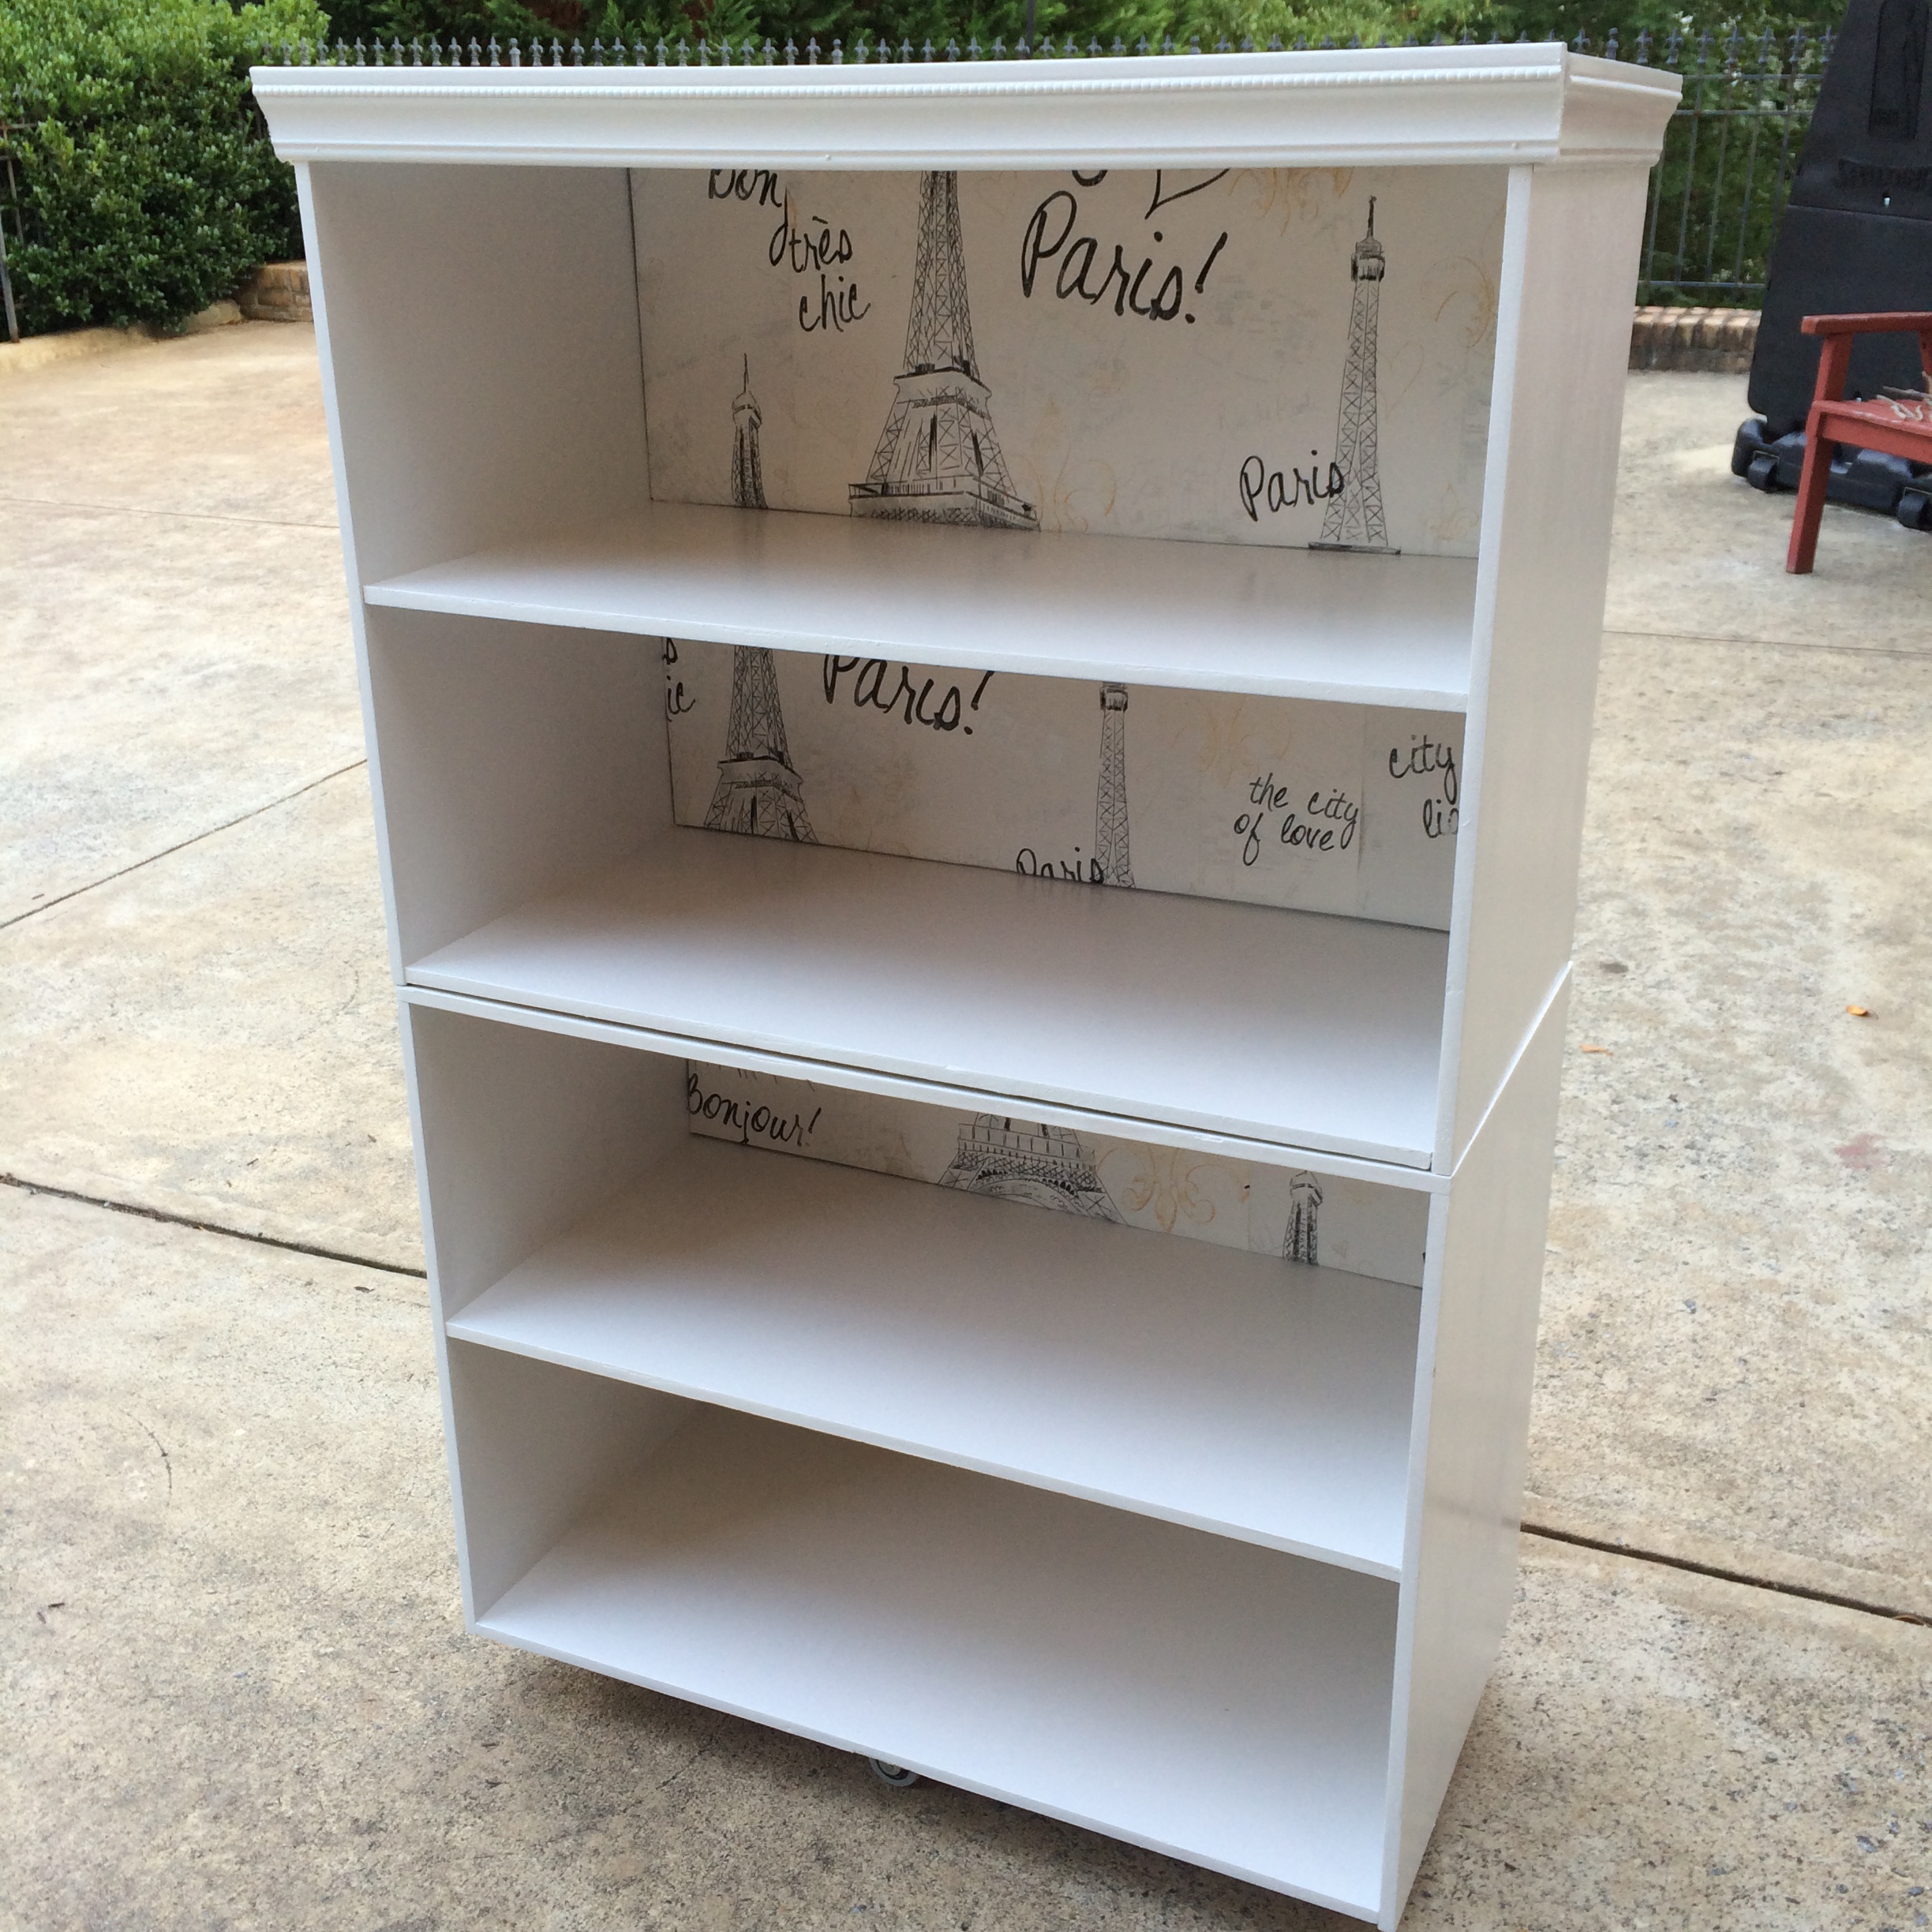 Here’s the finished bookcase that’s been secured with brackets at the back.
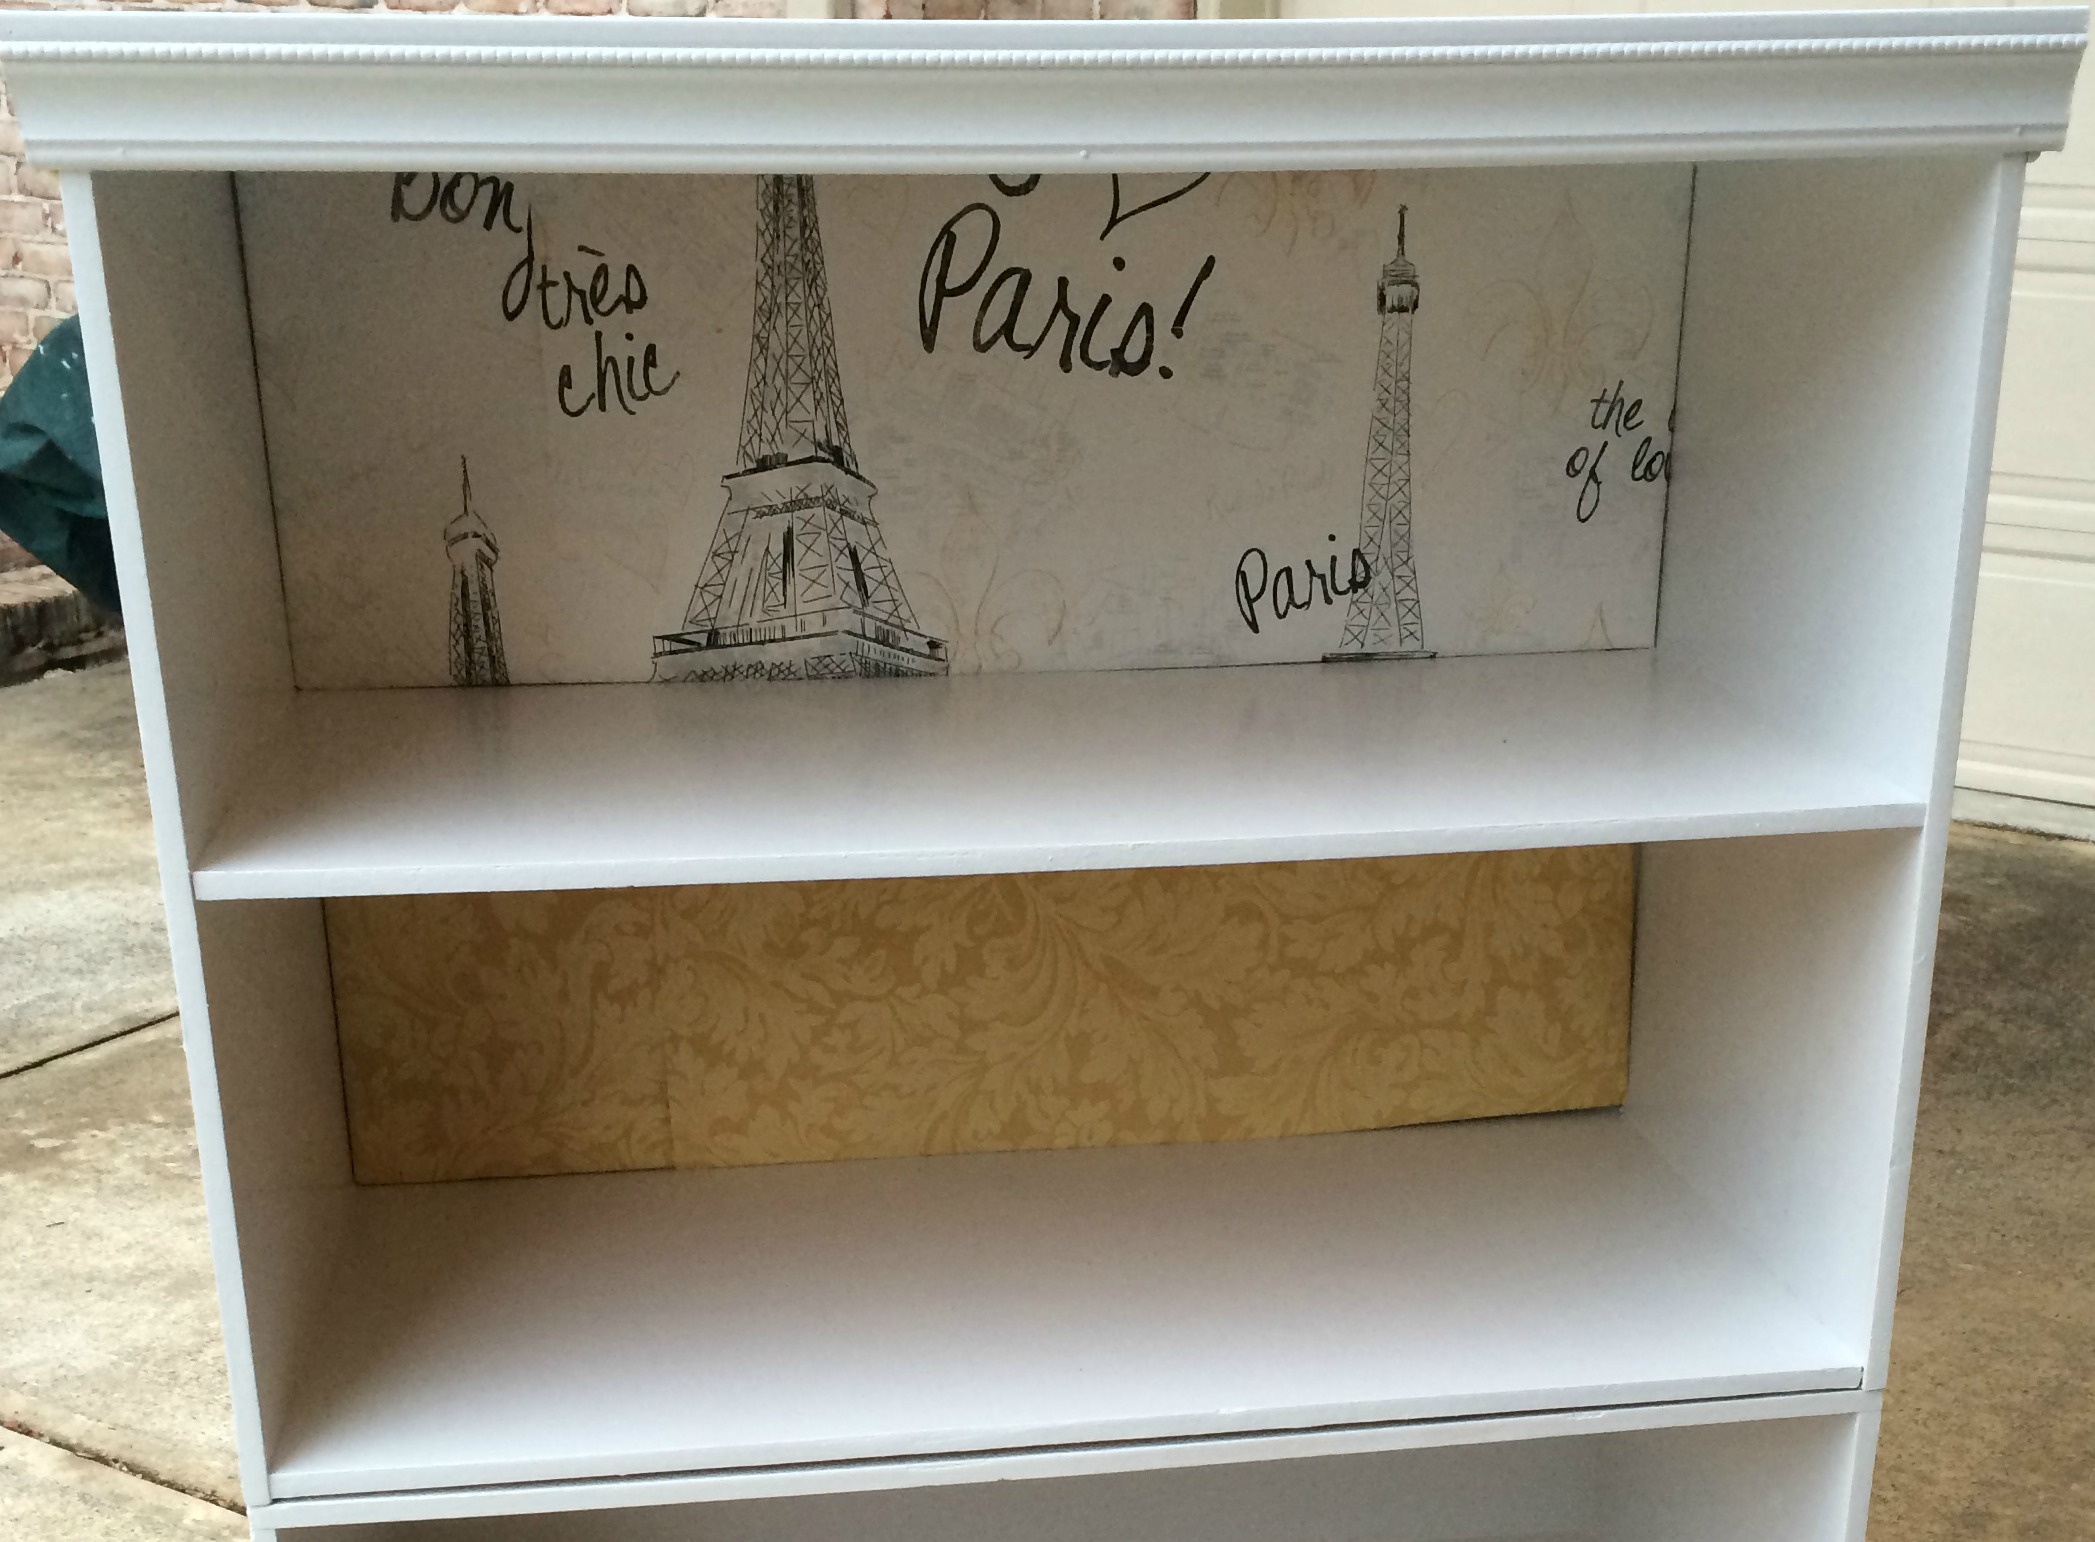
I added decorative panels in the back covered with wallpaper.
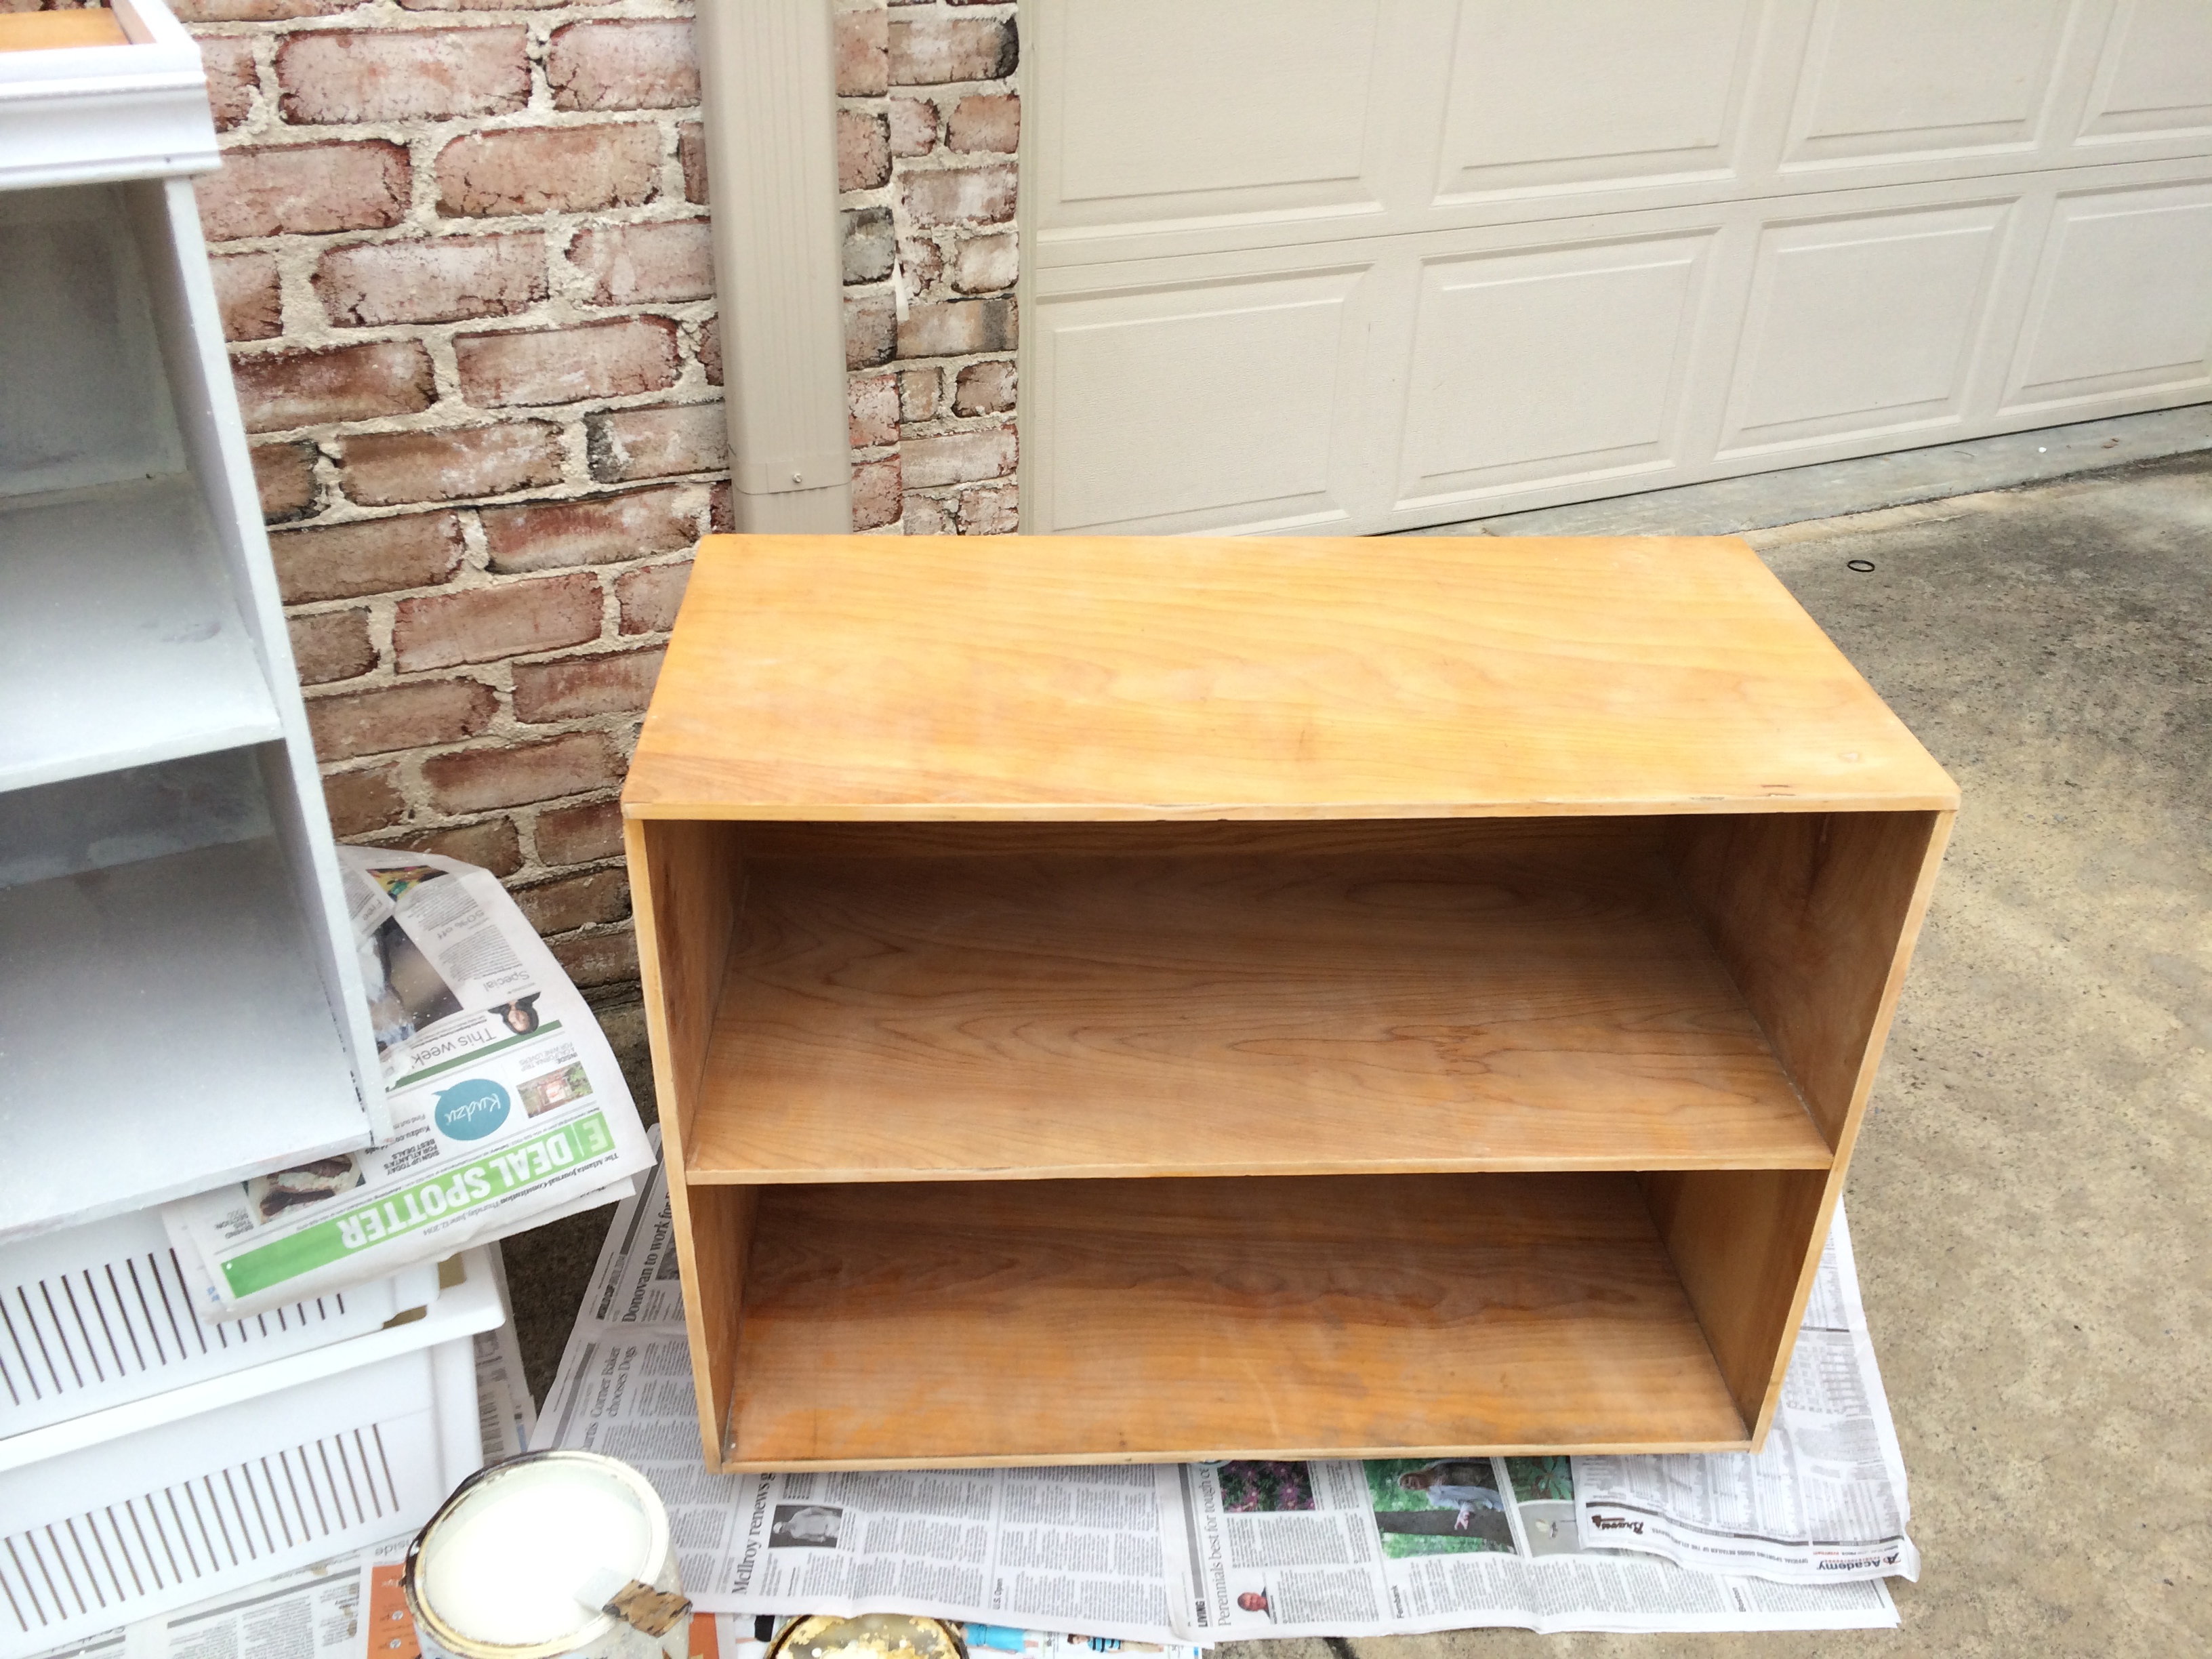
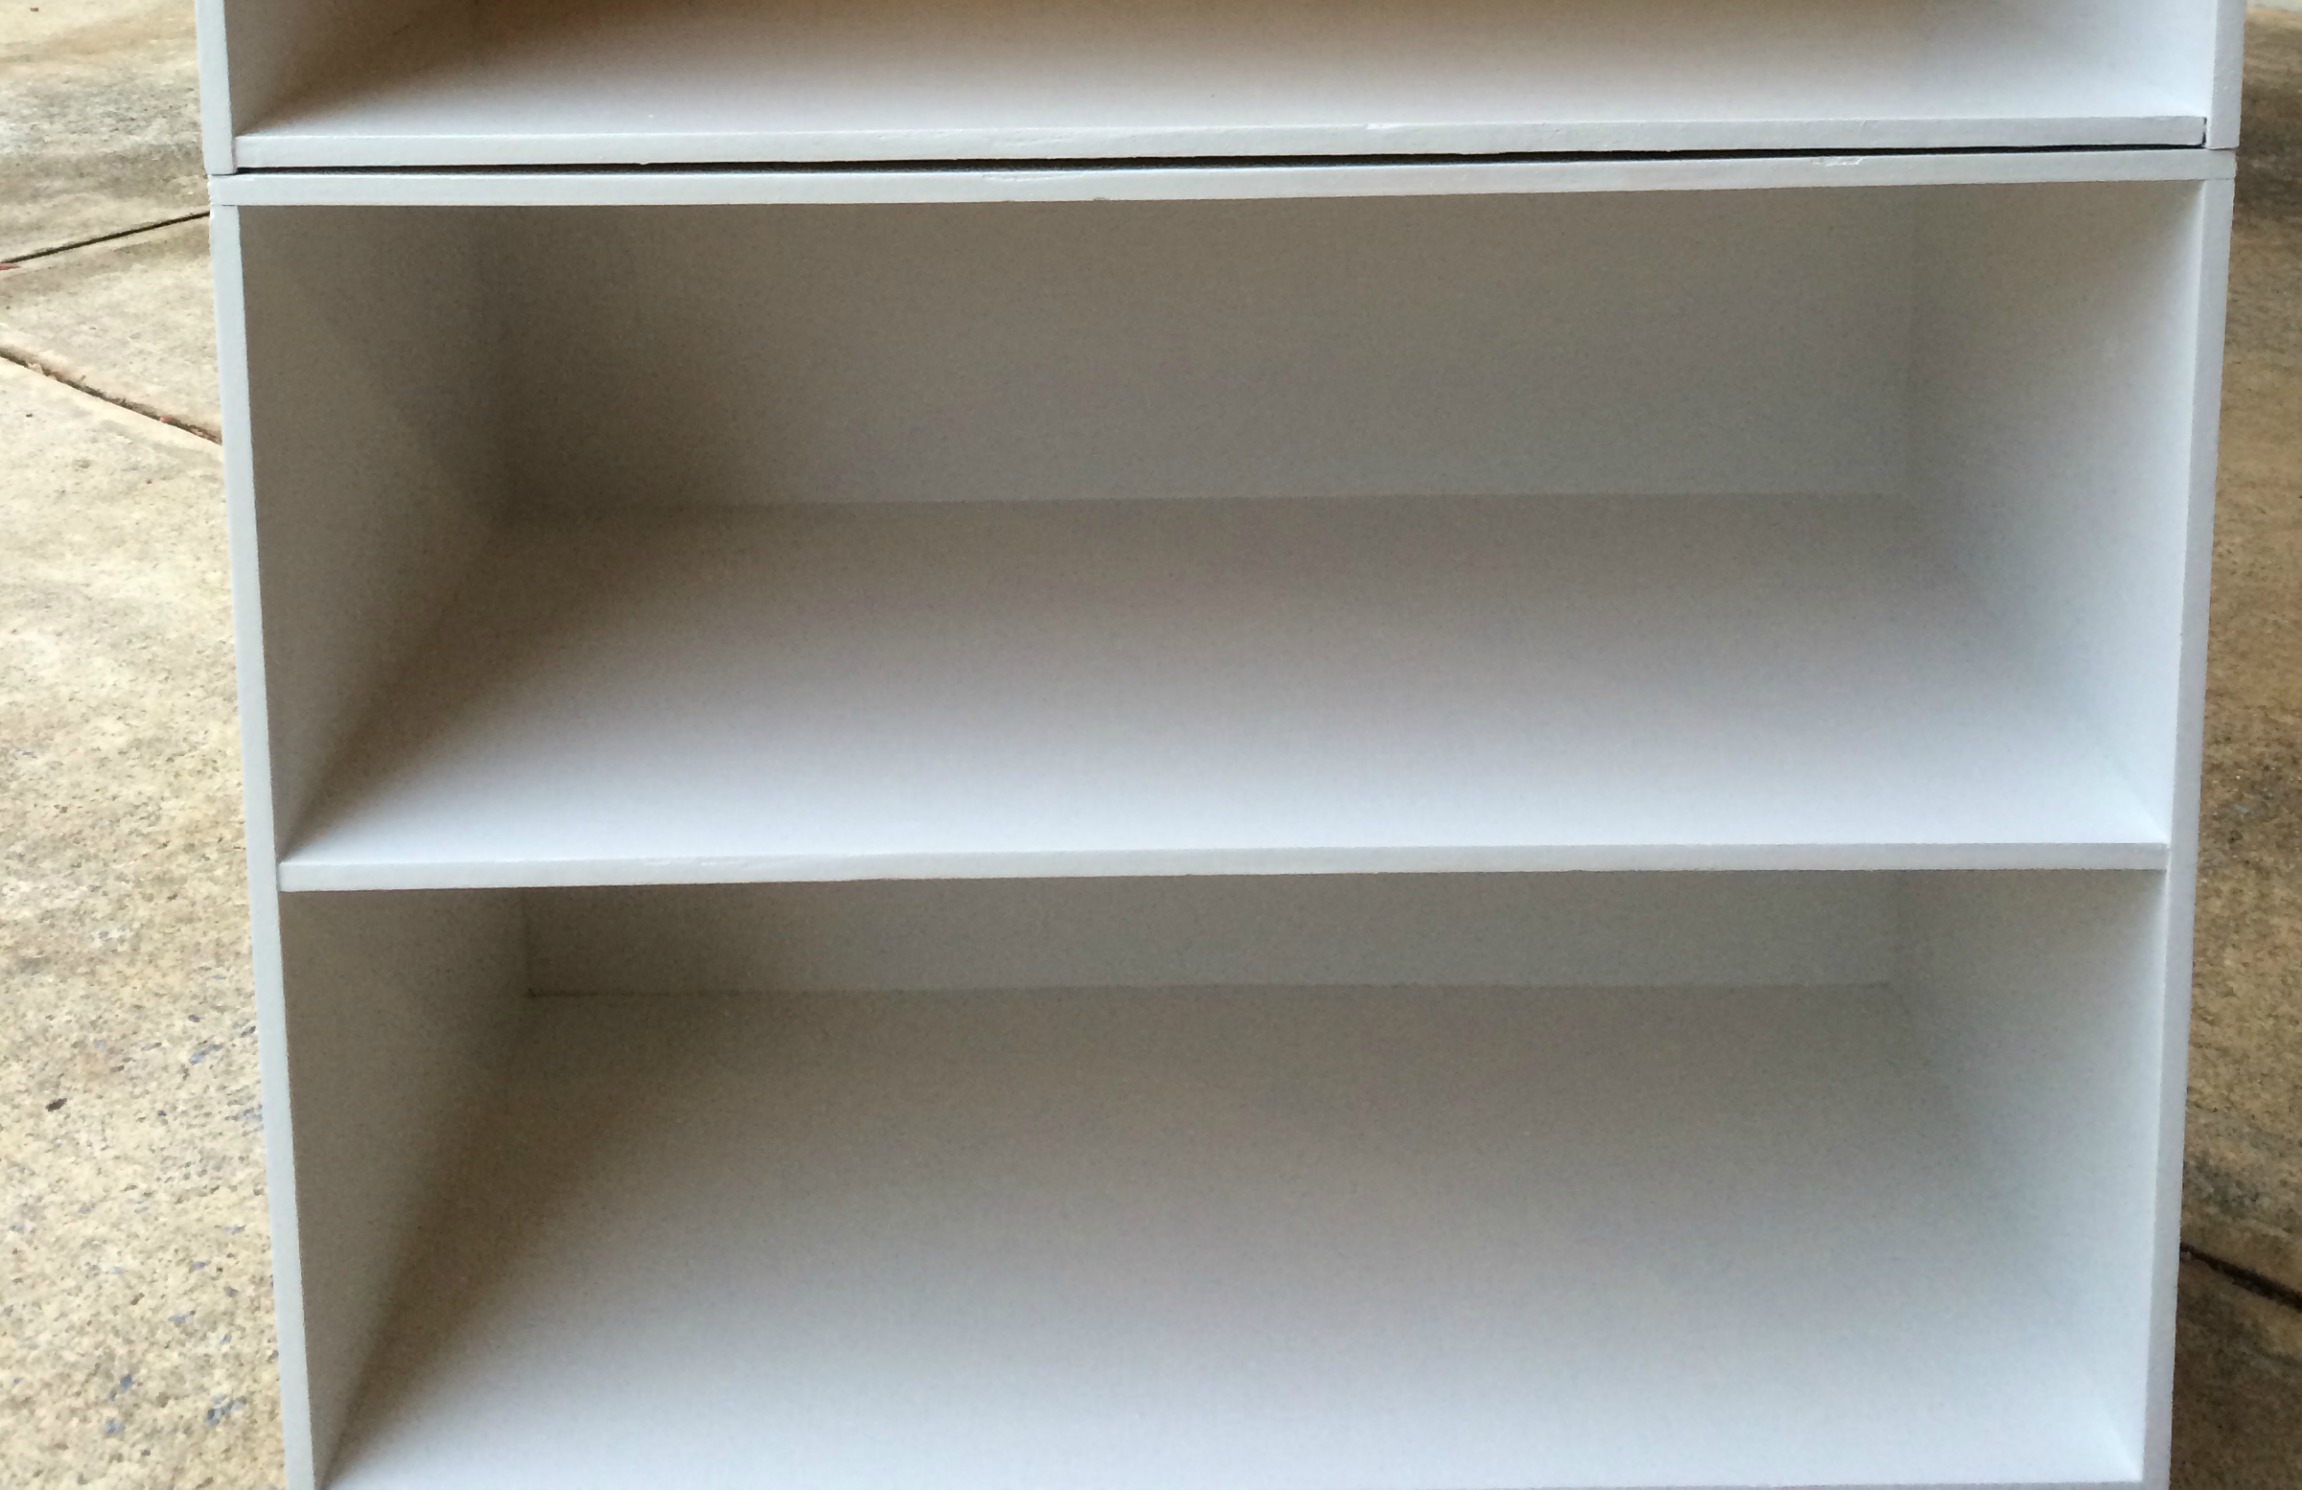
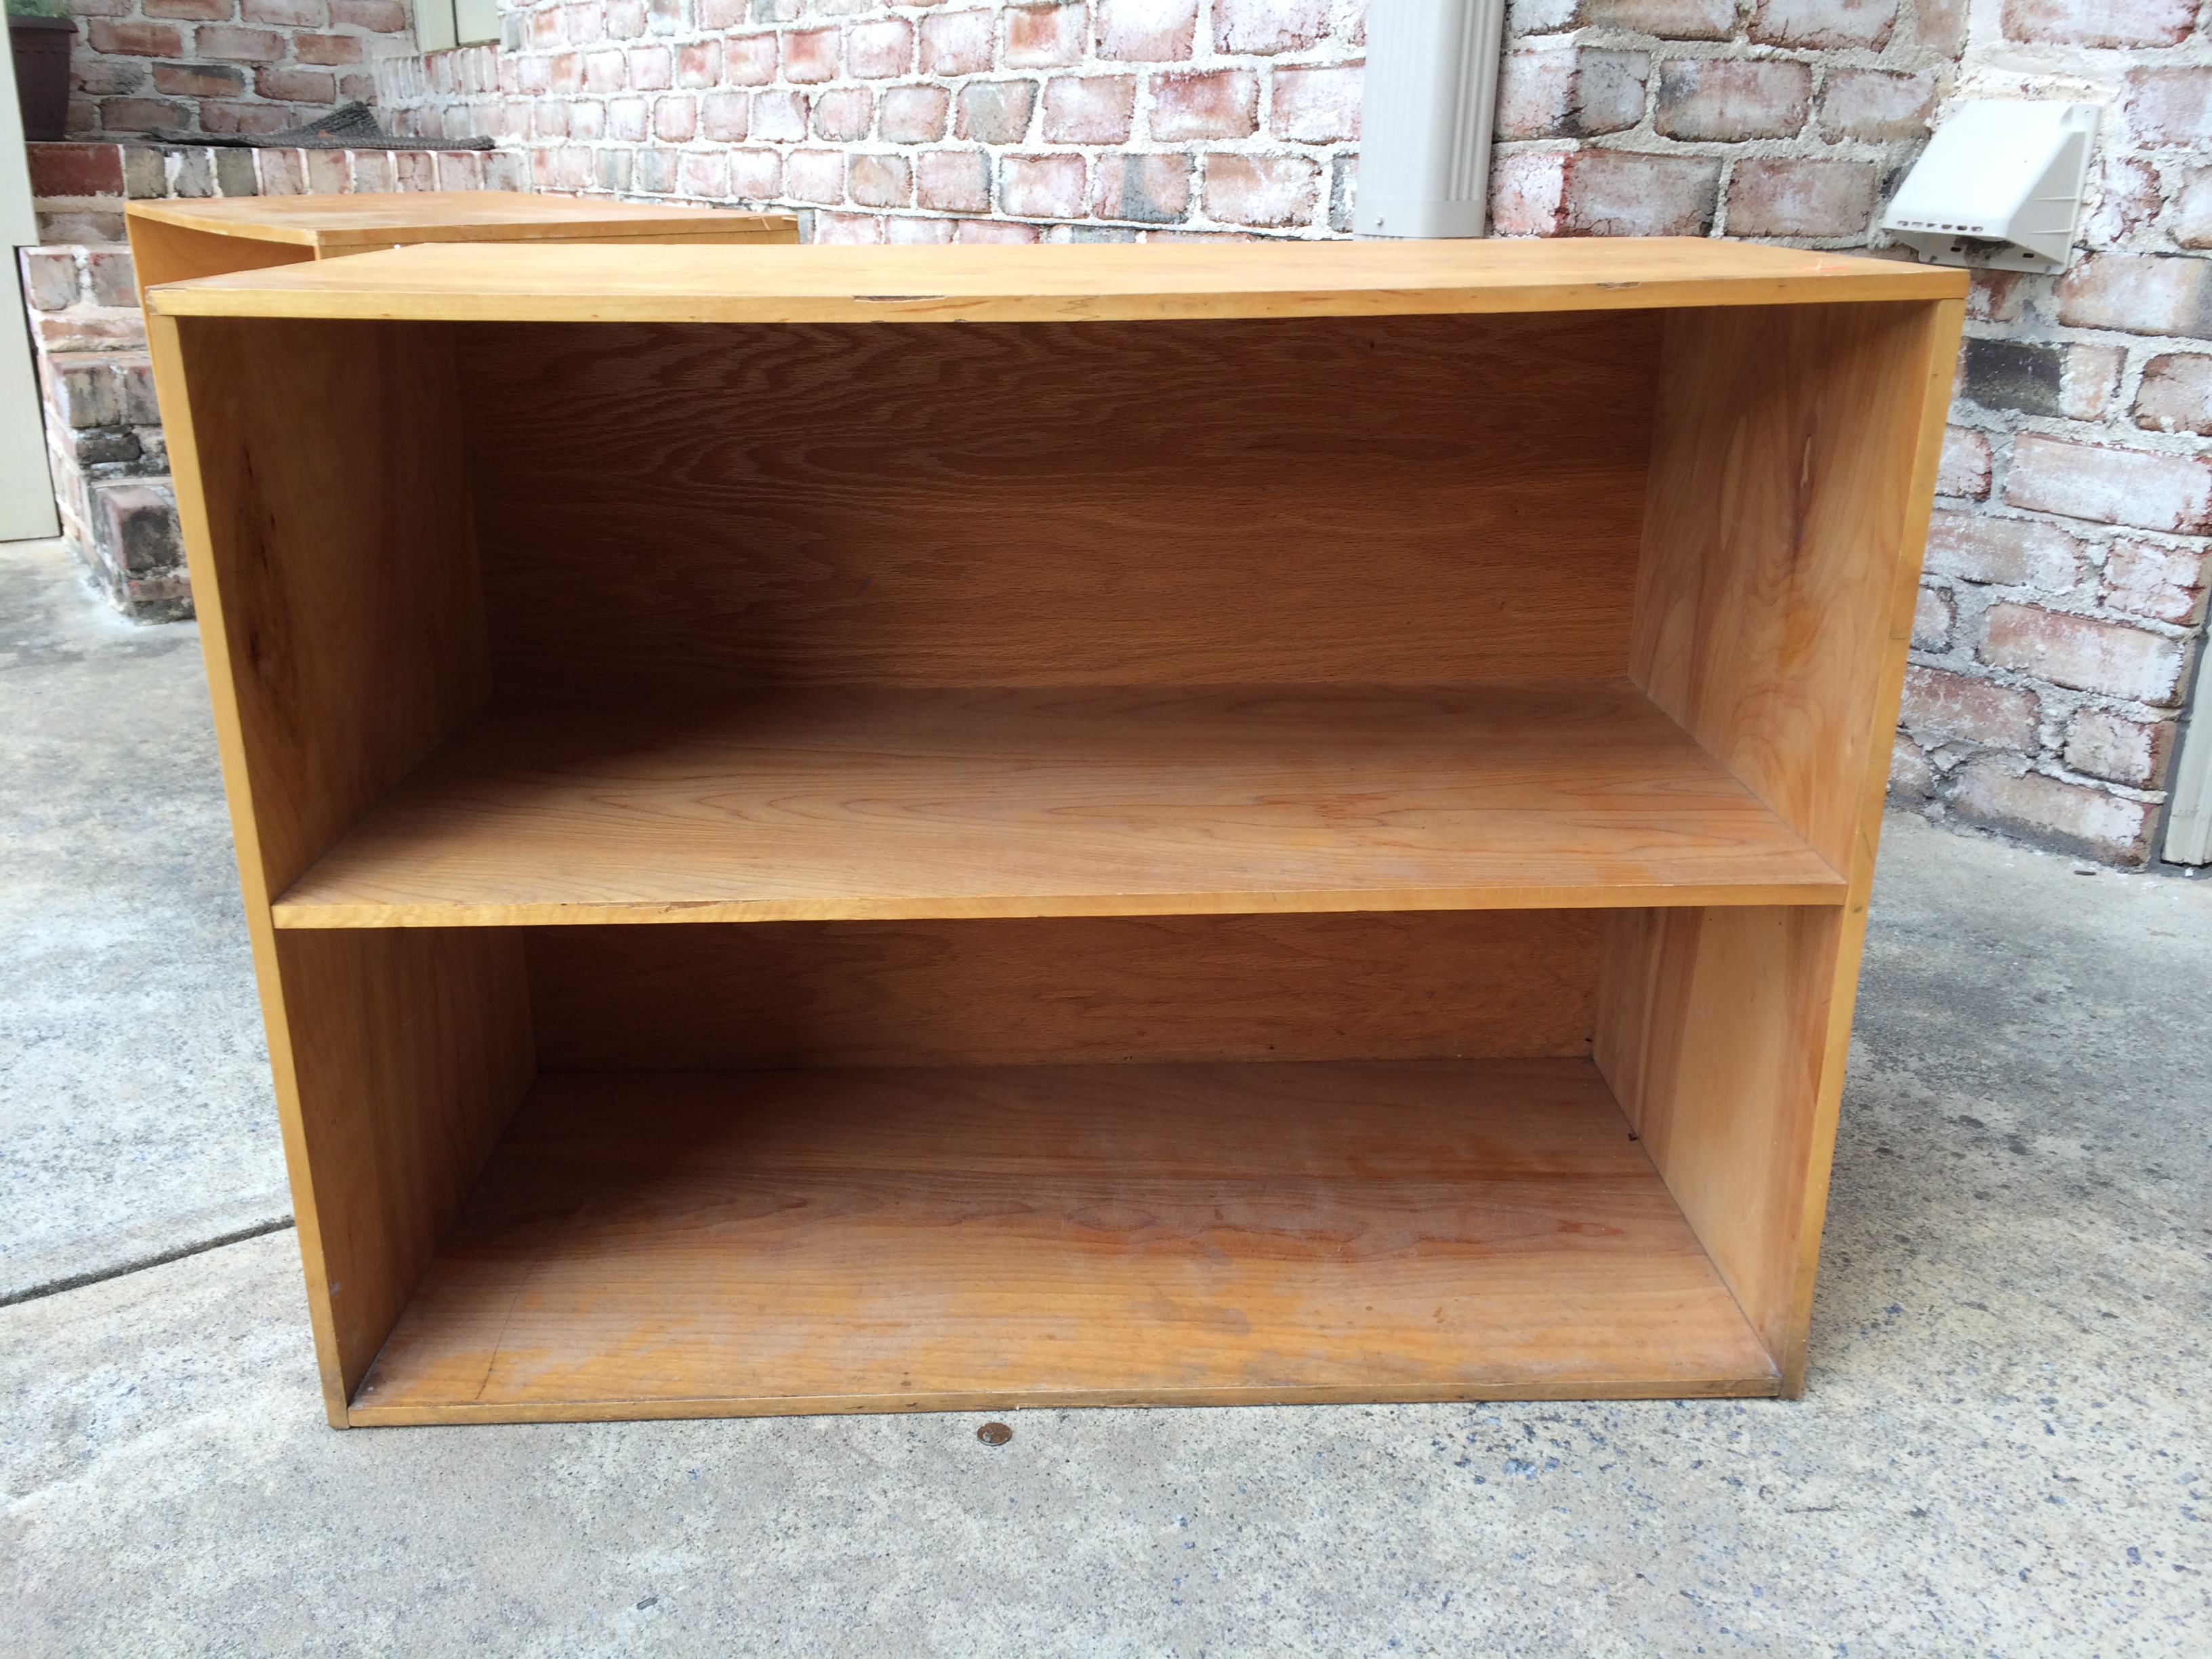 I found 2 wood shelve boxes that were perfect for creating my custom bookcase. Also, they were so much easier to take home.
Supplies:
Hand sander
Sand paper – Medium grit
Sanding block
Rustoleum Ultra-Cover Latex Paint in semi-gloss
Primer with a stain blocker
Paint brushes
Baseboard trim
Hand saw & Hammer
Wood glue
Tacking nails
sset of 4 casters (optional)
 I sanded the inside and outside of the 2 boxes except the back which I wasn’t going to paint. Next vacuum or brush out the sand dust.
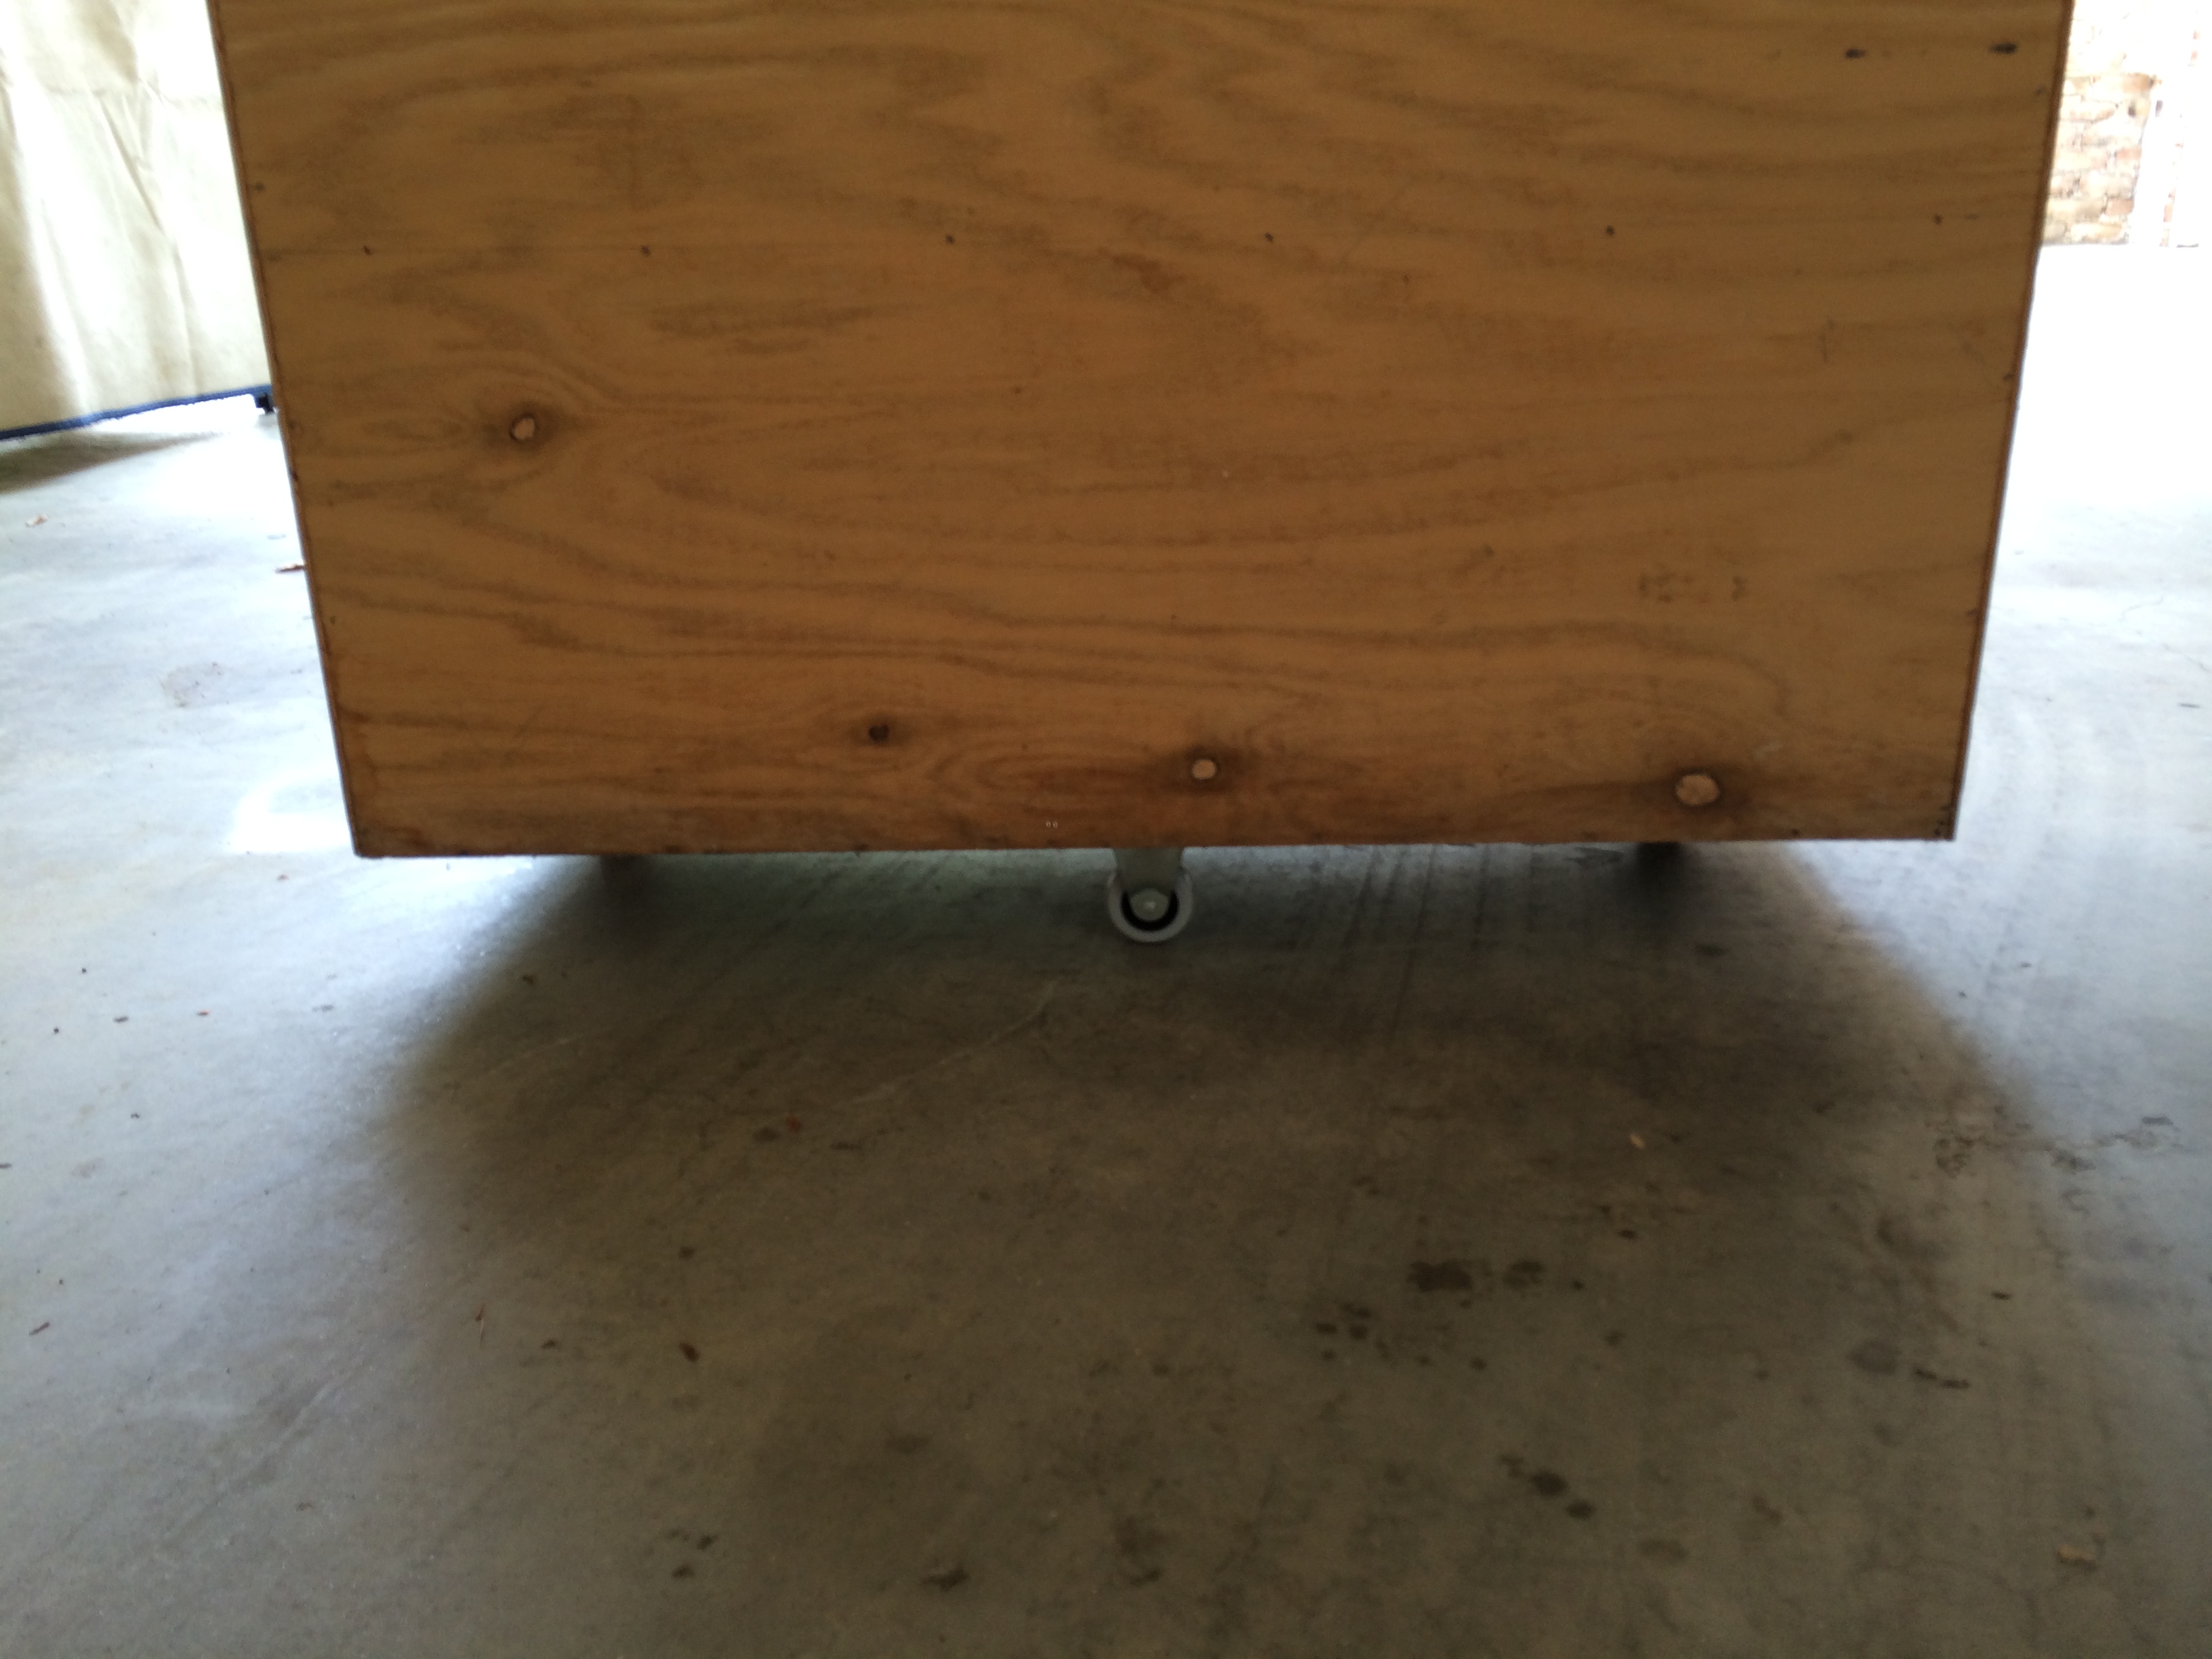
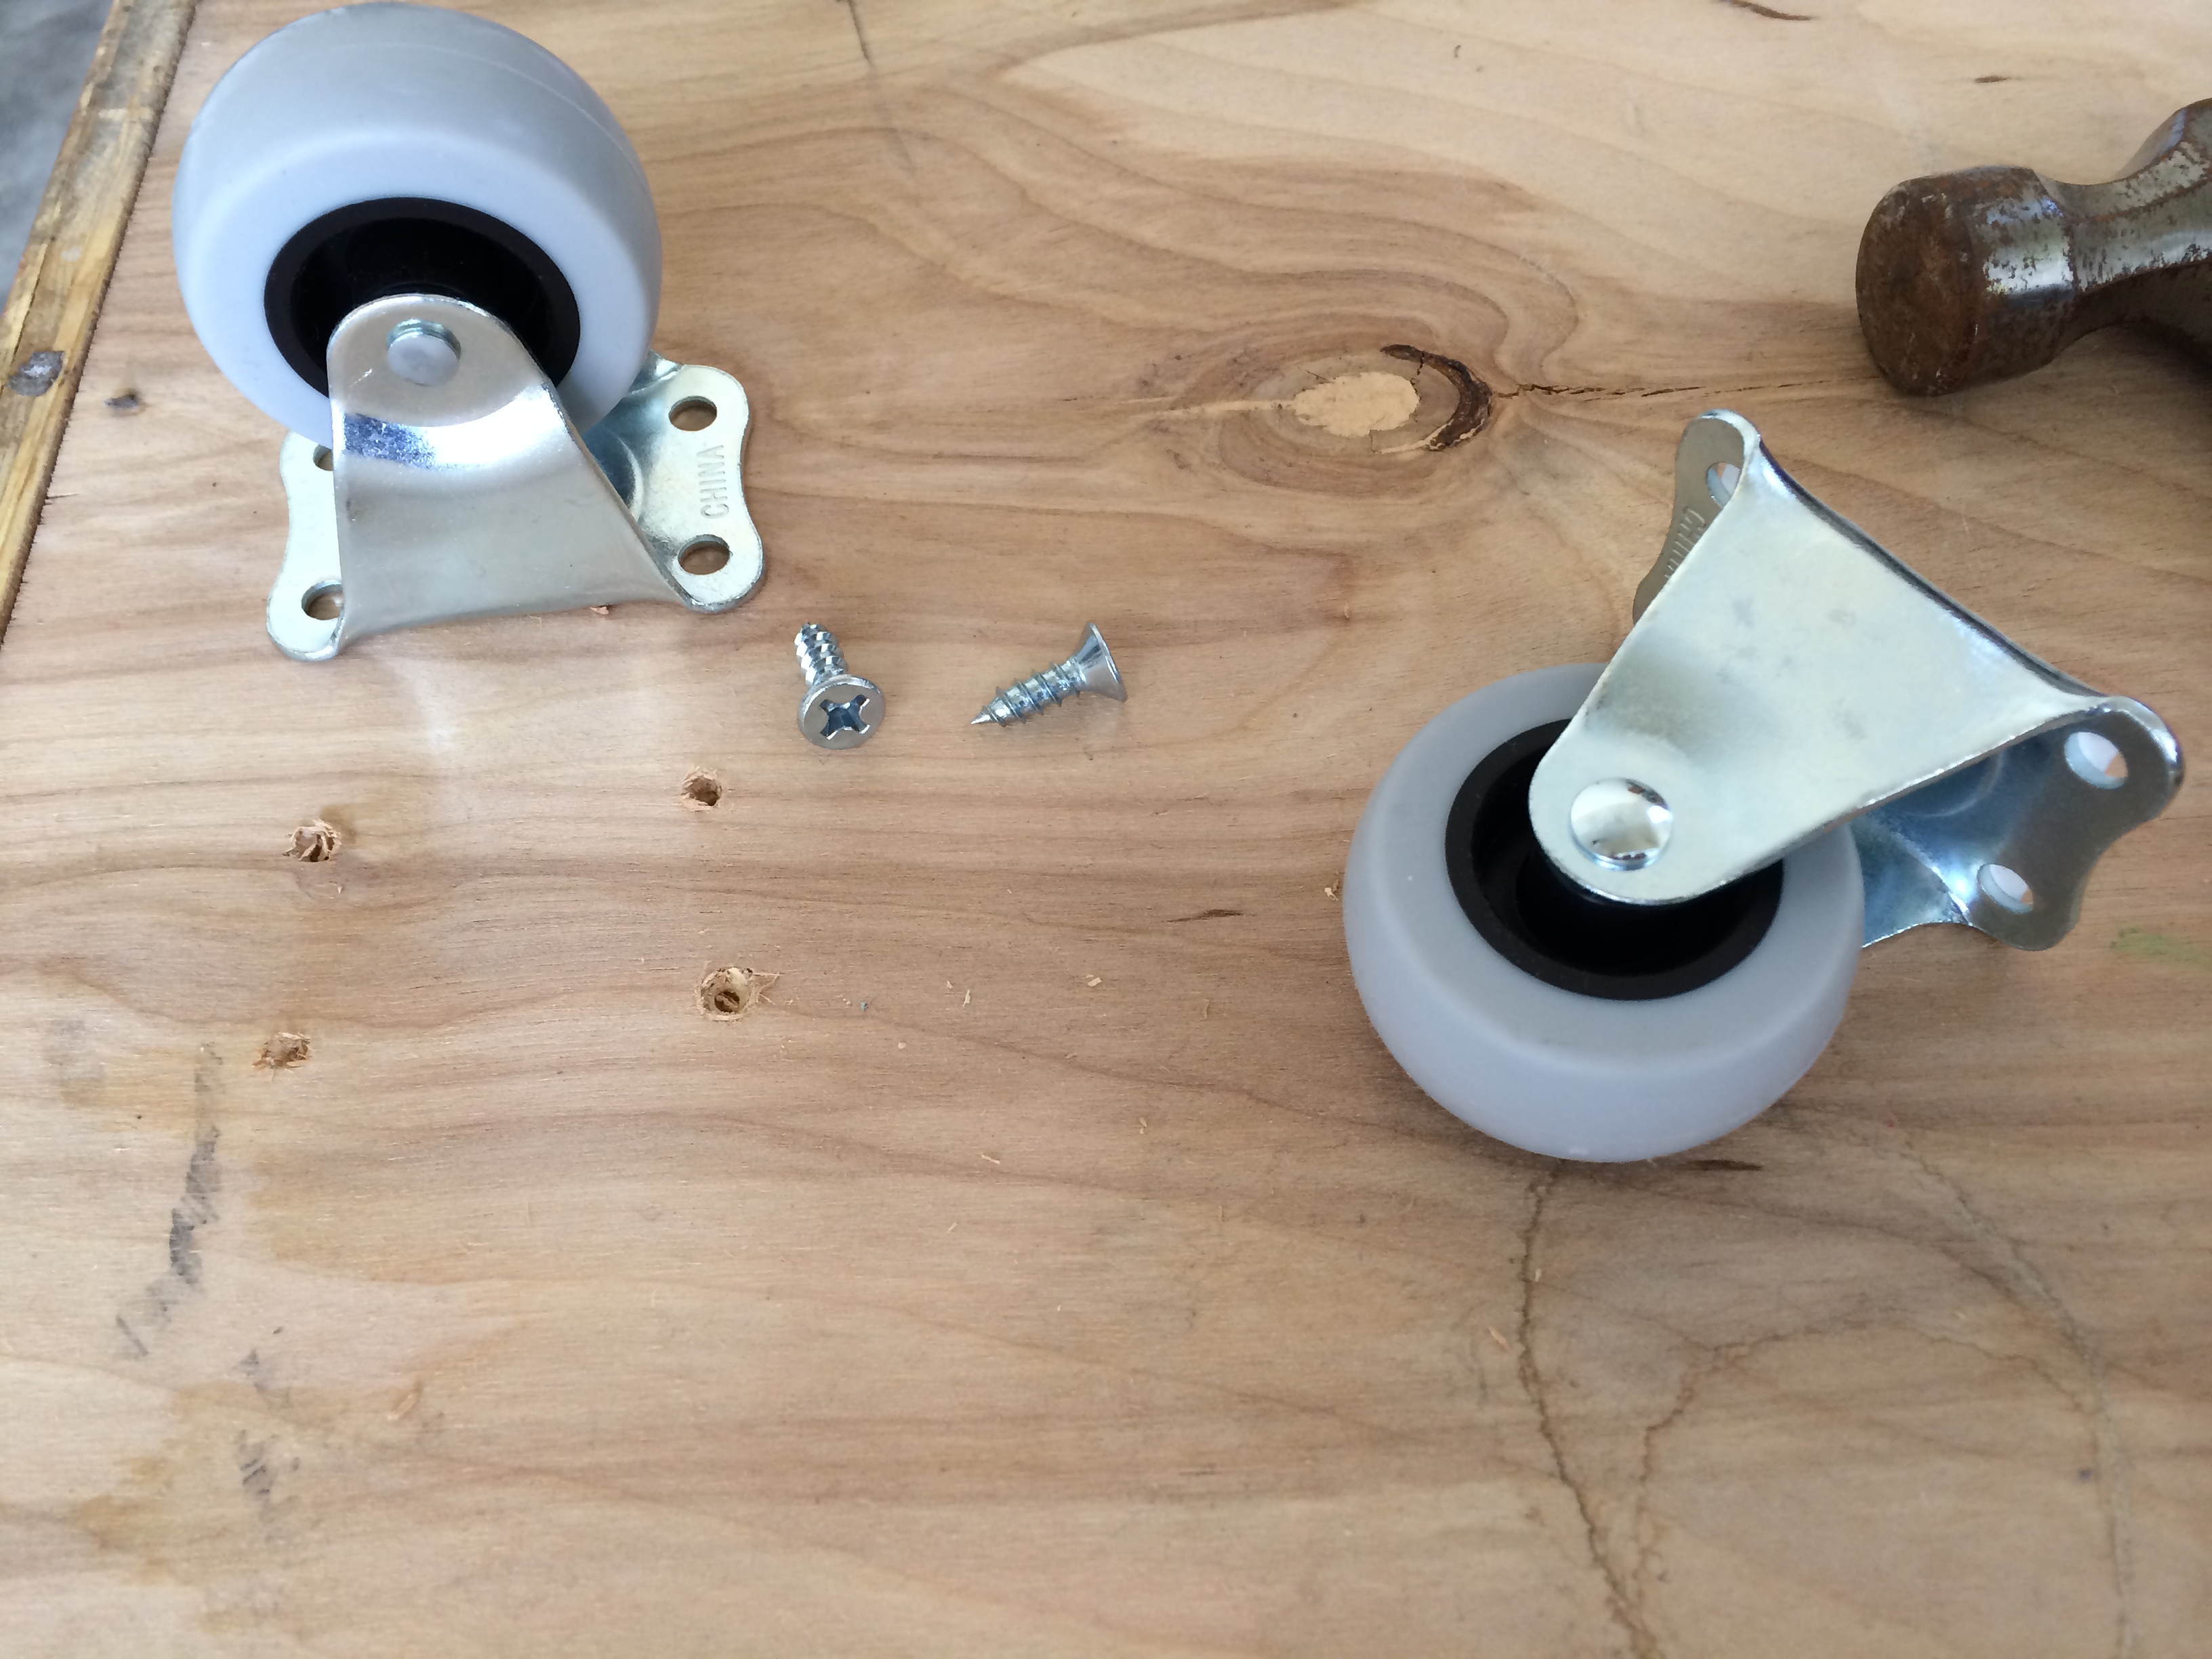 I added 4 casters to the bottom of the box I would use as the bookcase base because I wanted to be able to easily move the bookcase around.
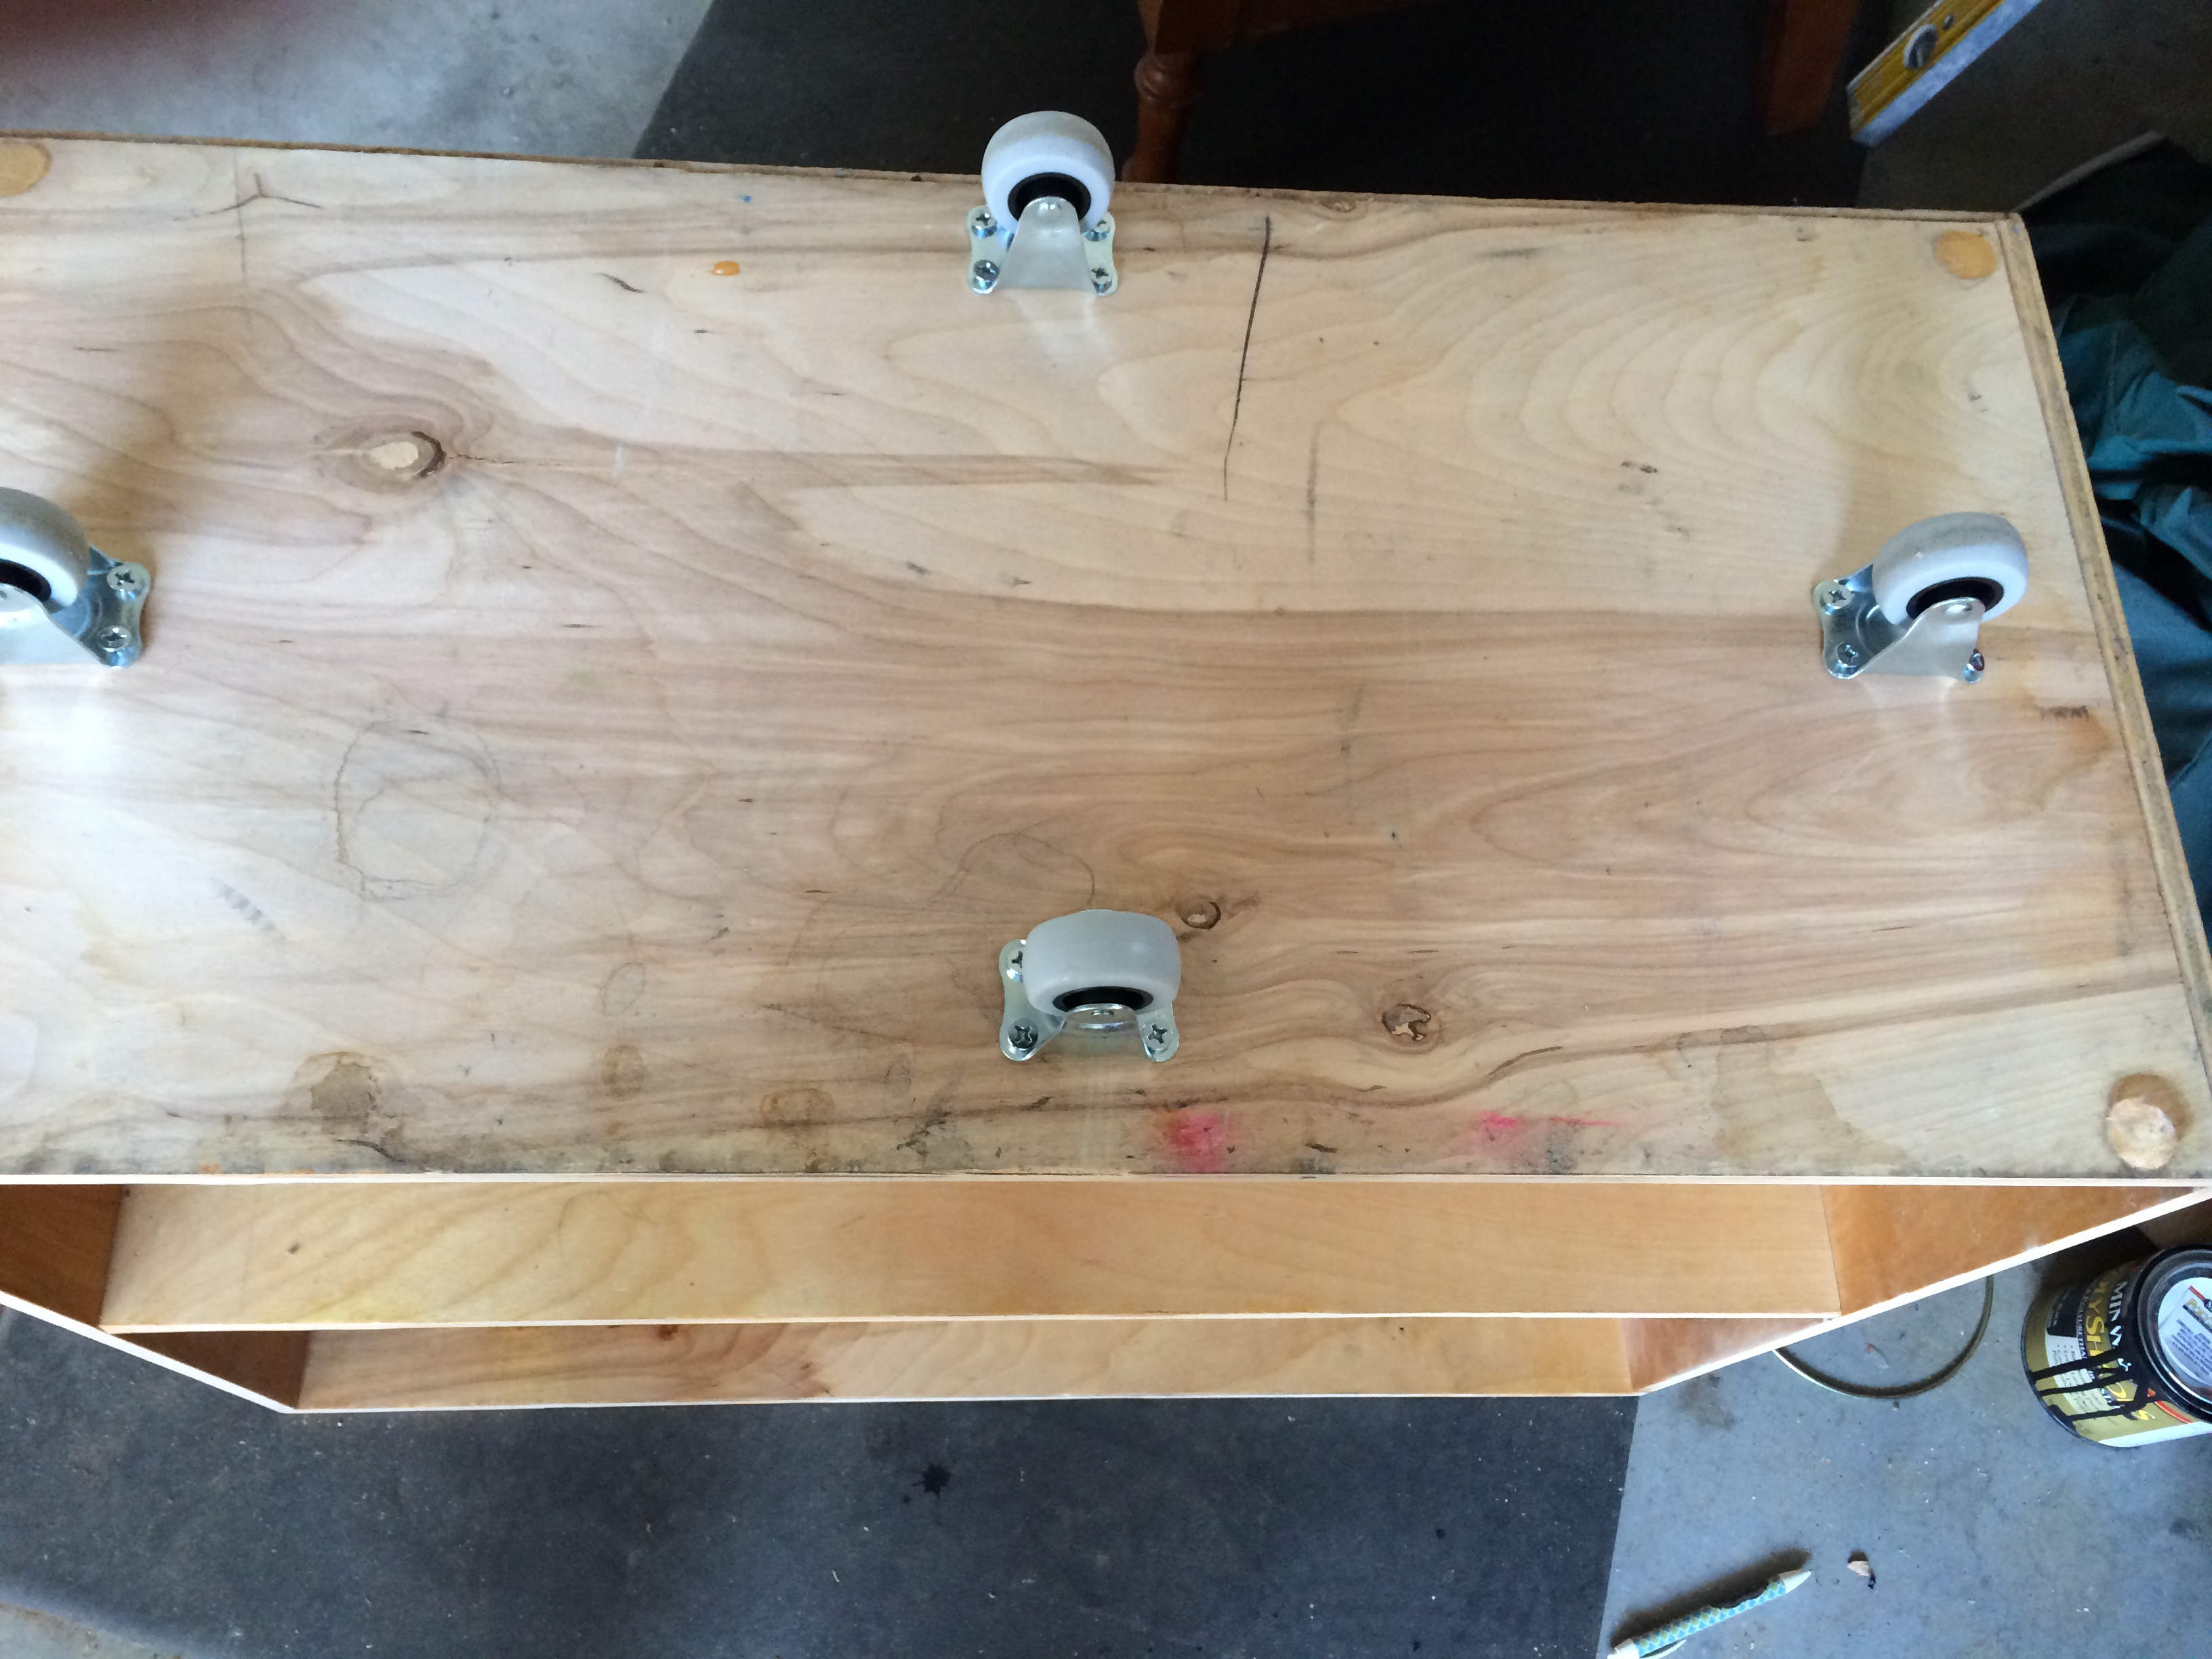 If I were doing it over I would have placed the casters in the corners instead of the pattern I chose.
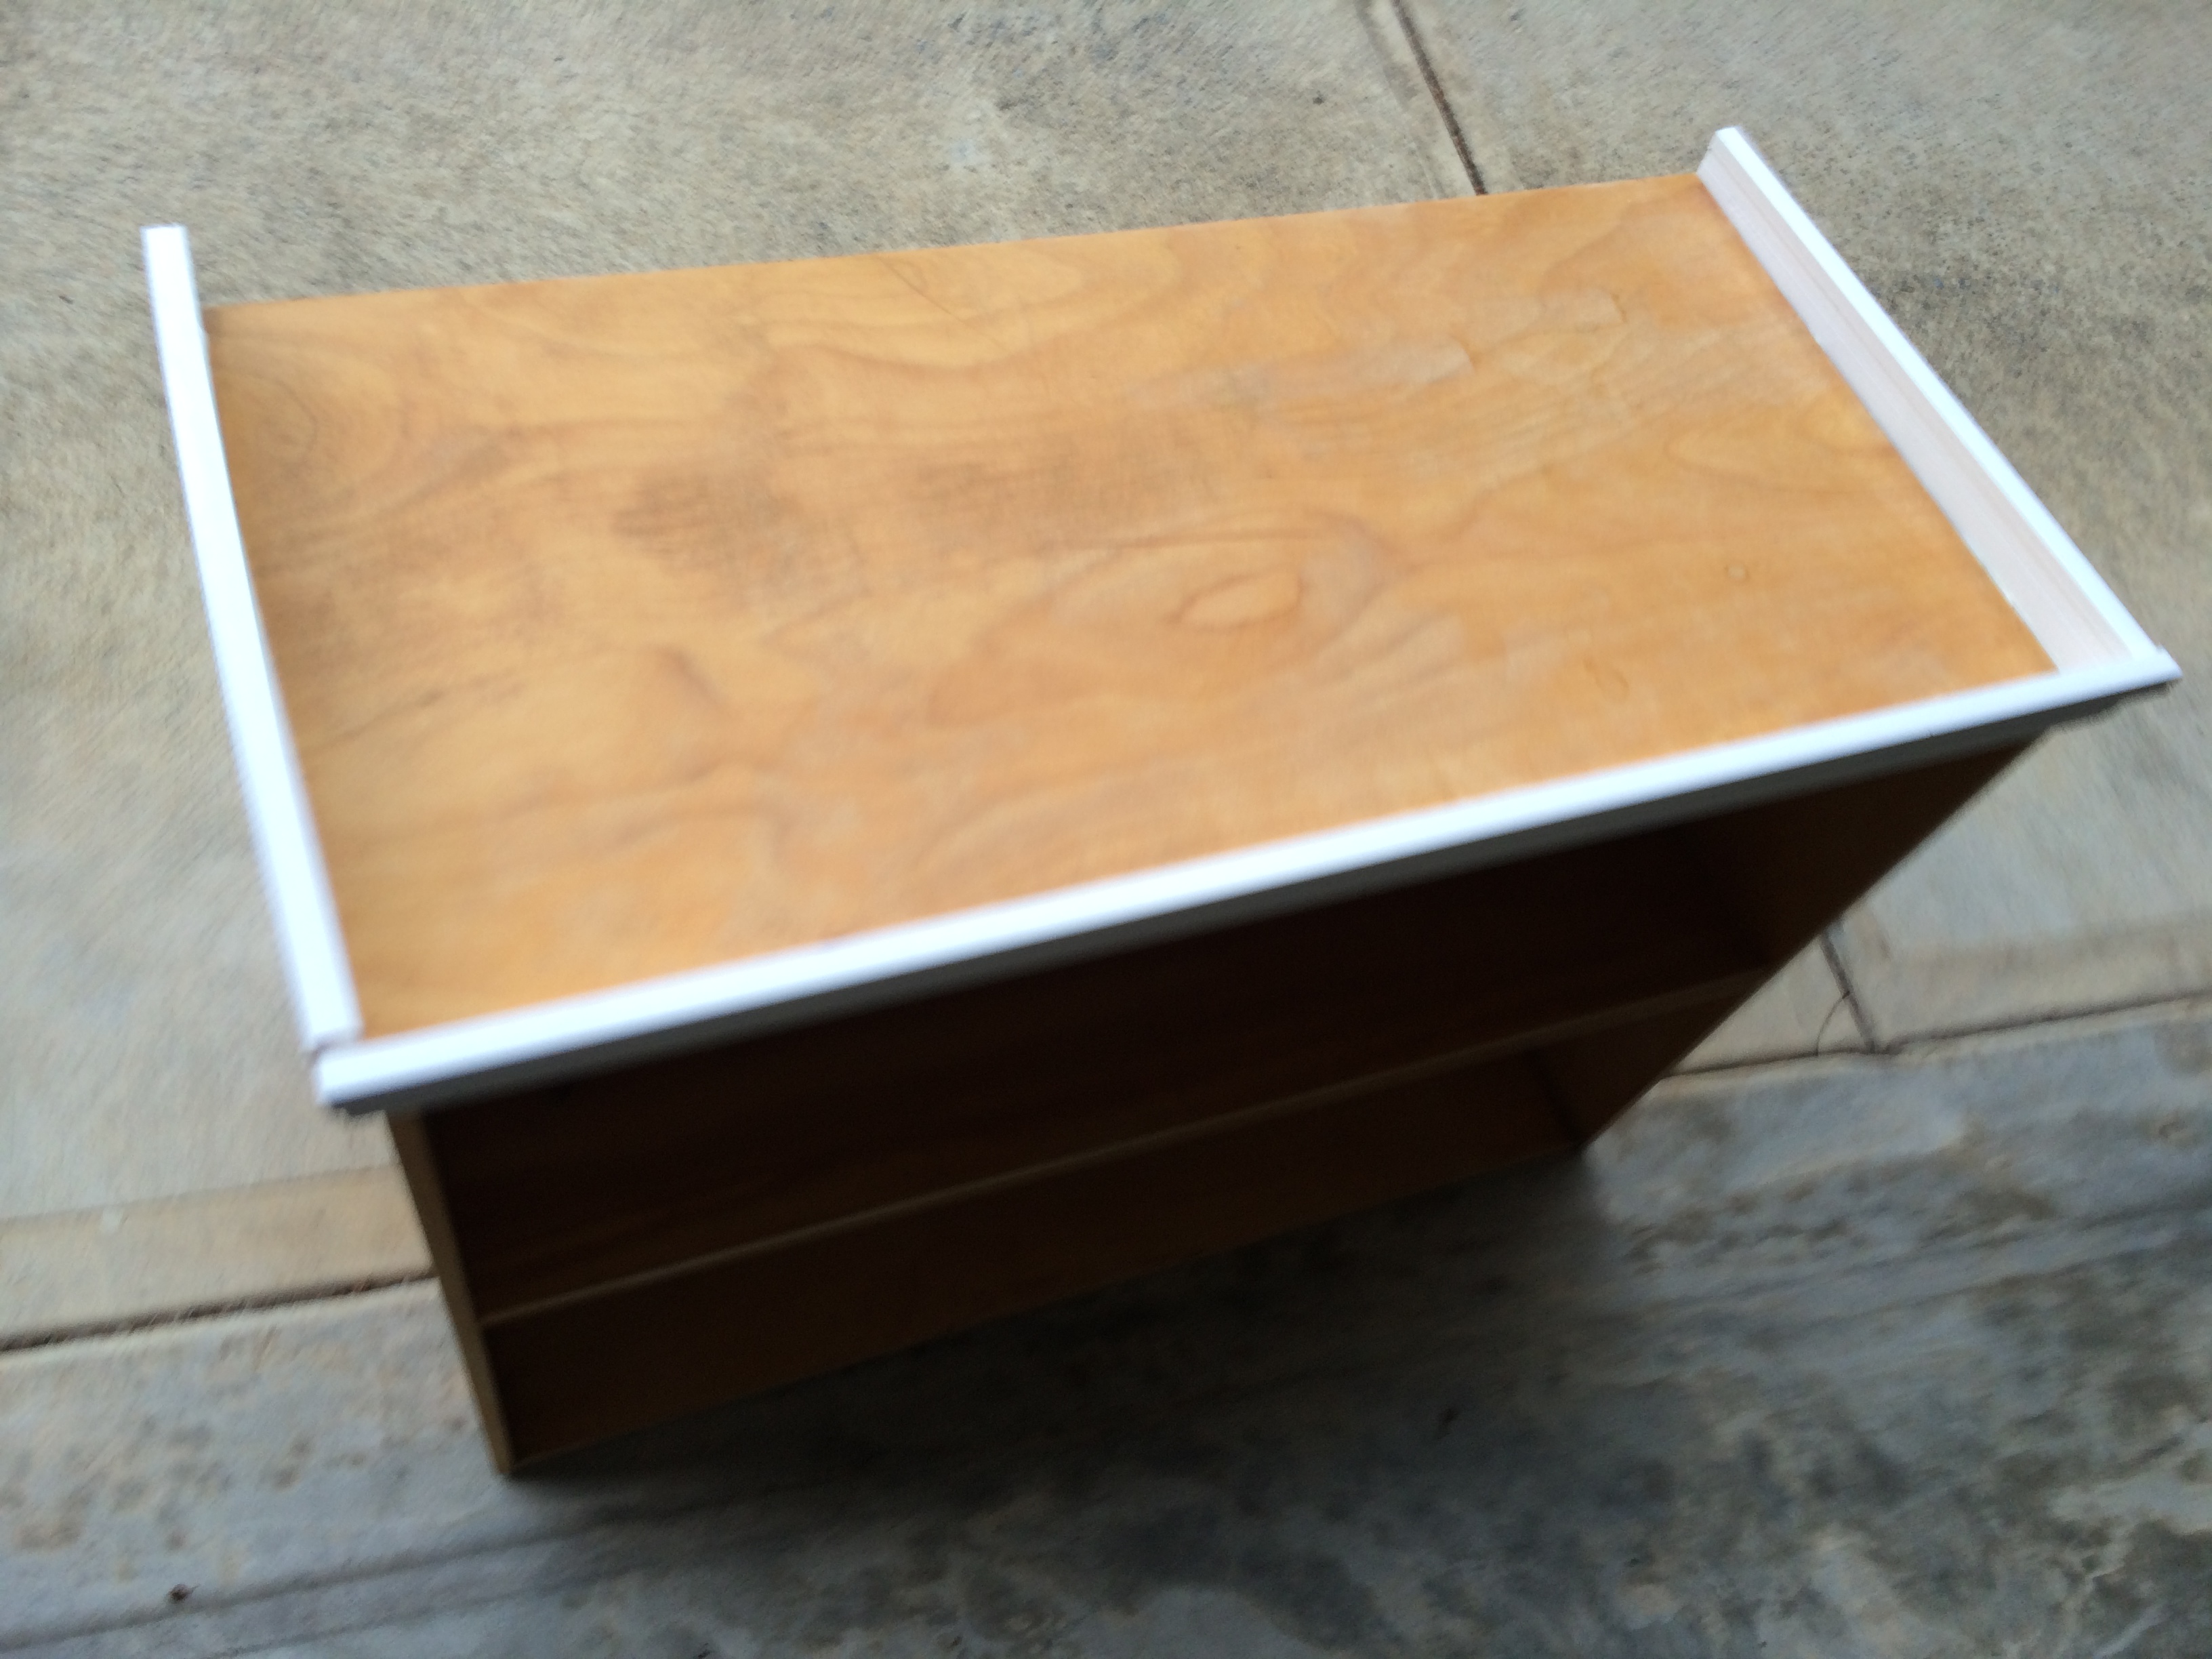
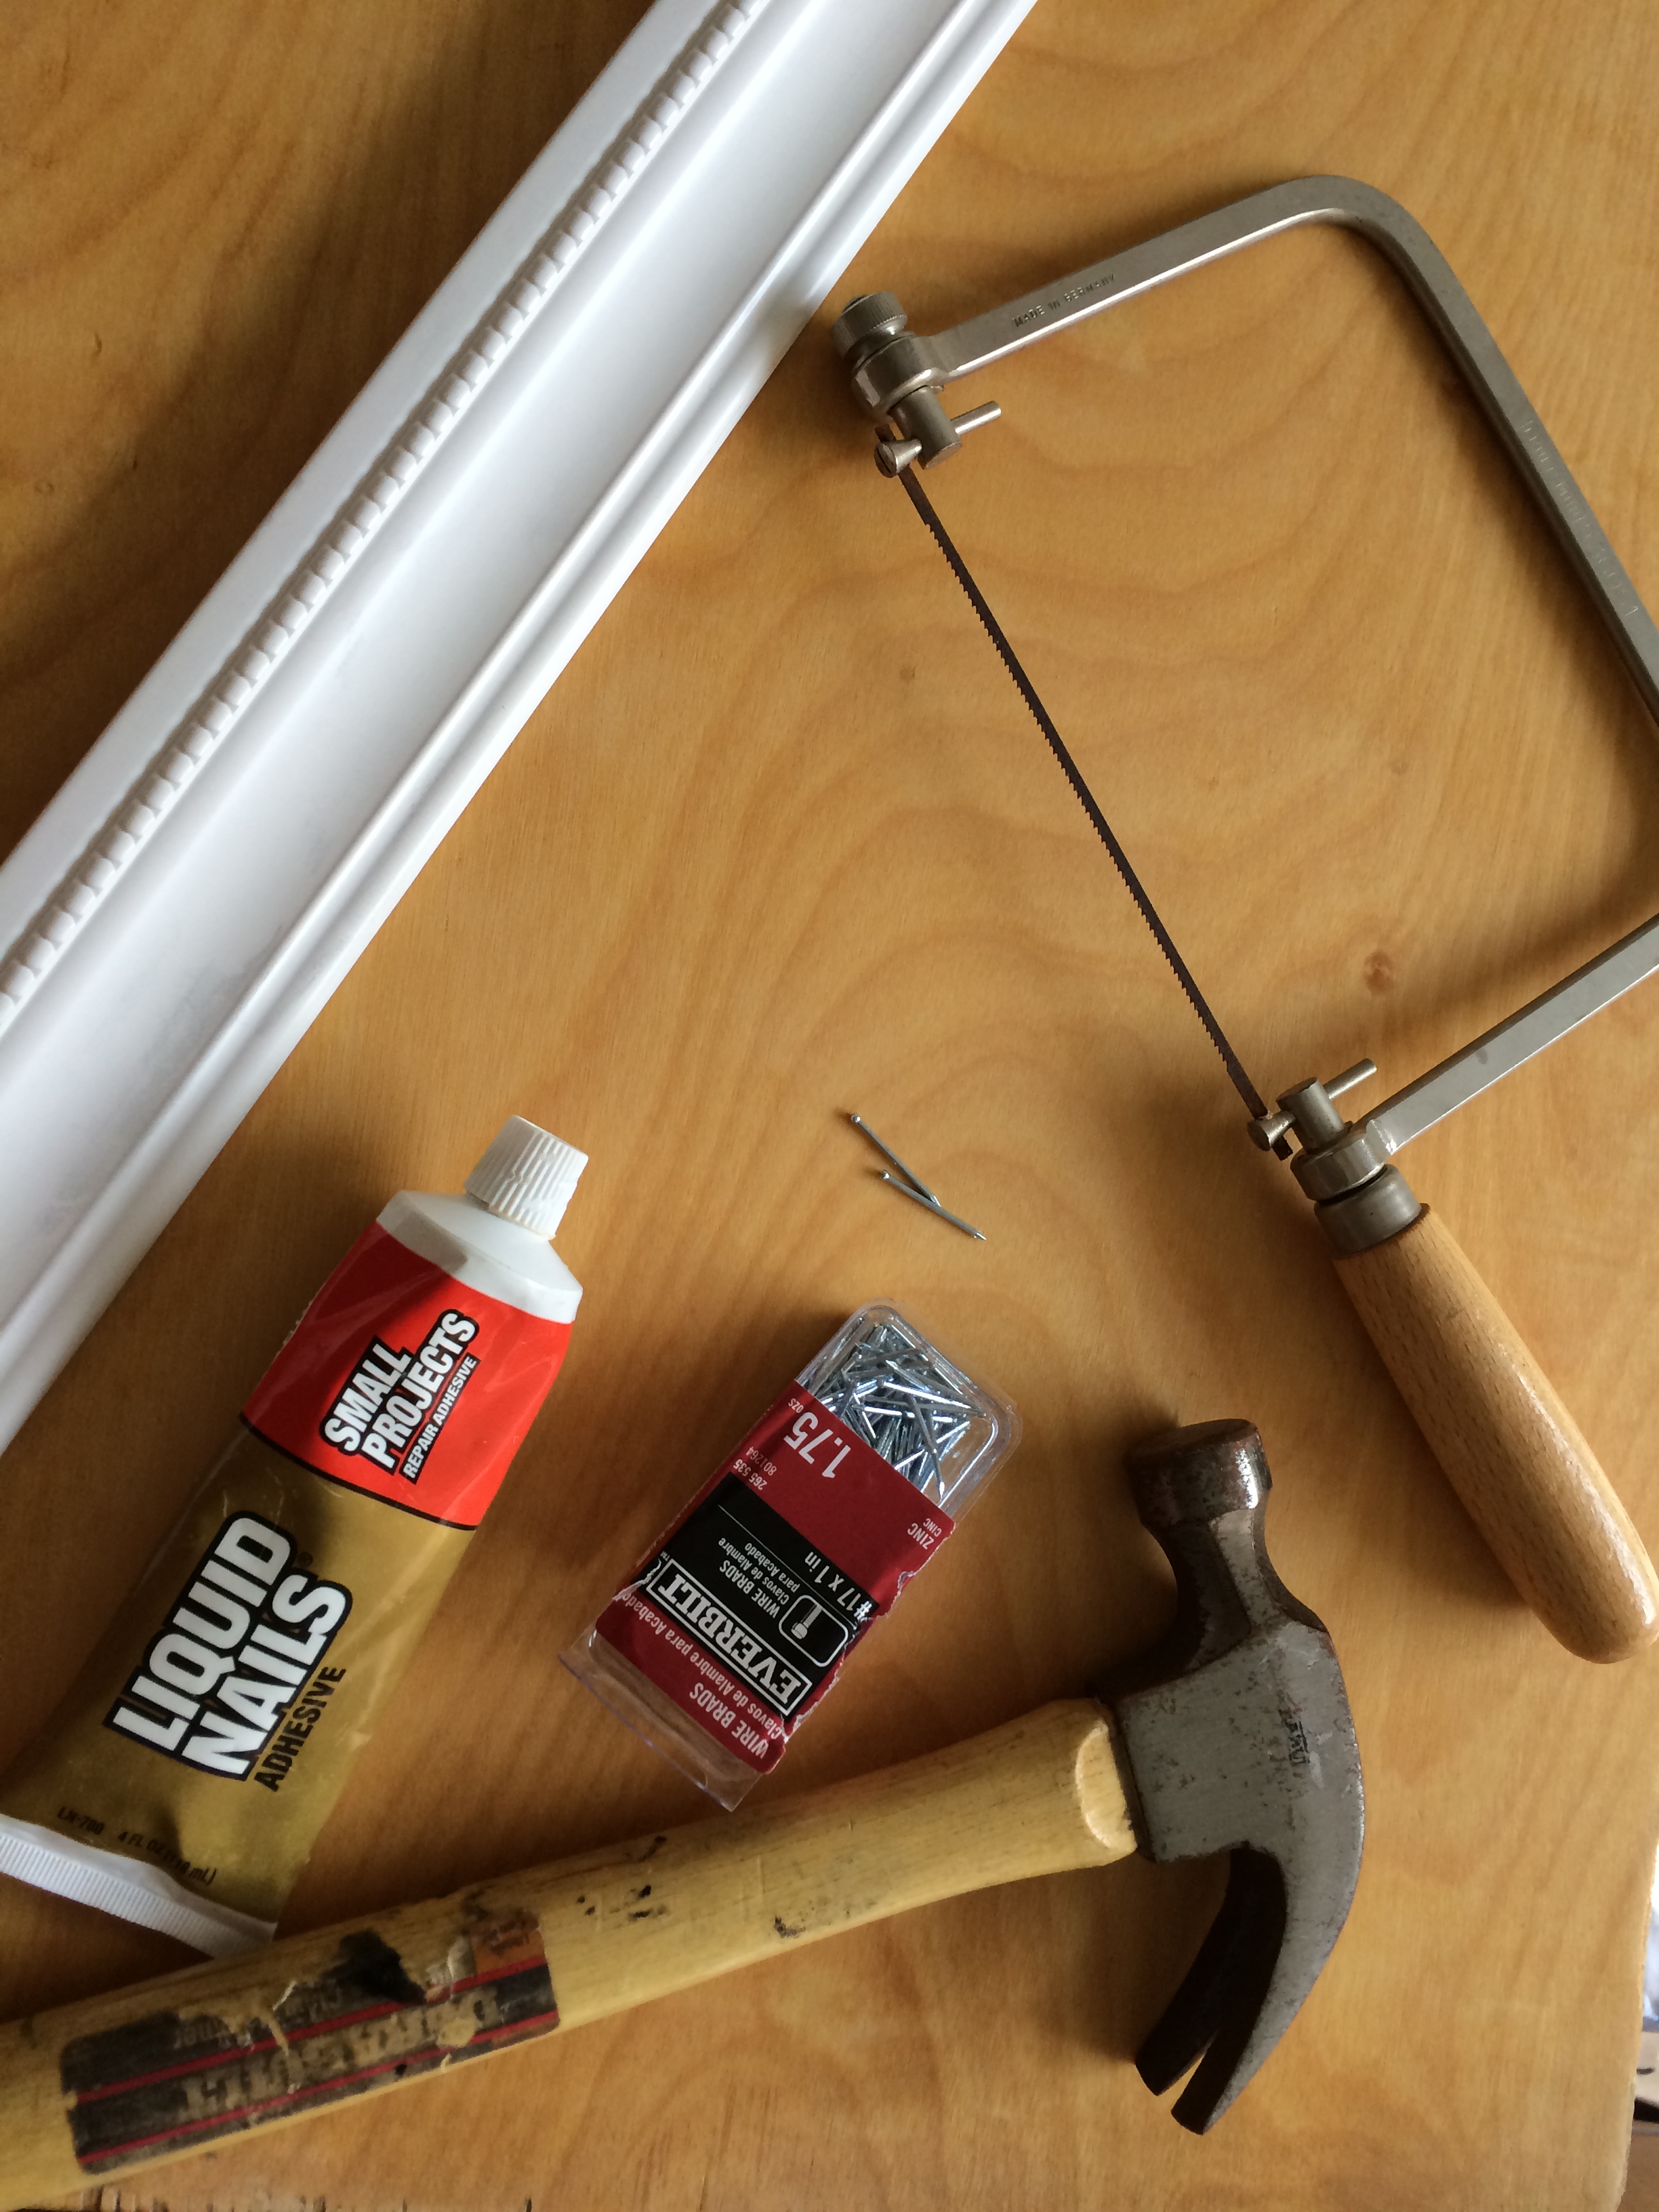 Prepare to attach trim if you desire. I used baseboard trim from the hardware store.
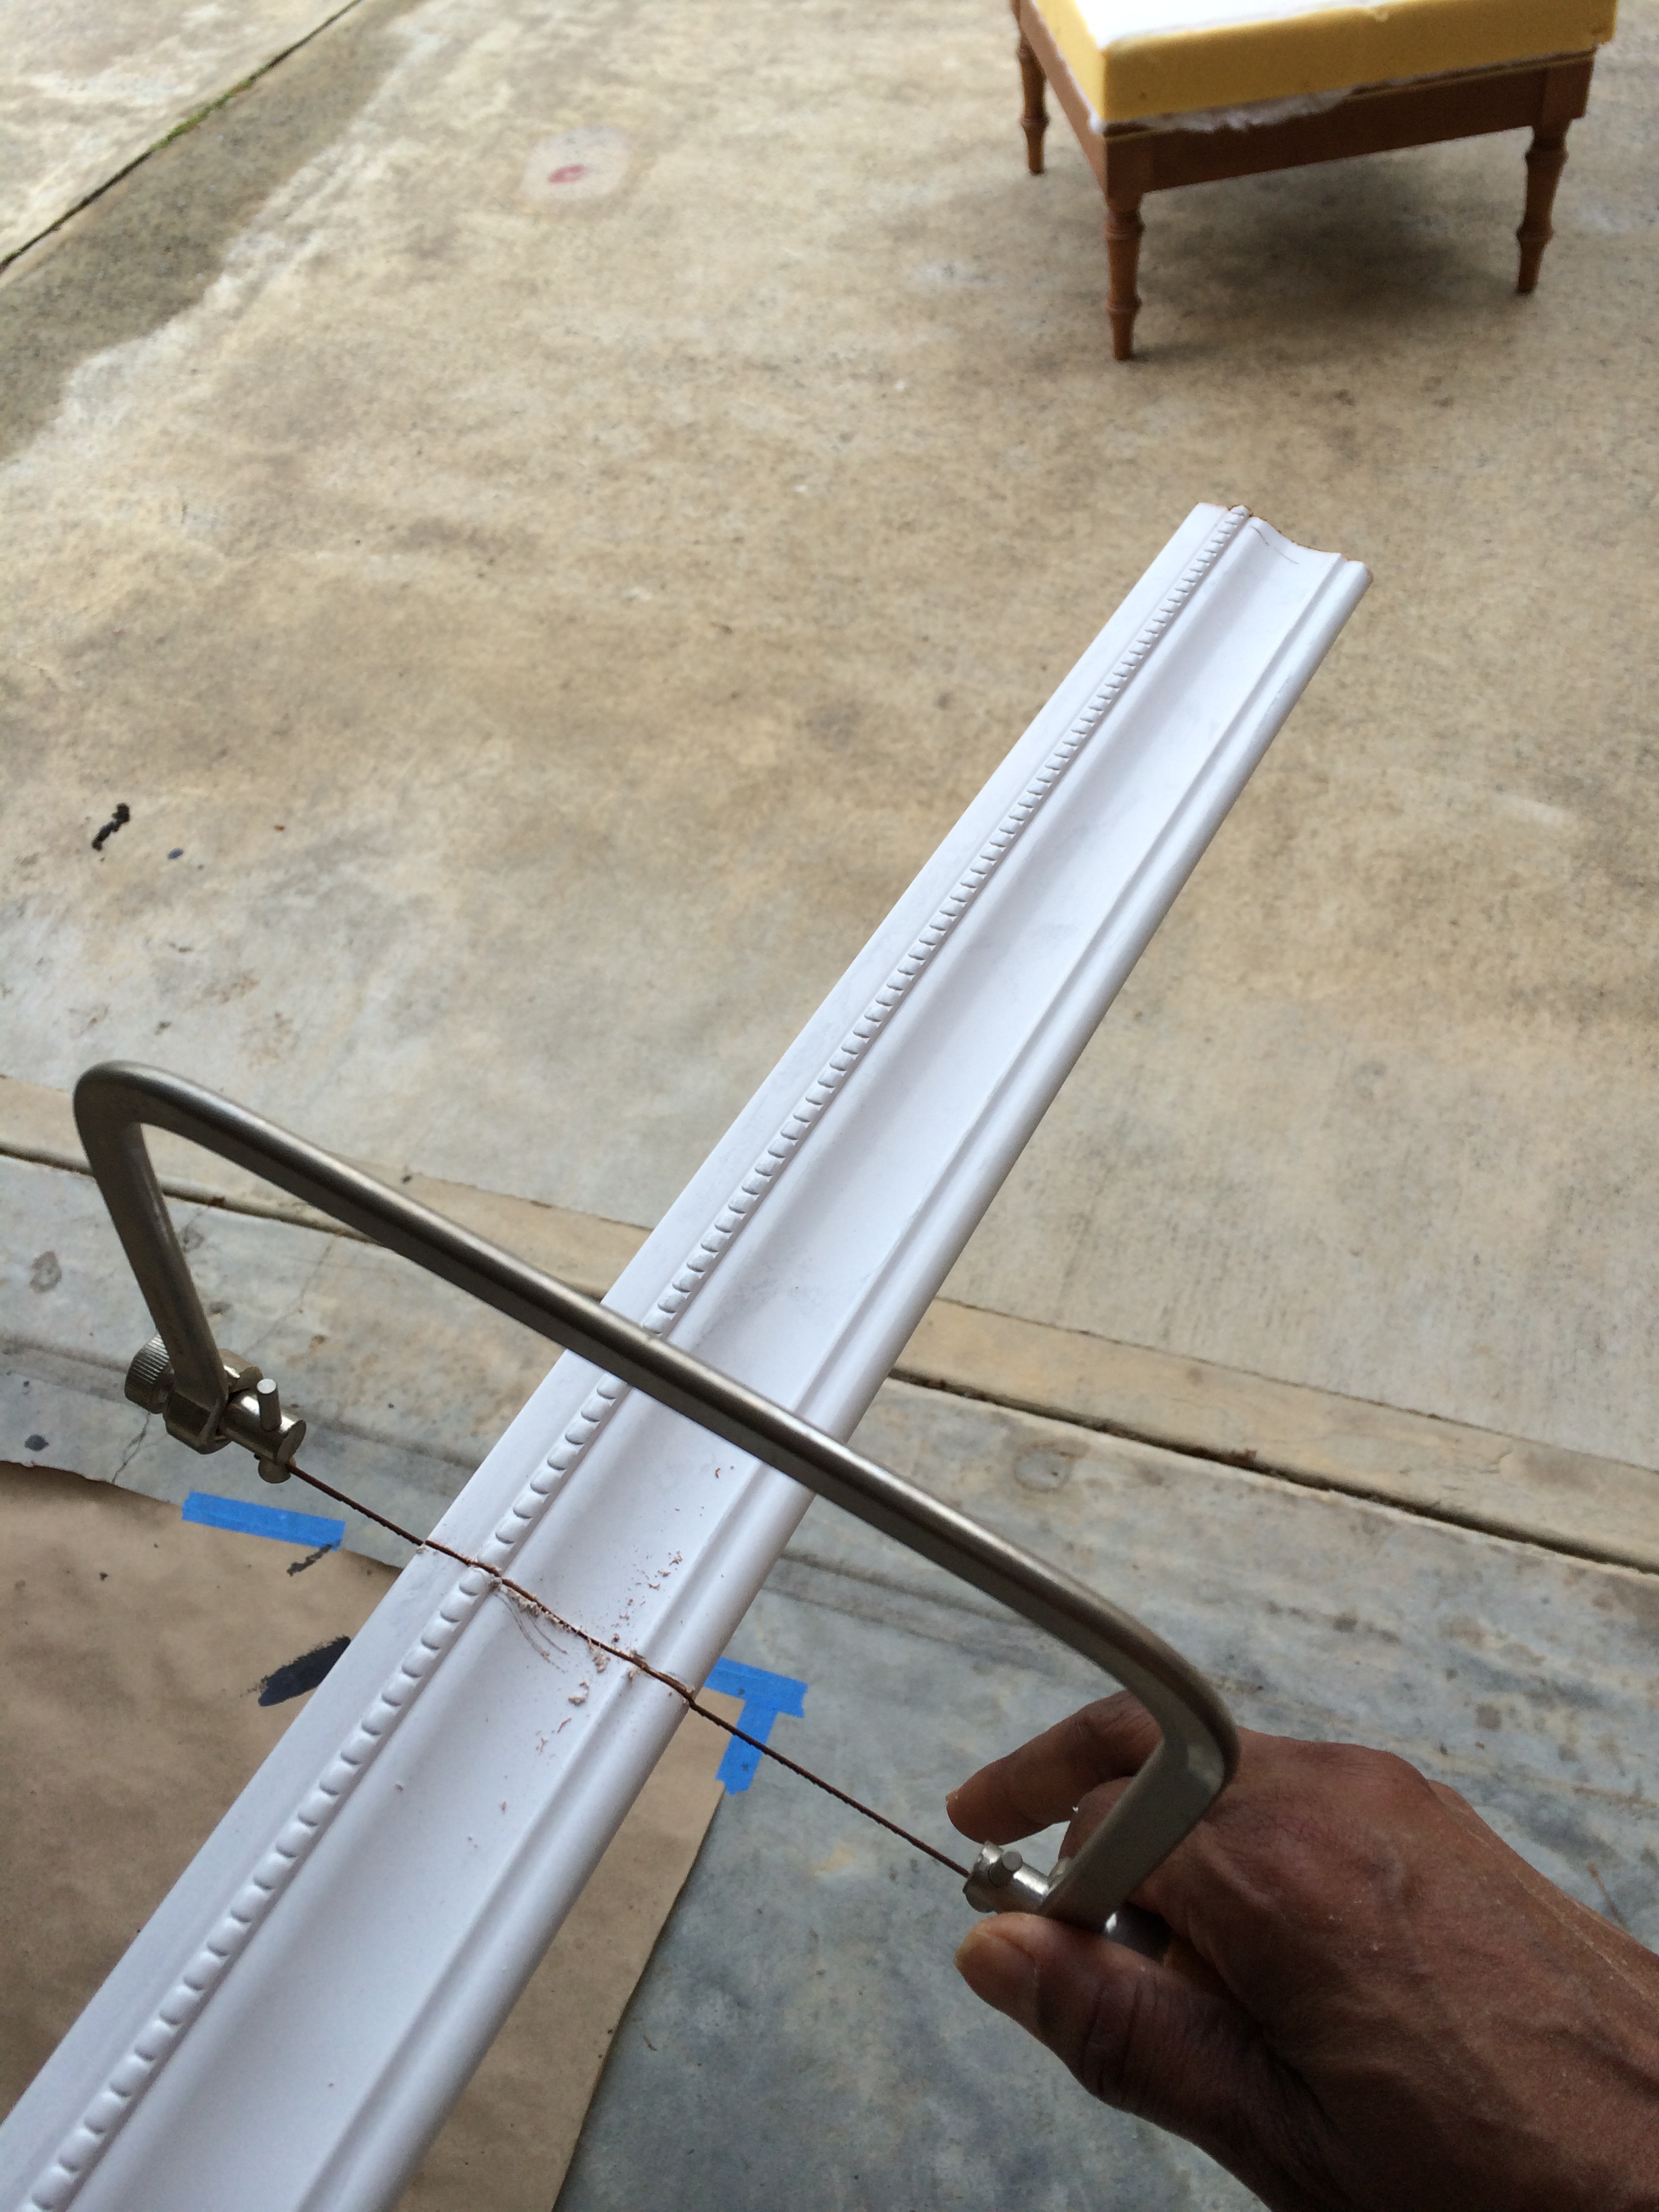 Simply measure and cut.
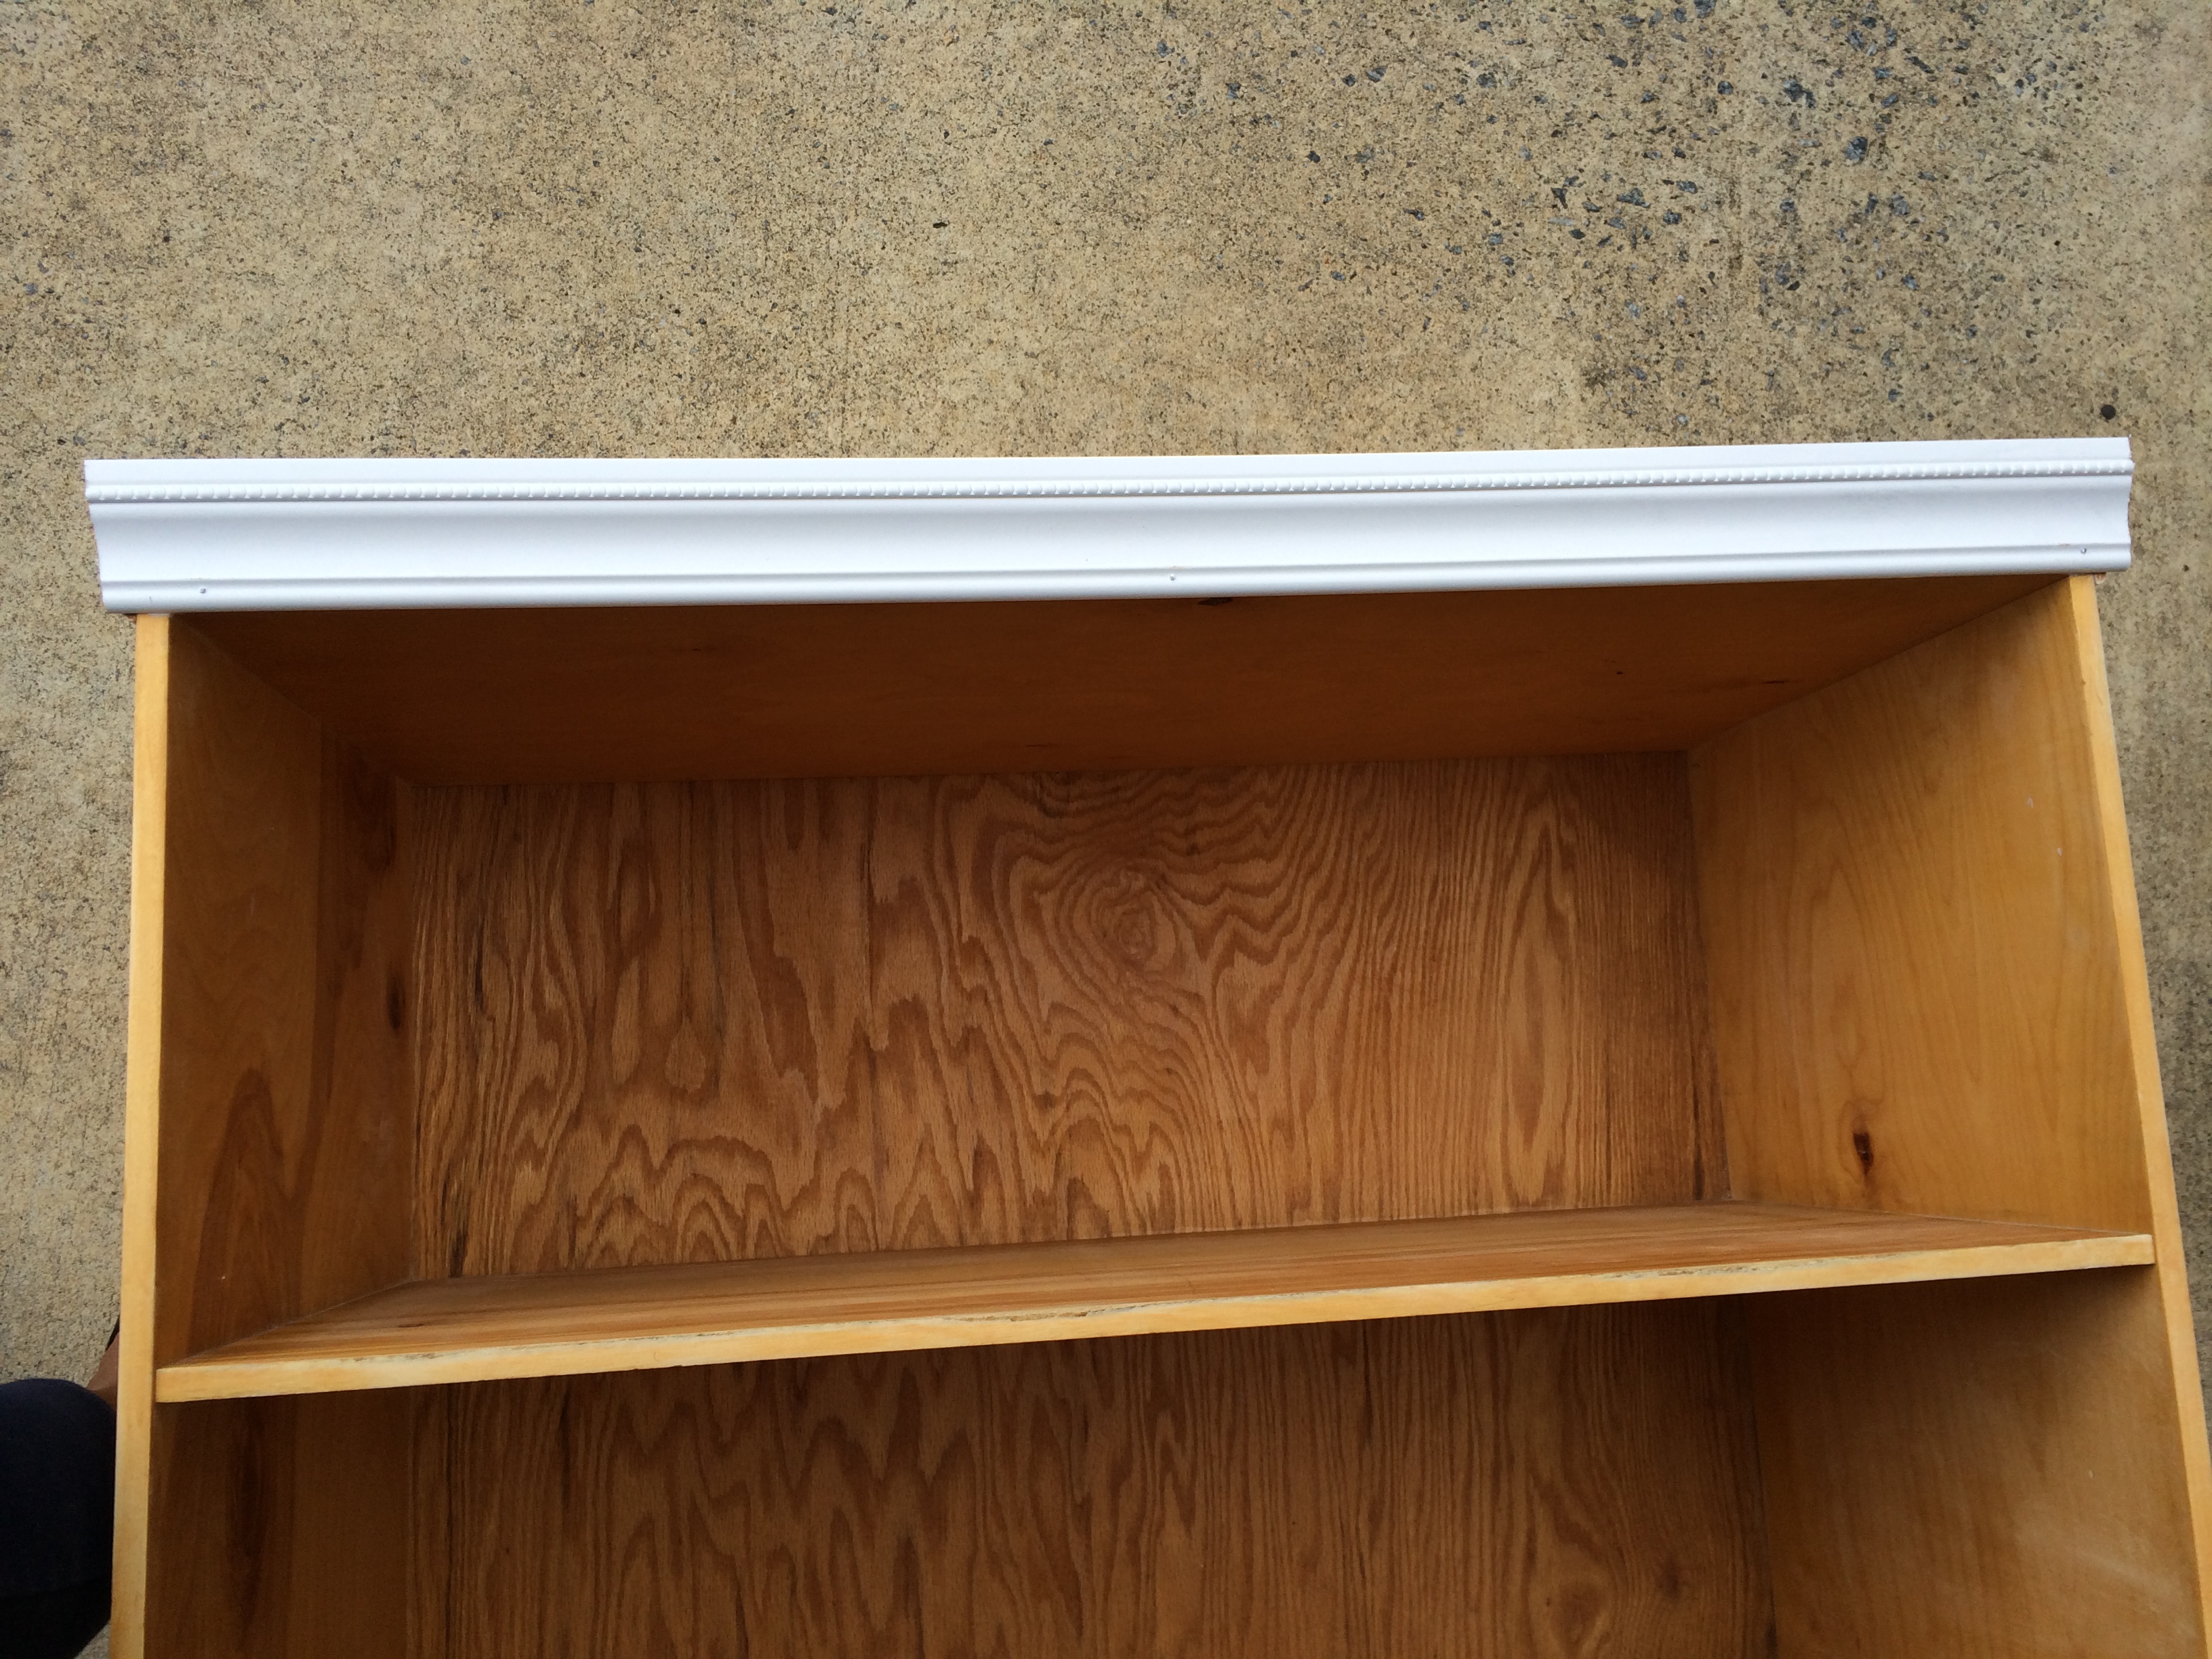 Attach to the upper box sides and front with liquid nails and tacking nails.
 Let the glue dry completely.
 I primed the boxes and let them dry completely.
When dry if there were any rough areas I sanded them out with a sanding block.
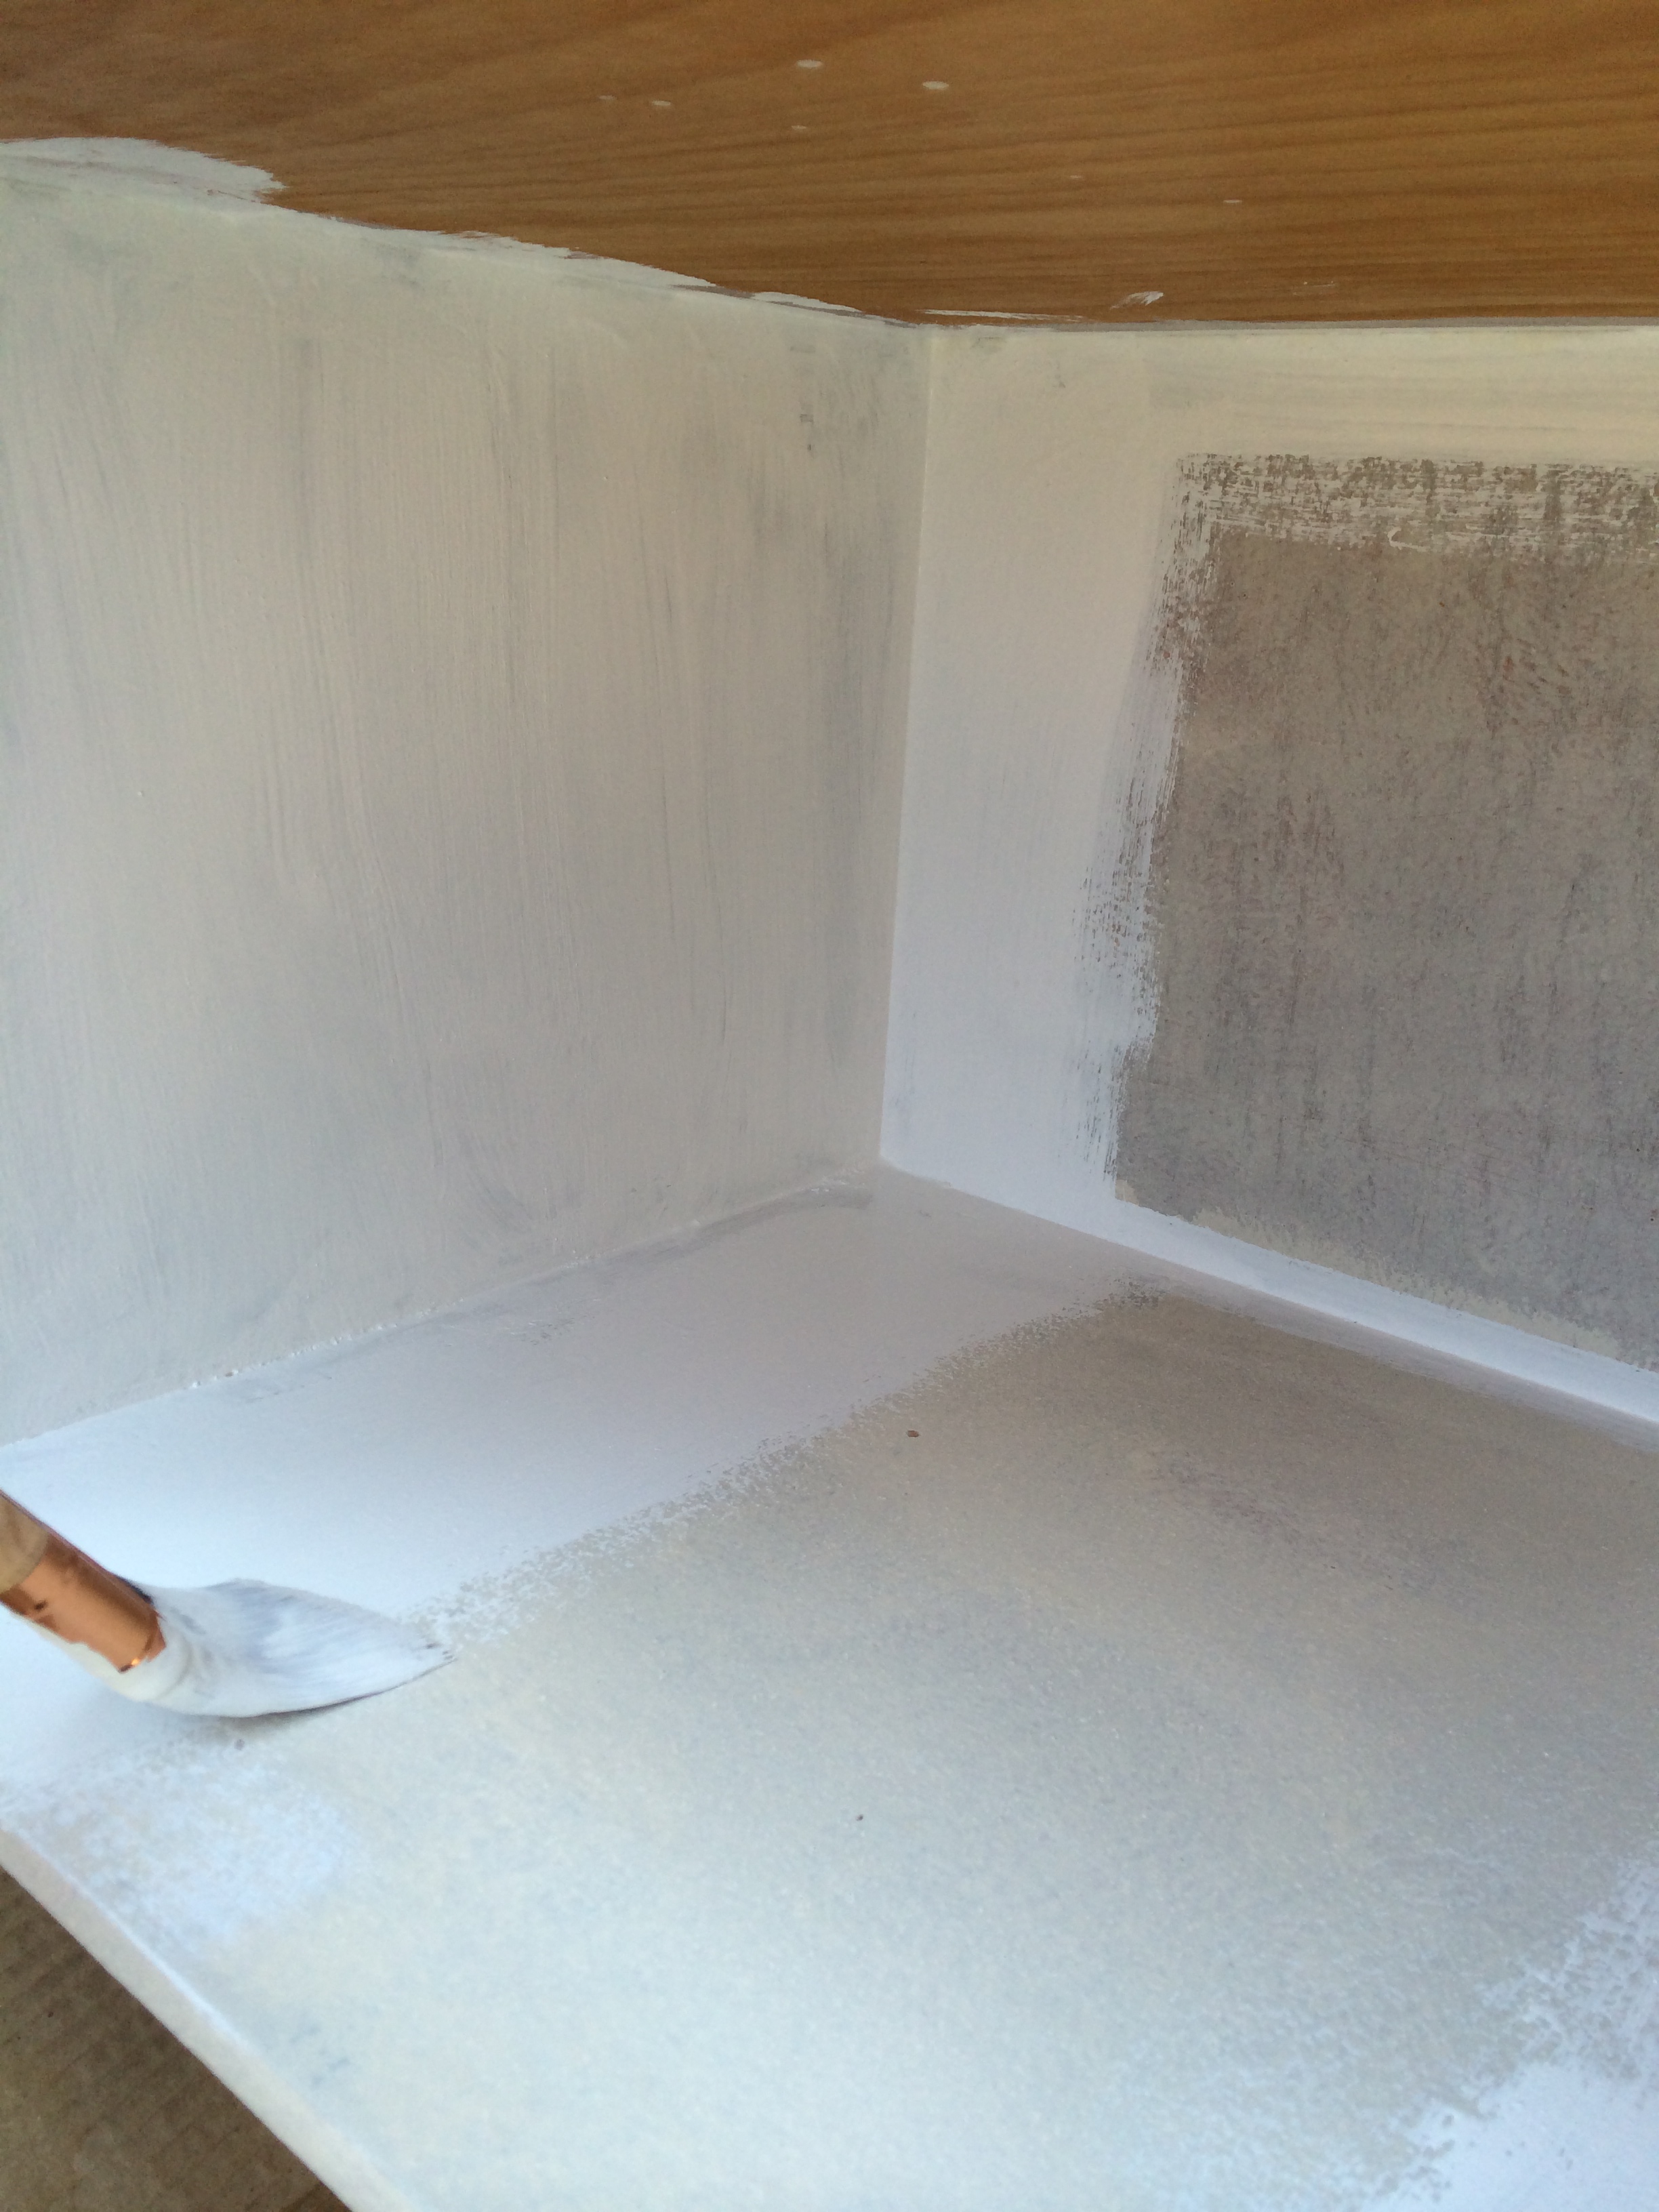 I painted a 1st coast and let it dry completely.
 I waited atleast 24 hours before I painted the 2nd coat. I wanted a very durable finish for the bookcases.
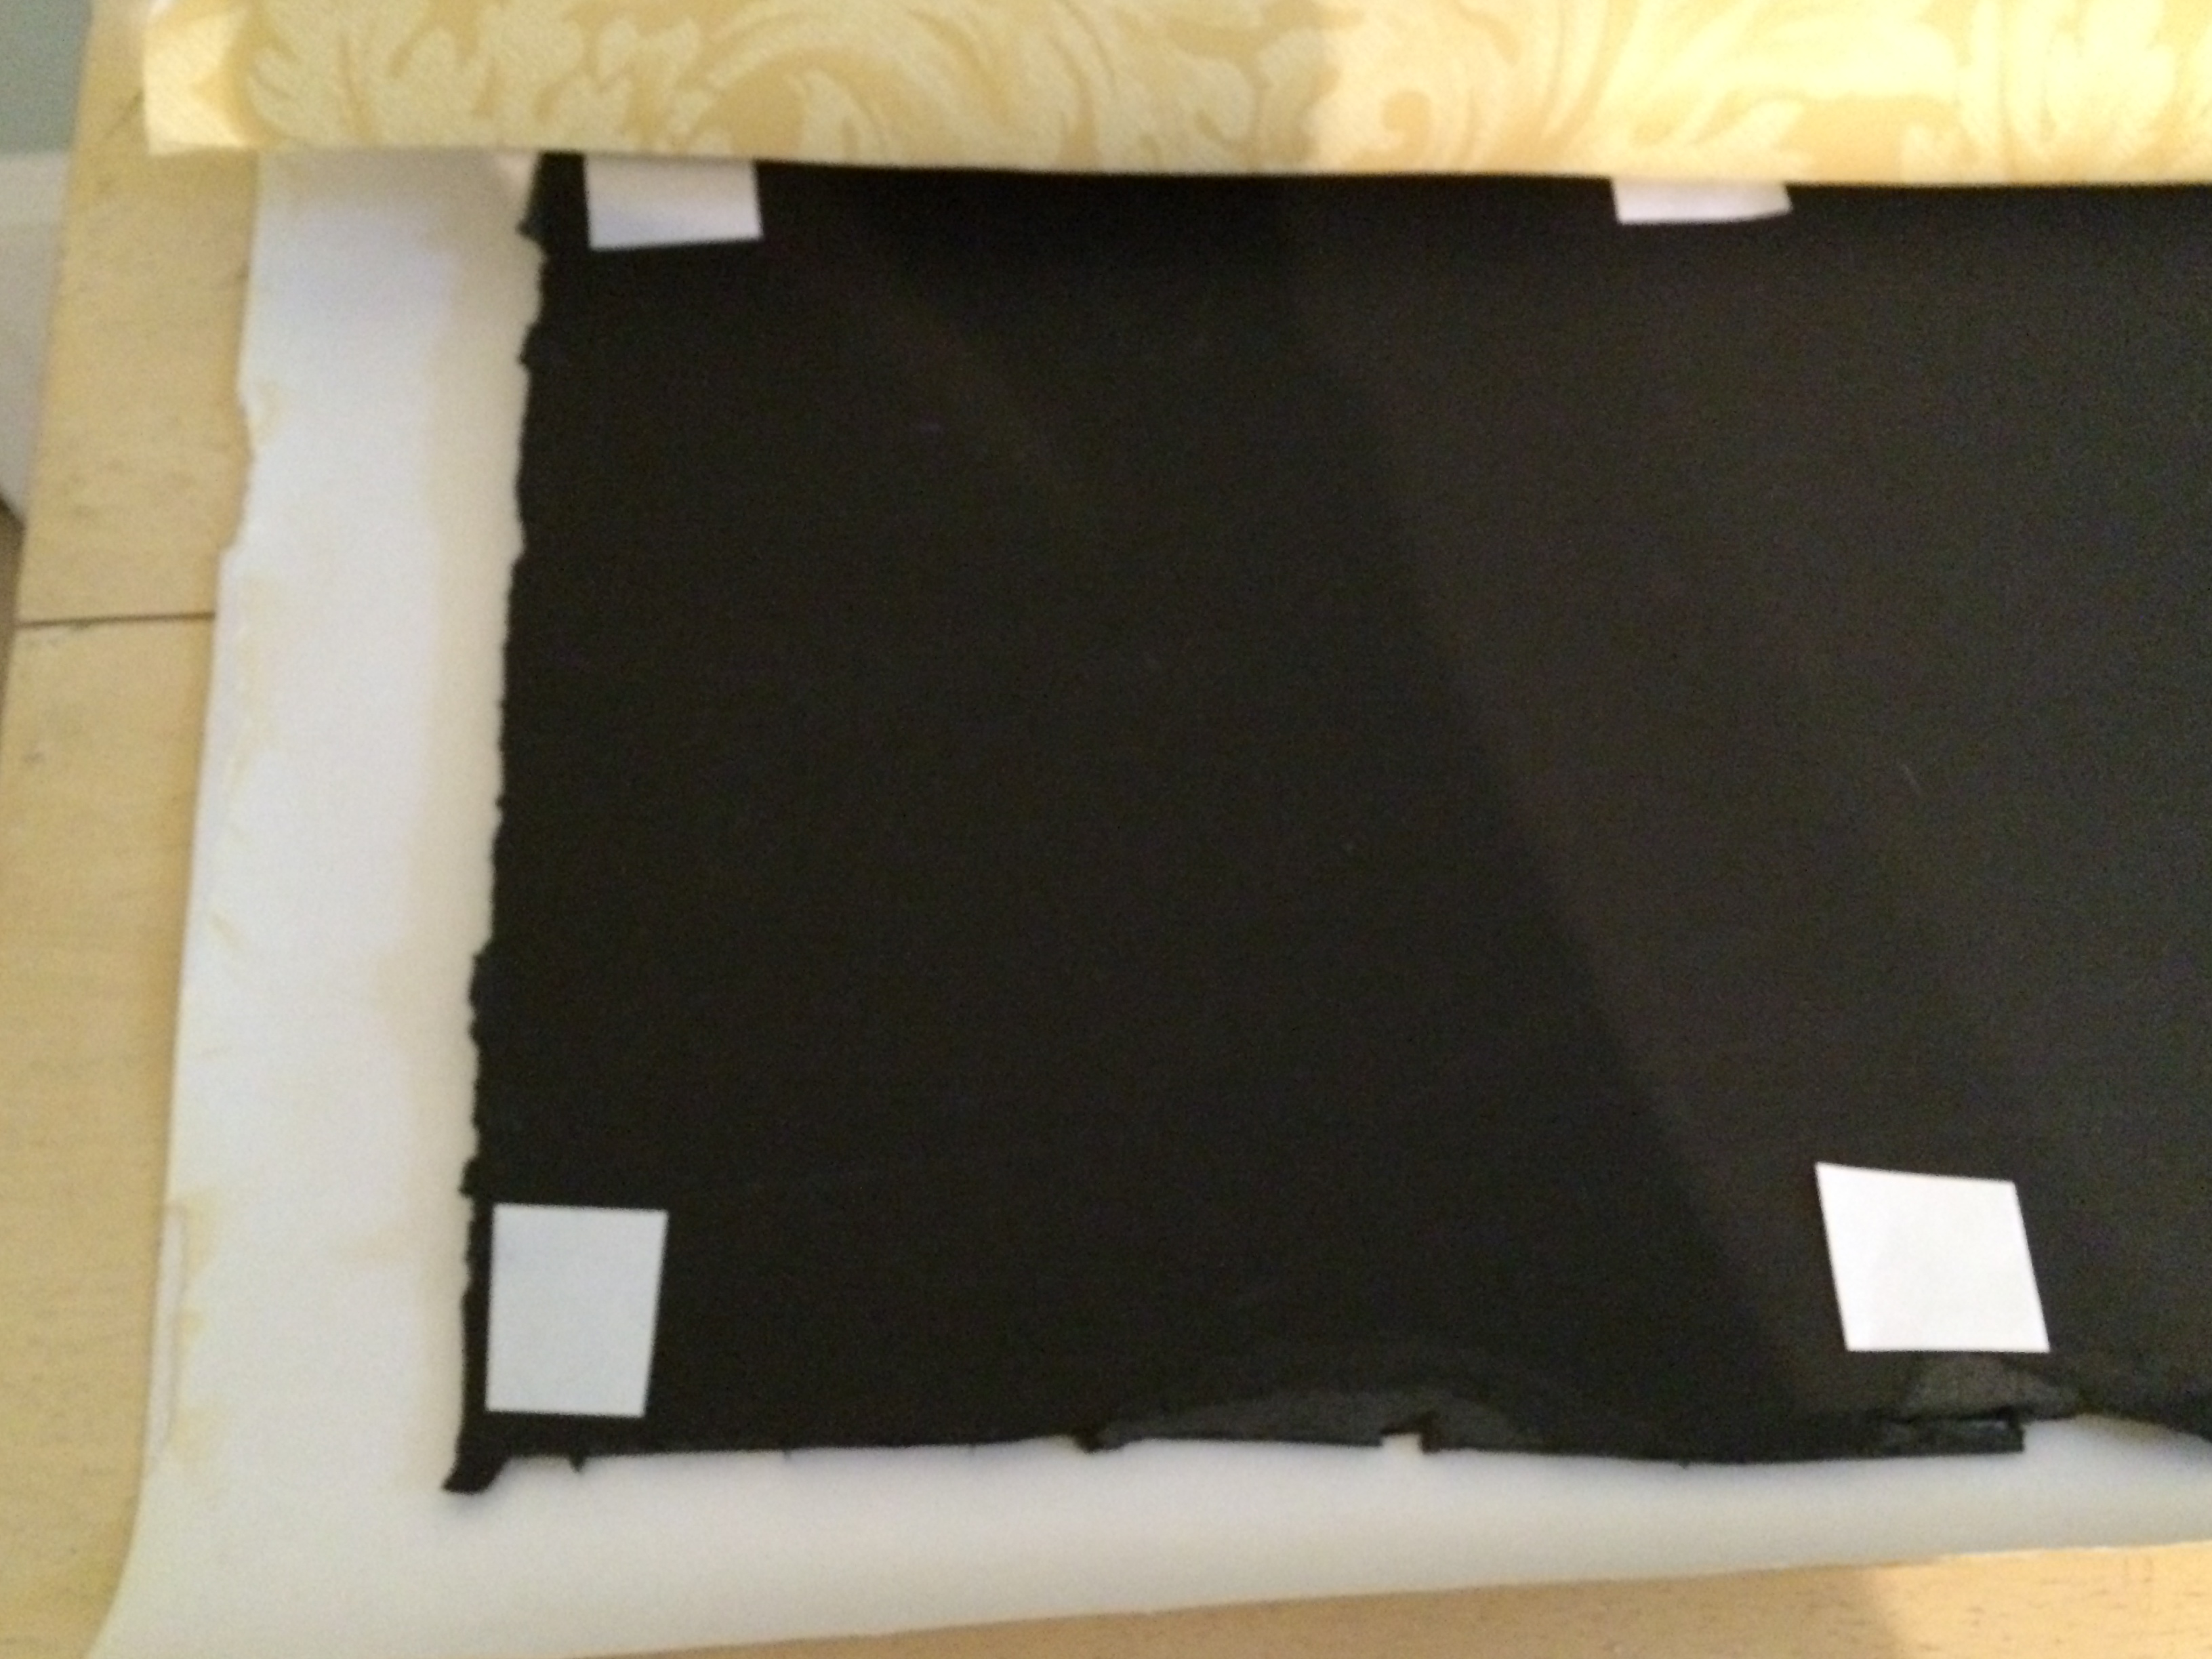 I added interest to the back of the bookcases by covering foam core with wallpaper.
 I used wallpaper but you can use gift wrap or any paper large enough. It’s temporary so you can change your mind anytime.
Here’s the finished bookcase. I like, I like!
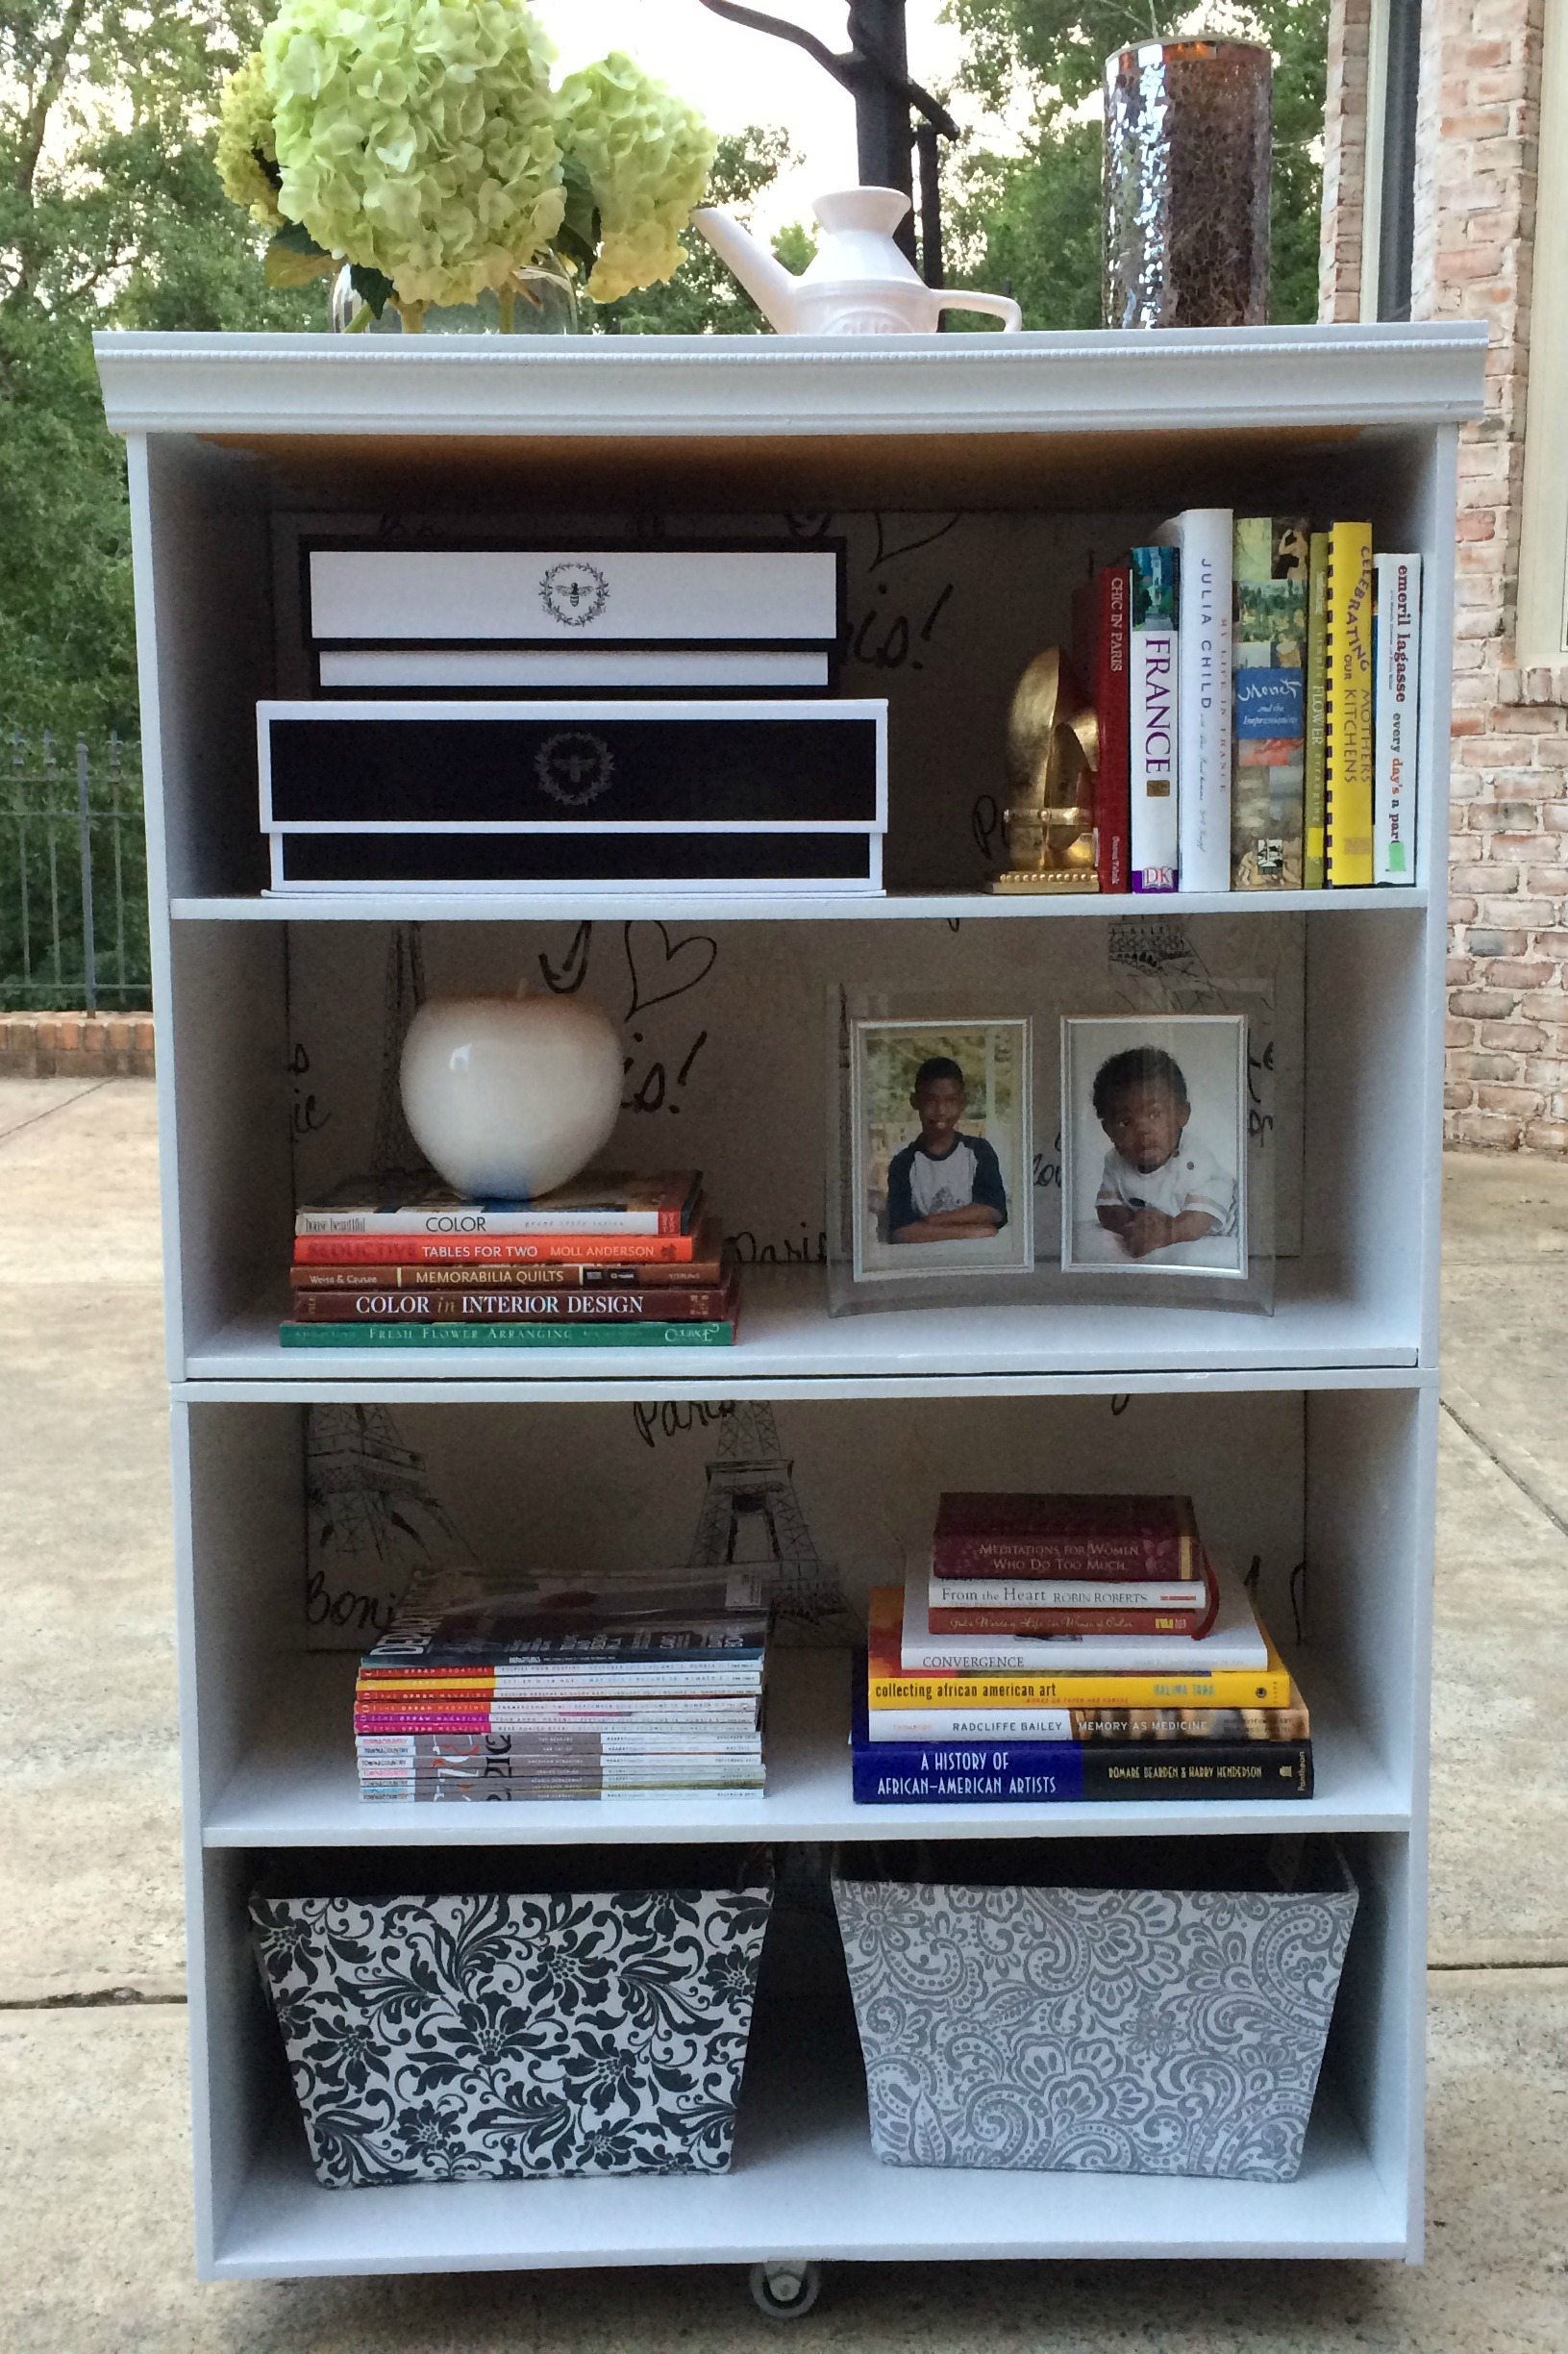 It will be fully functional in my office and portable too!
Now, go forth and create your own. Have fun concurring!
Love, Elle
2 Comments
Shelly@ConfettiStyle
Great project Elle and the fabric panel backs are such a fun idea.
Shelly
Elle
Thanks Shelly. I alway appreciate your encouragement and your style too. BTW – I love what you do.