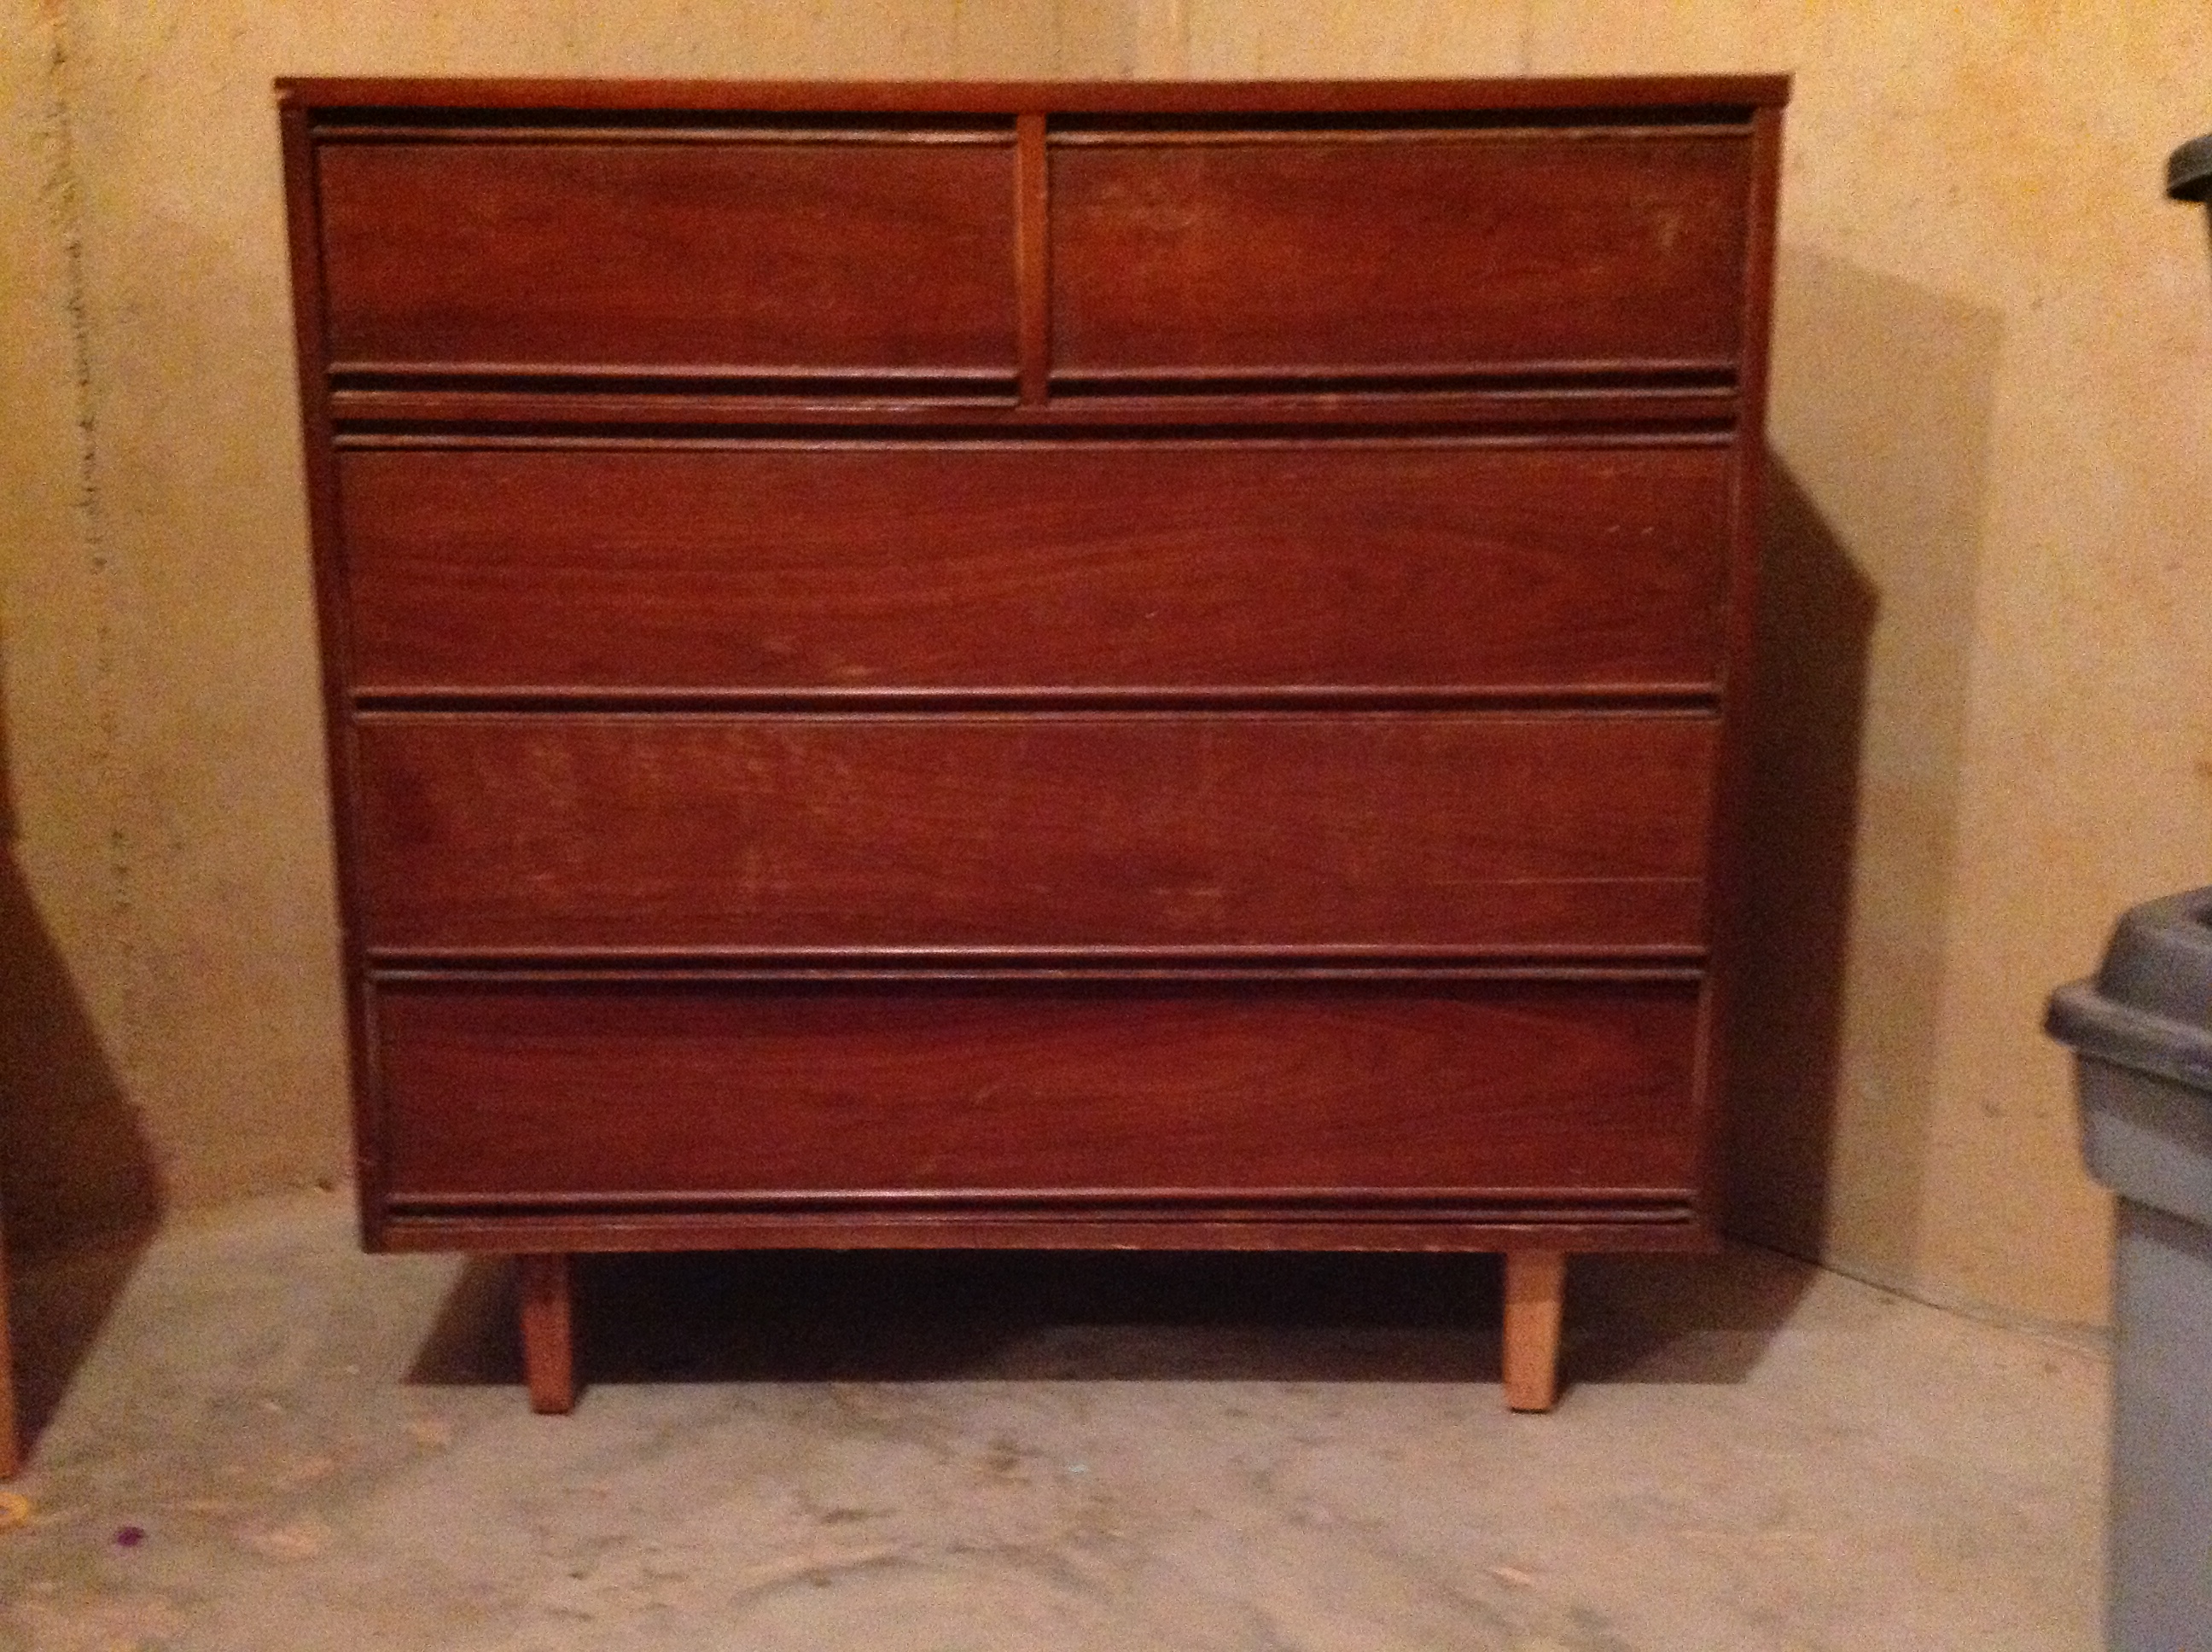
I get such a charge out of making ugly beautiful. Transforming this dresser was so easy to do. All you need is a few basic supplies, some sweat equity, and creativity. Here’s what I did:
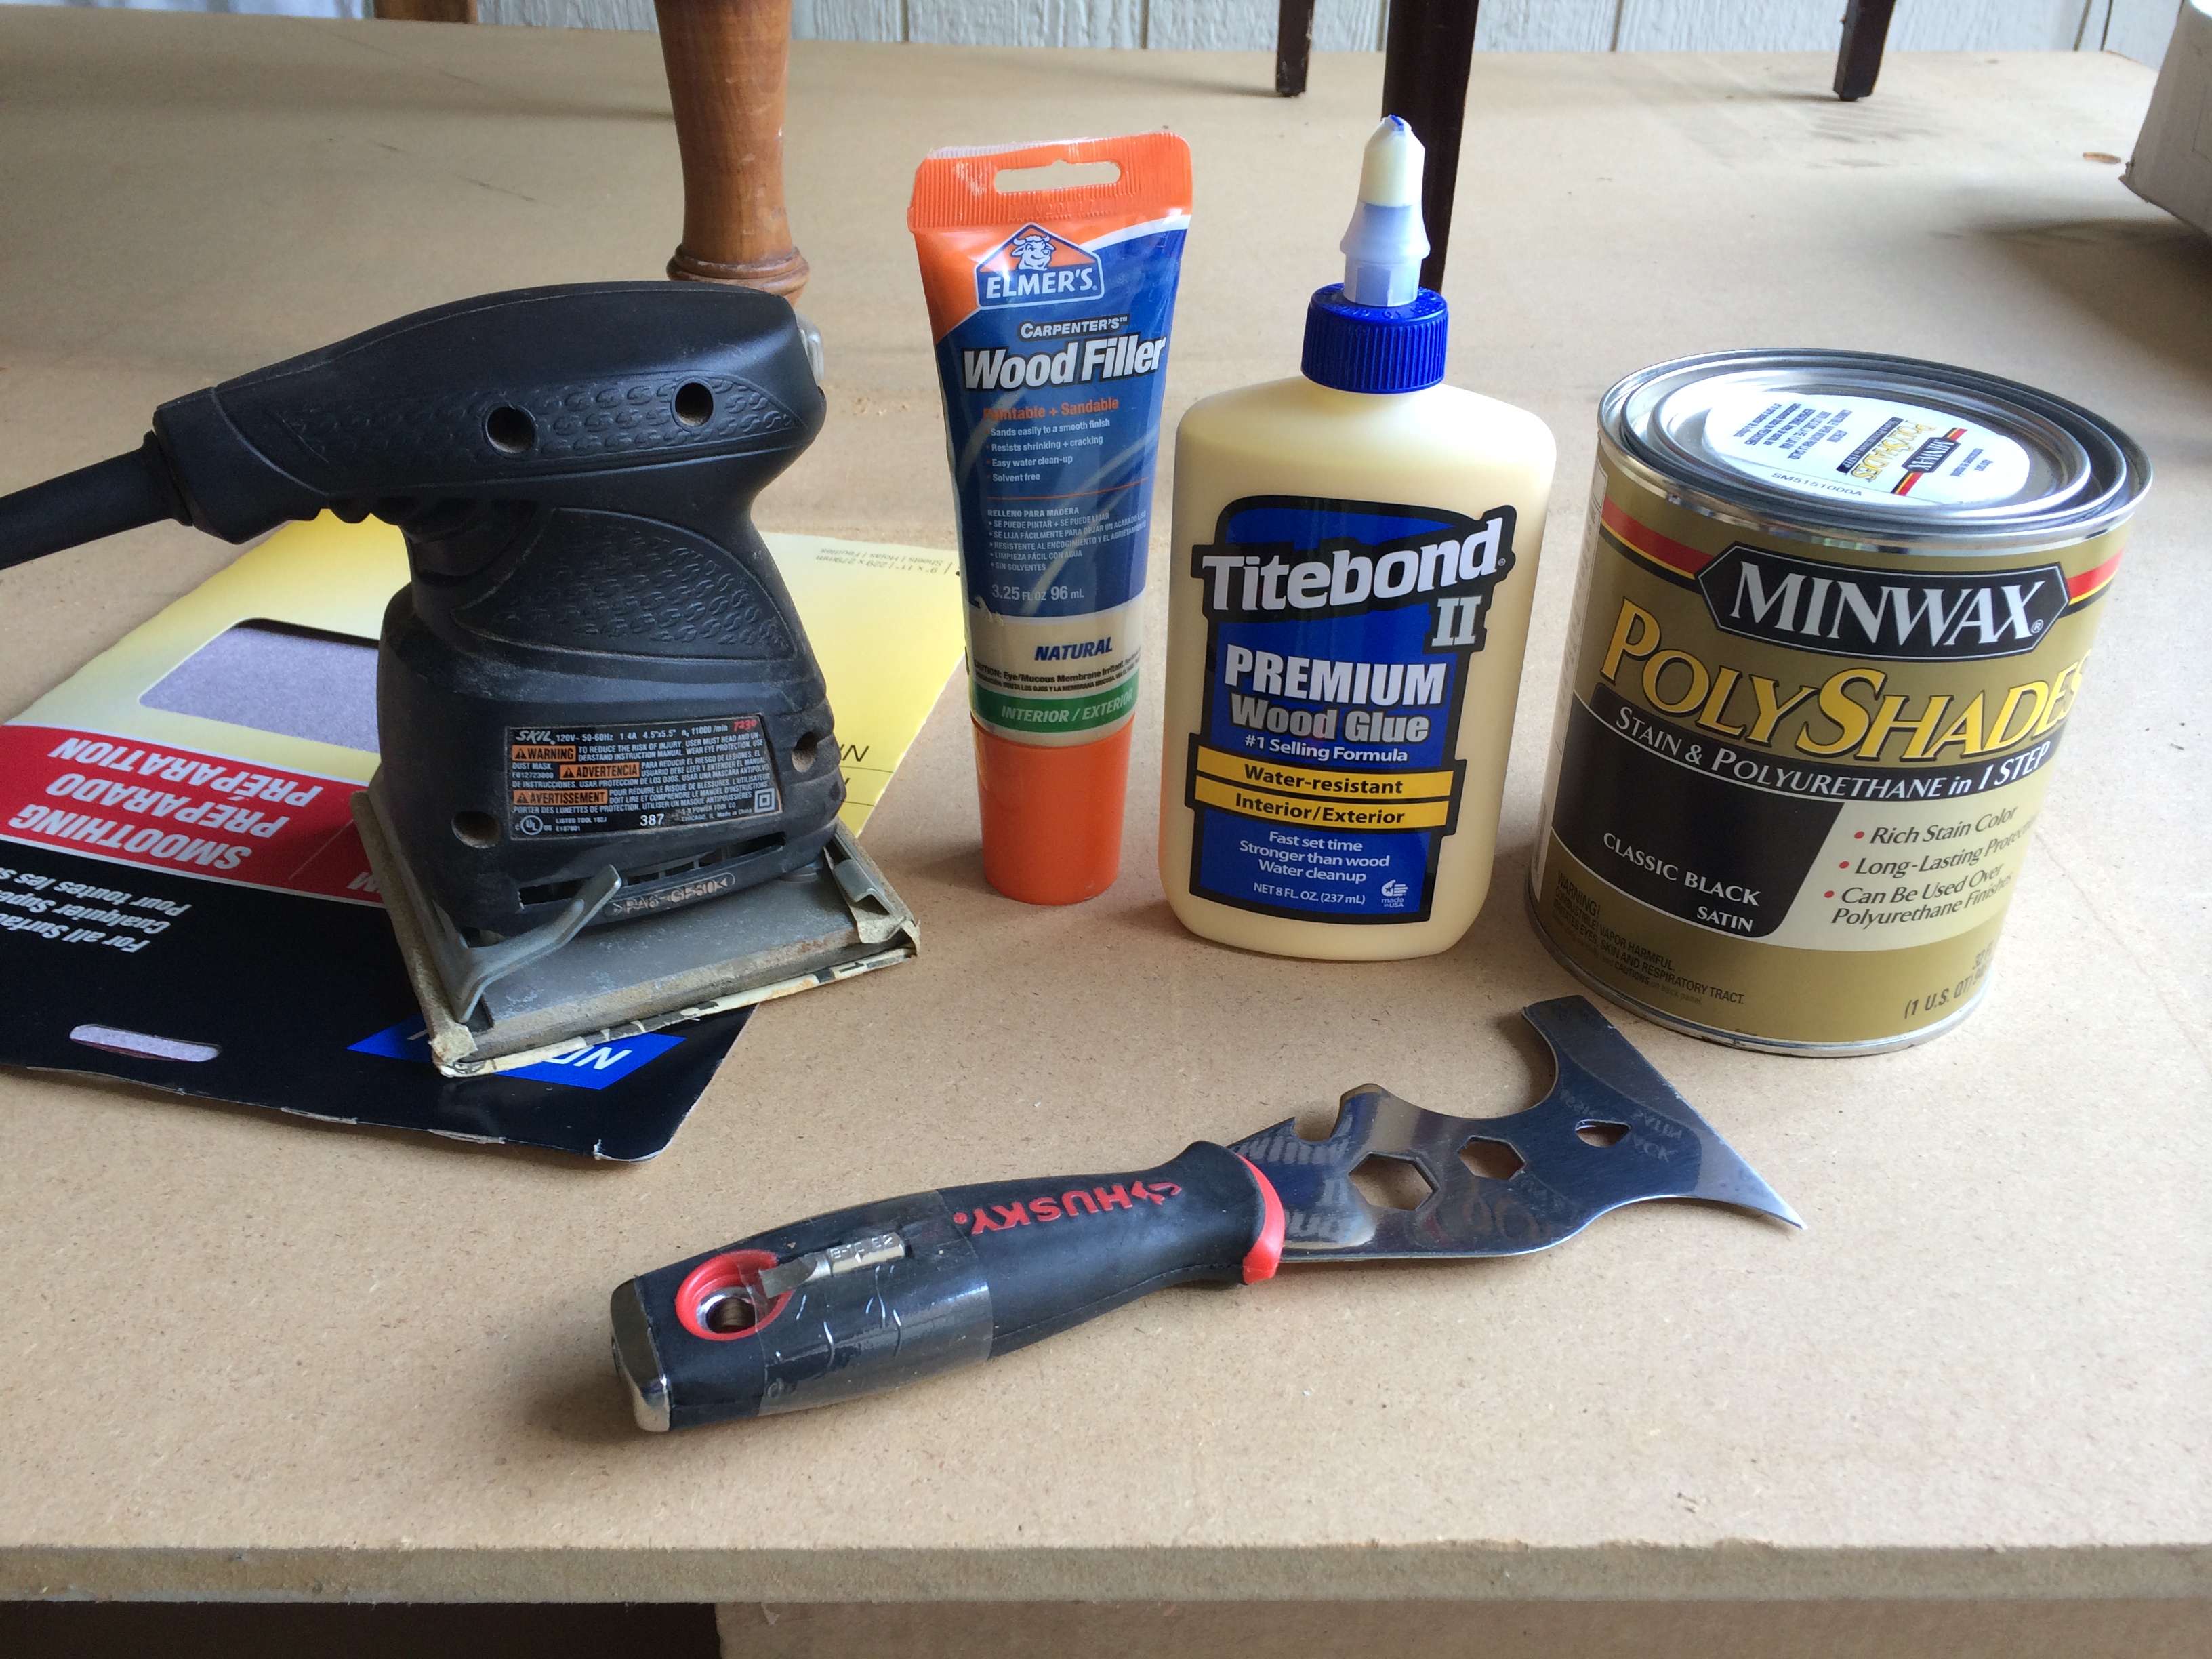
Supply List:
- Hand Sander – I use an electric one because it’s so much quicker, but you could use a hand sand block.
- Sand paper – I used 120 grit
- A hand sand block
- Wood glue & wood fill
- Min Wax Poly Shade – a combo stain with polyurethane
- Paint tray, roller and a good brush
- Rags, paper for clean up
Optional Supplies
- Remnant wallpaper, rolls of giftwrap or contact paper
- Cutting tool
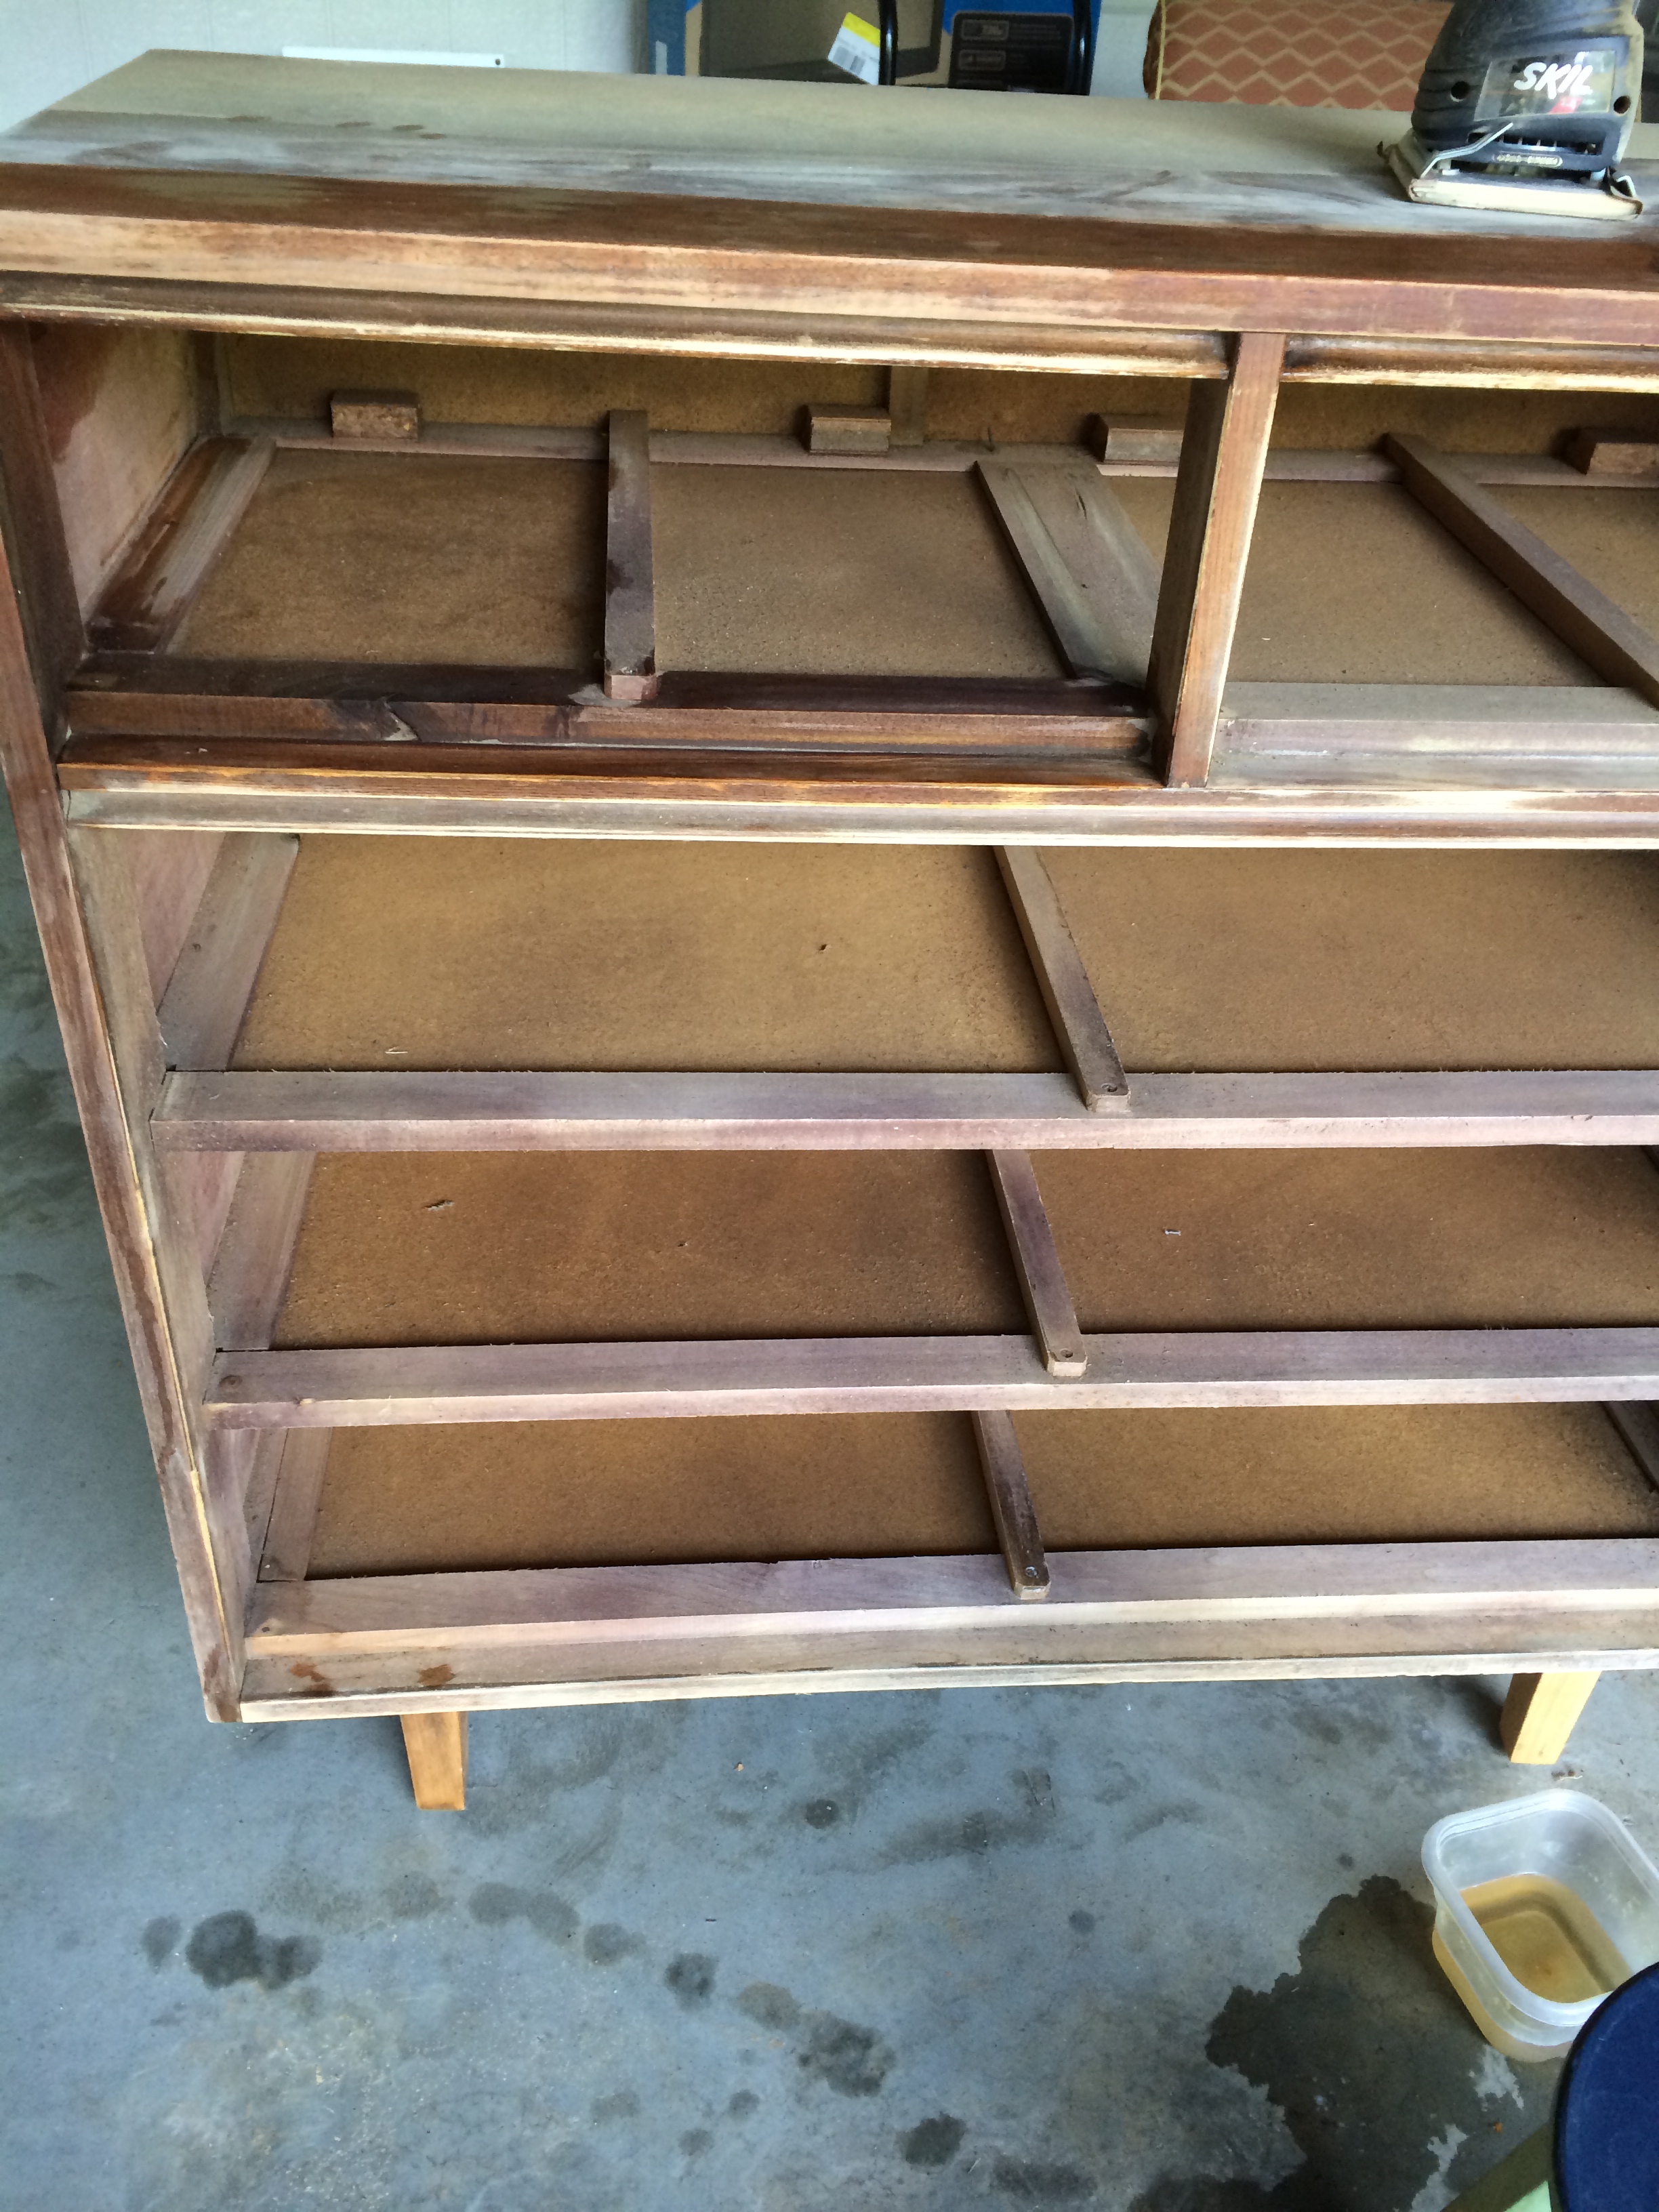
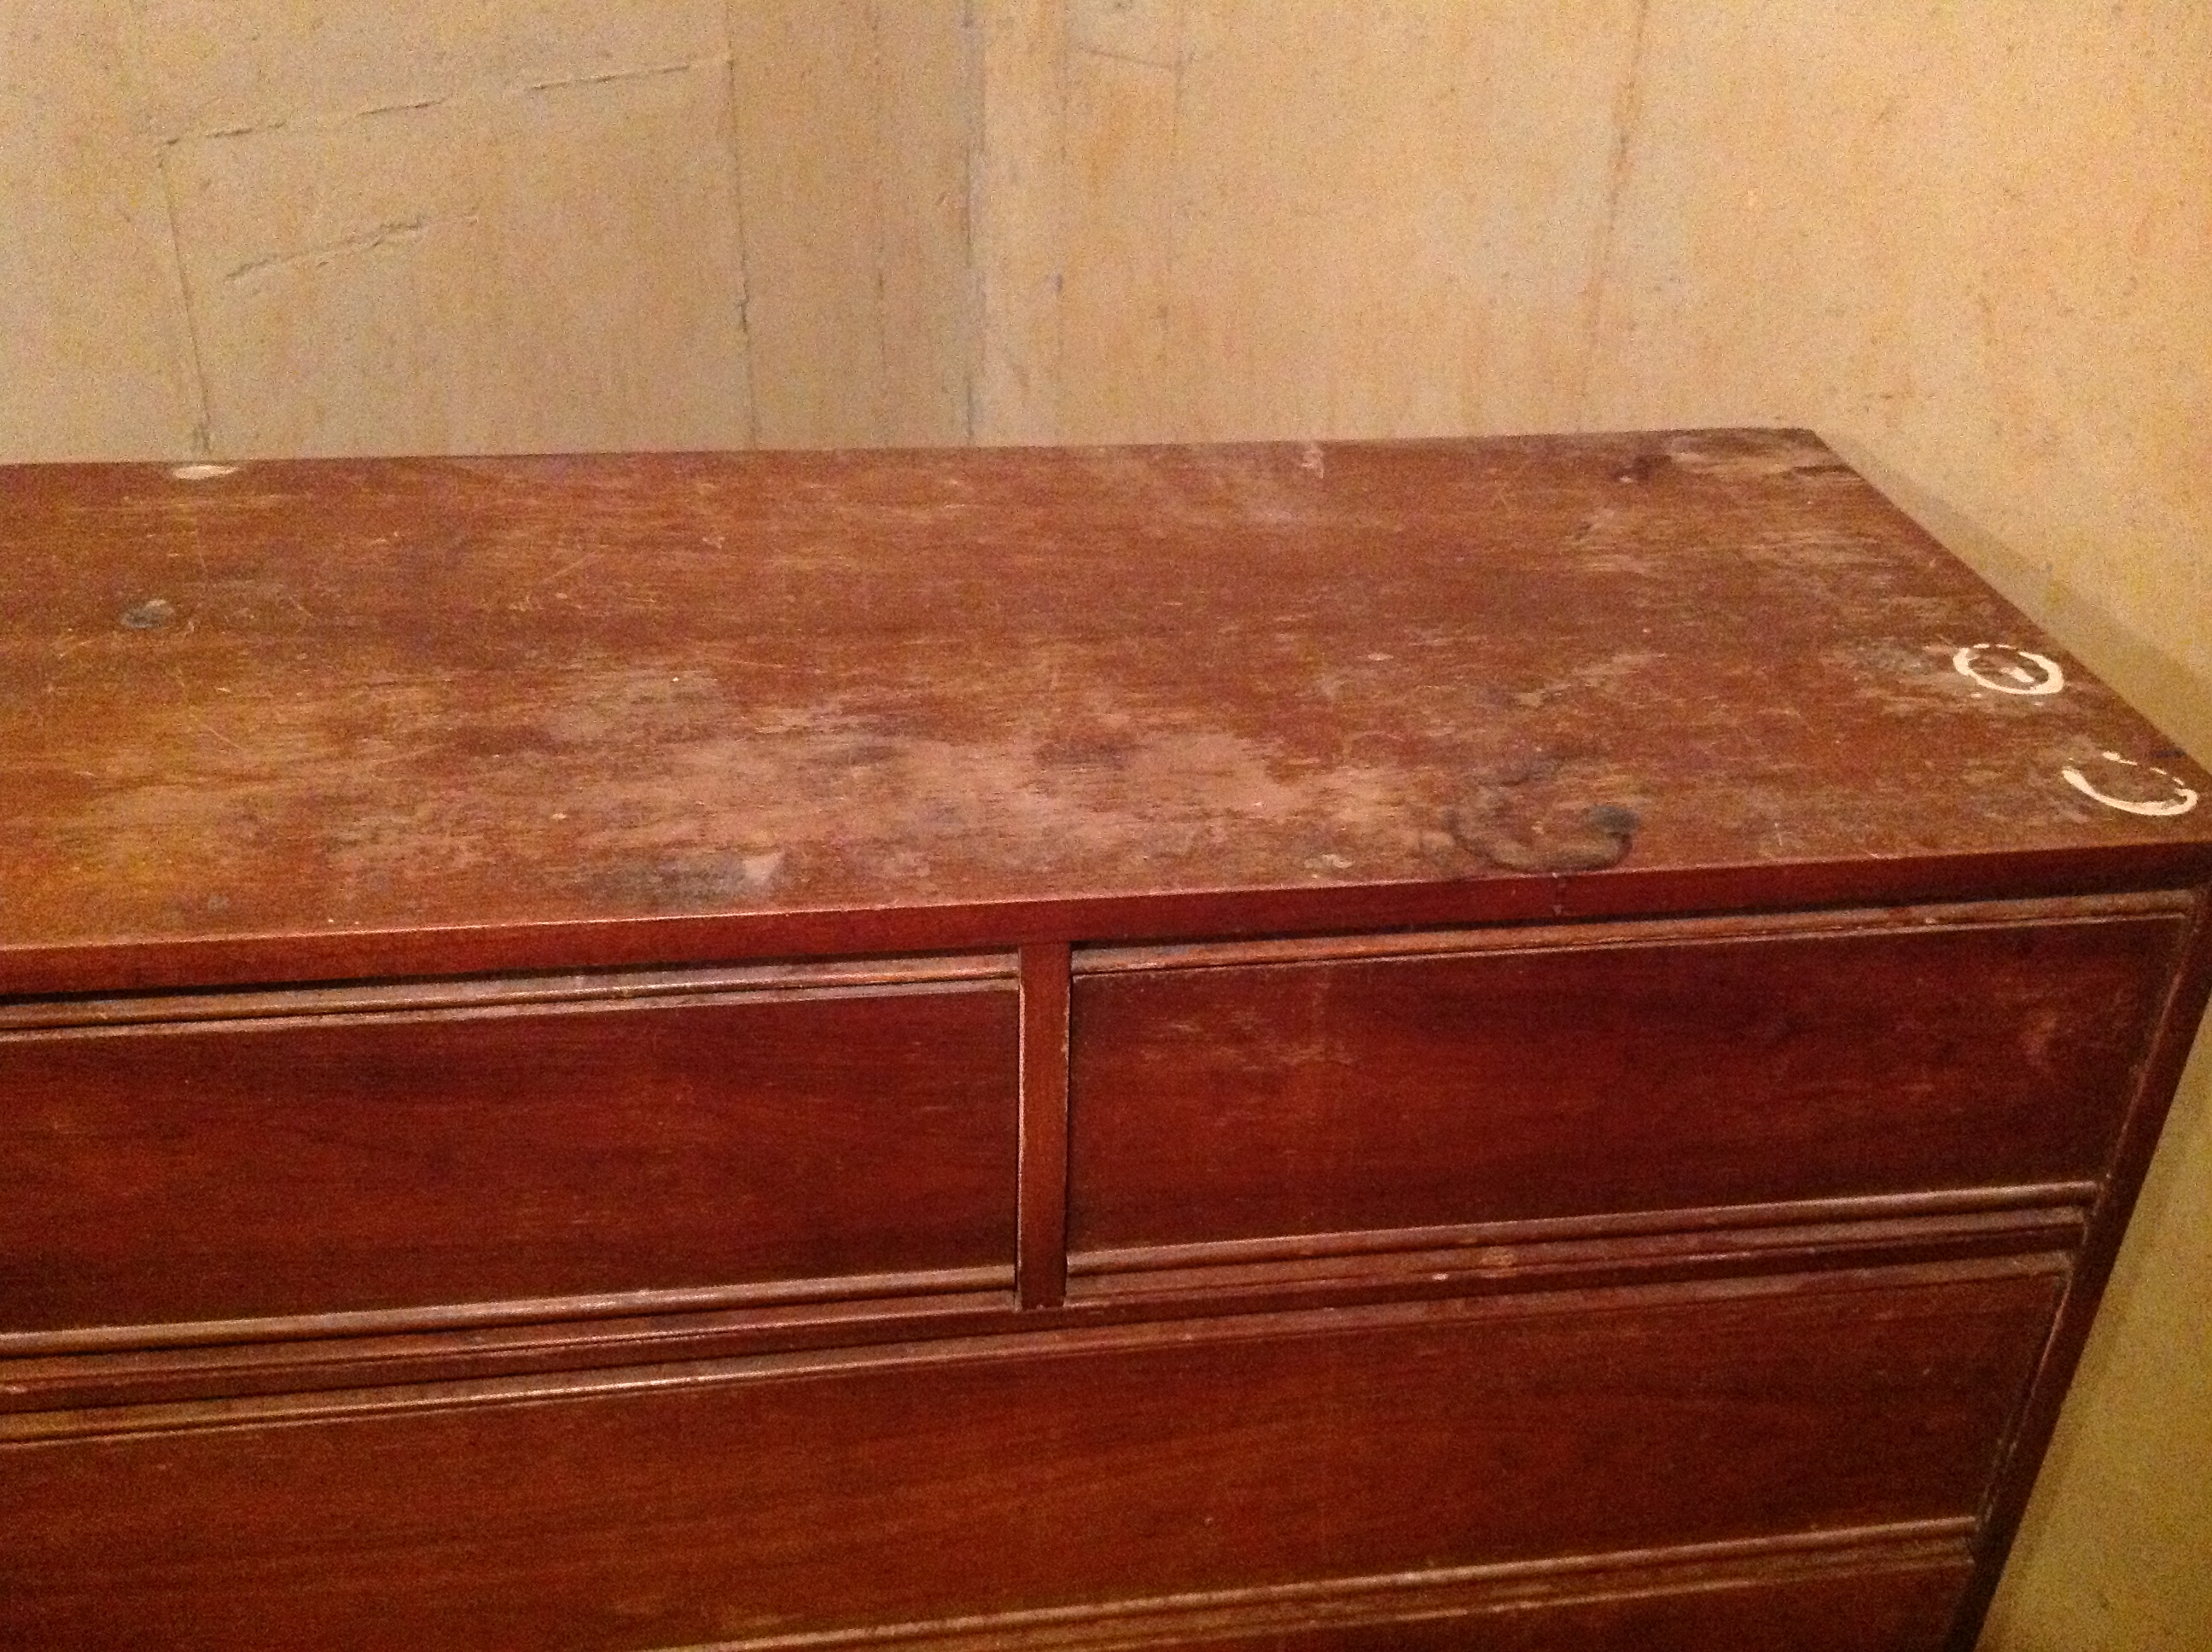 As you can see this dresser was not in good condition. First, I repaired chips and glued a drawer that needed it.
Step 1 – Look over your furniture piece and use wood fill and wood glue to make needed repairs.

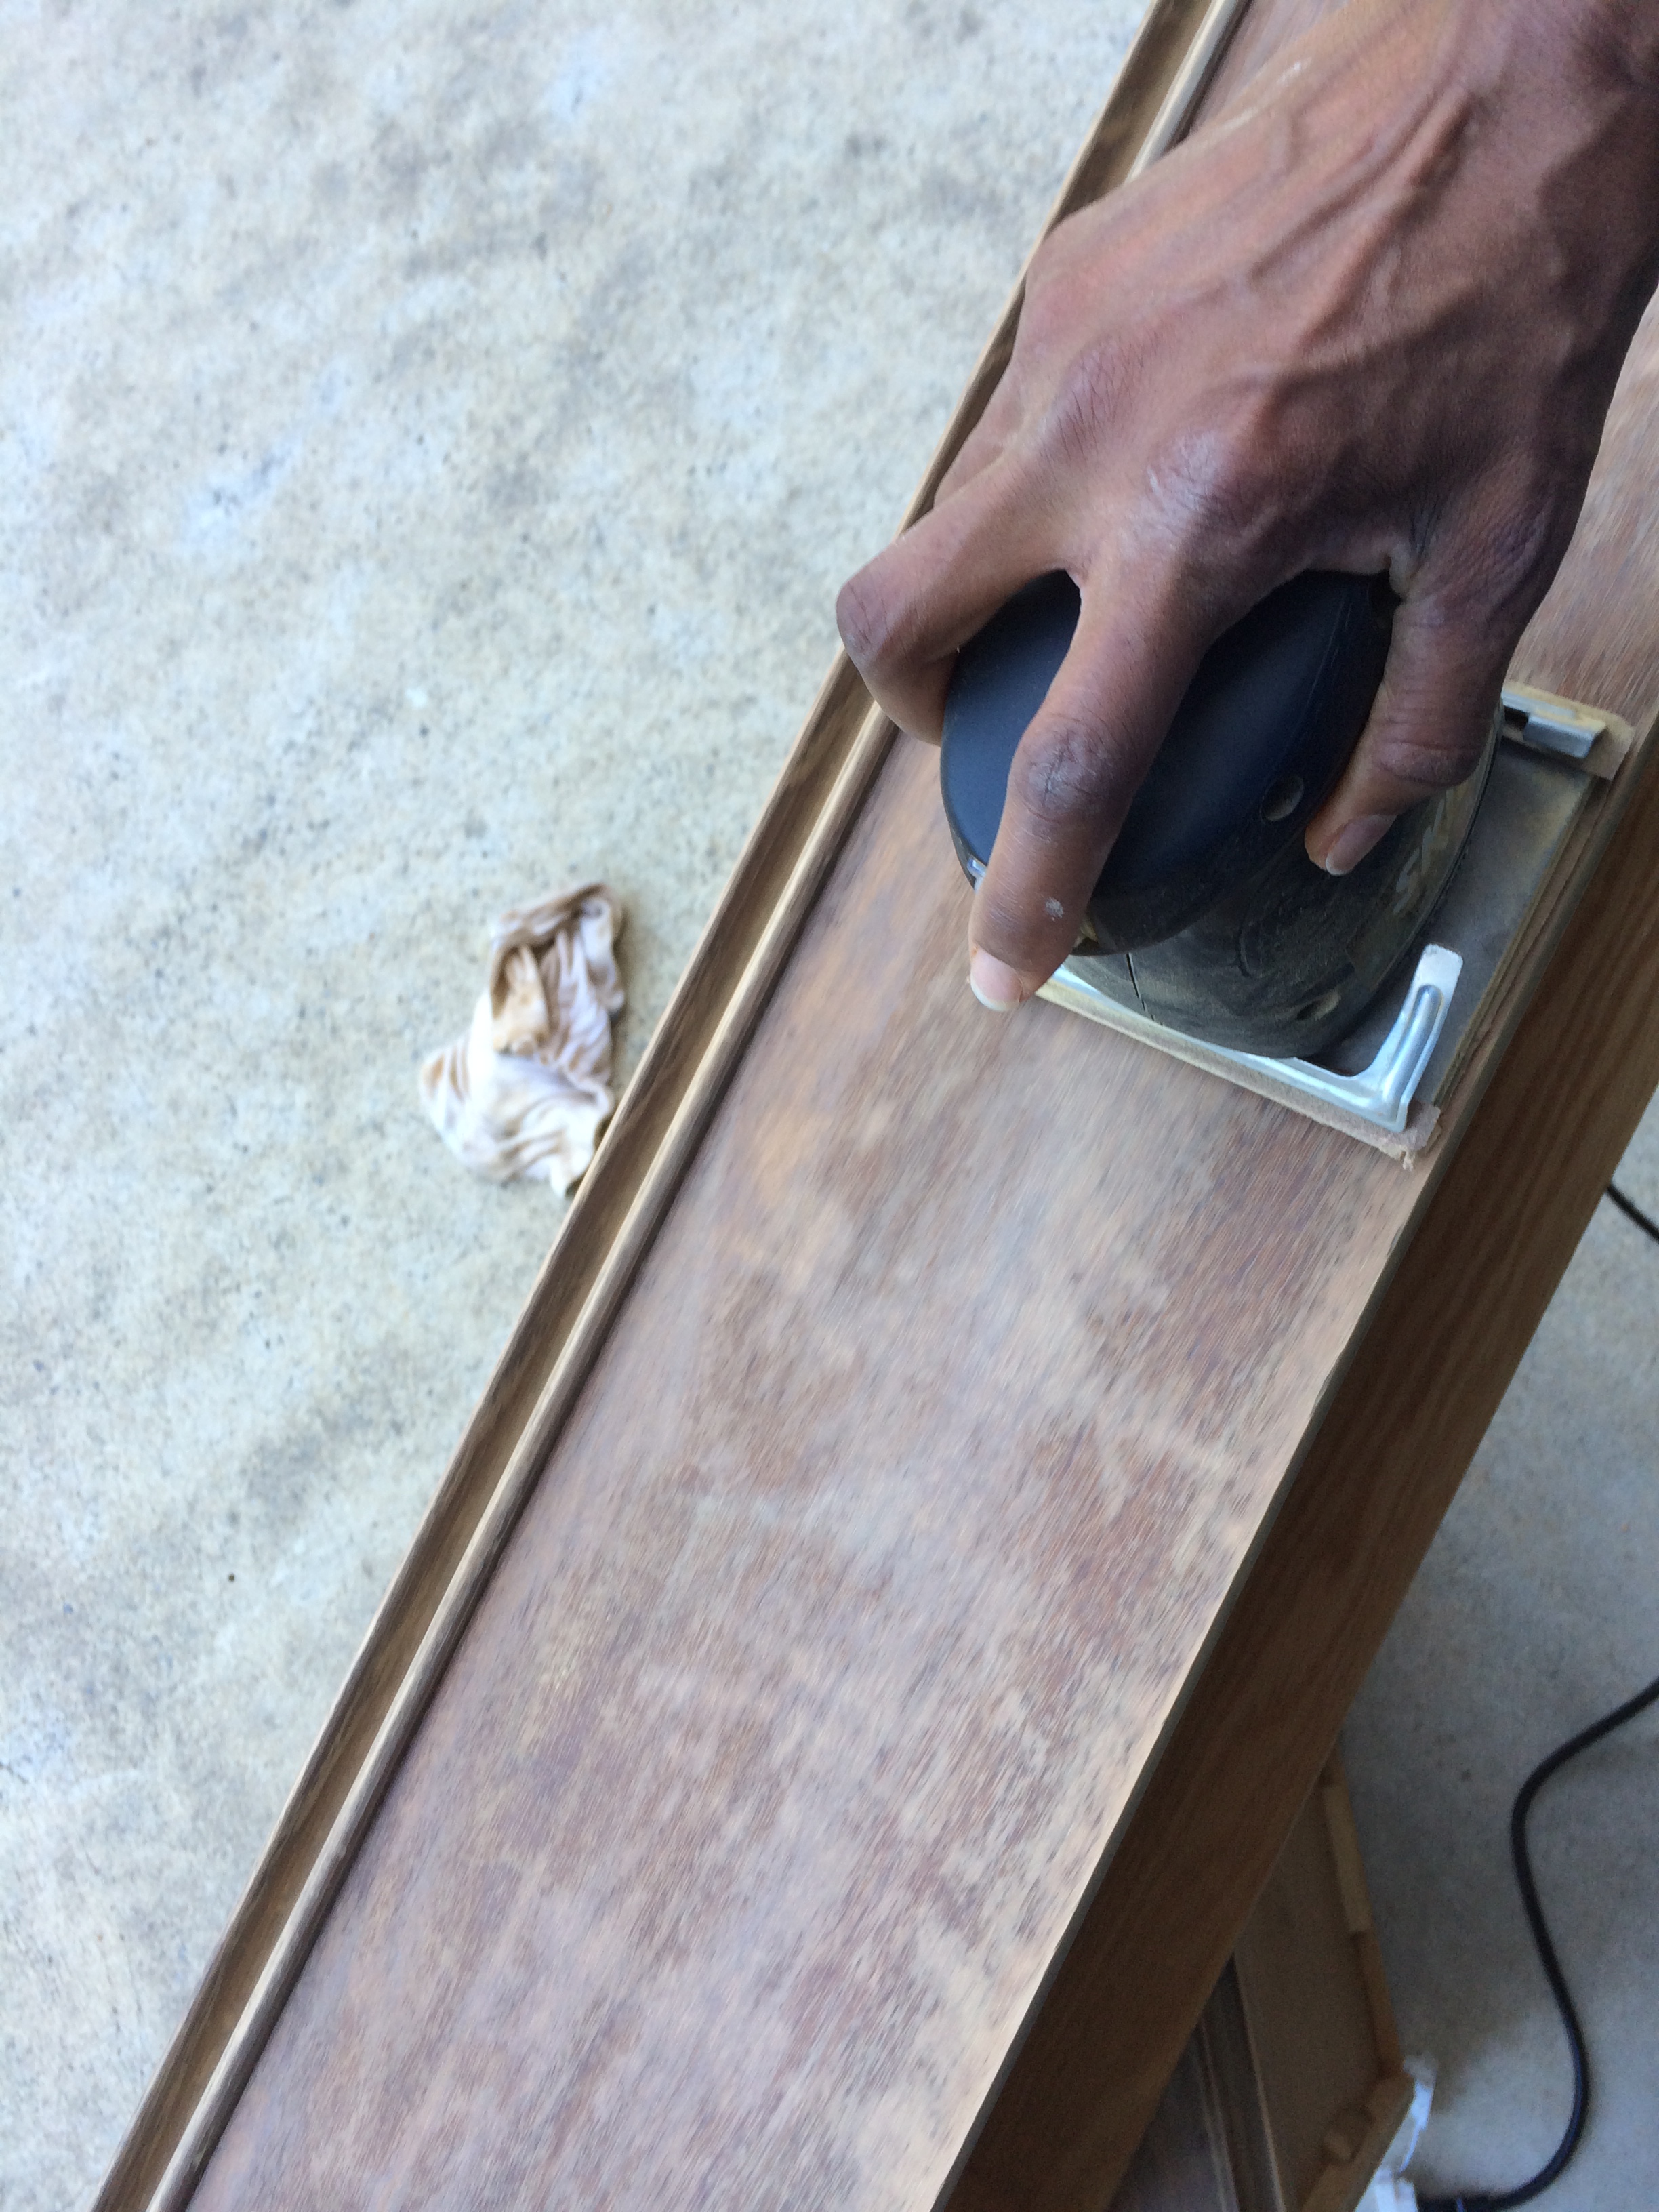 Step 2 – Sand the drawers and dresser base.
Your goal is to remove the varnish and create a rough edge.
Step 3 – Brush off the dust and take a rag and clean off your piece before starting to stain. If I was using paint I would apply a primer first.
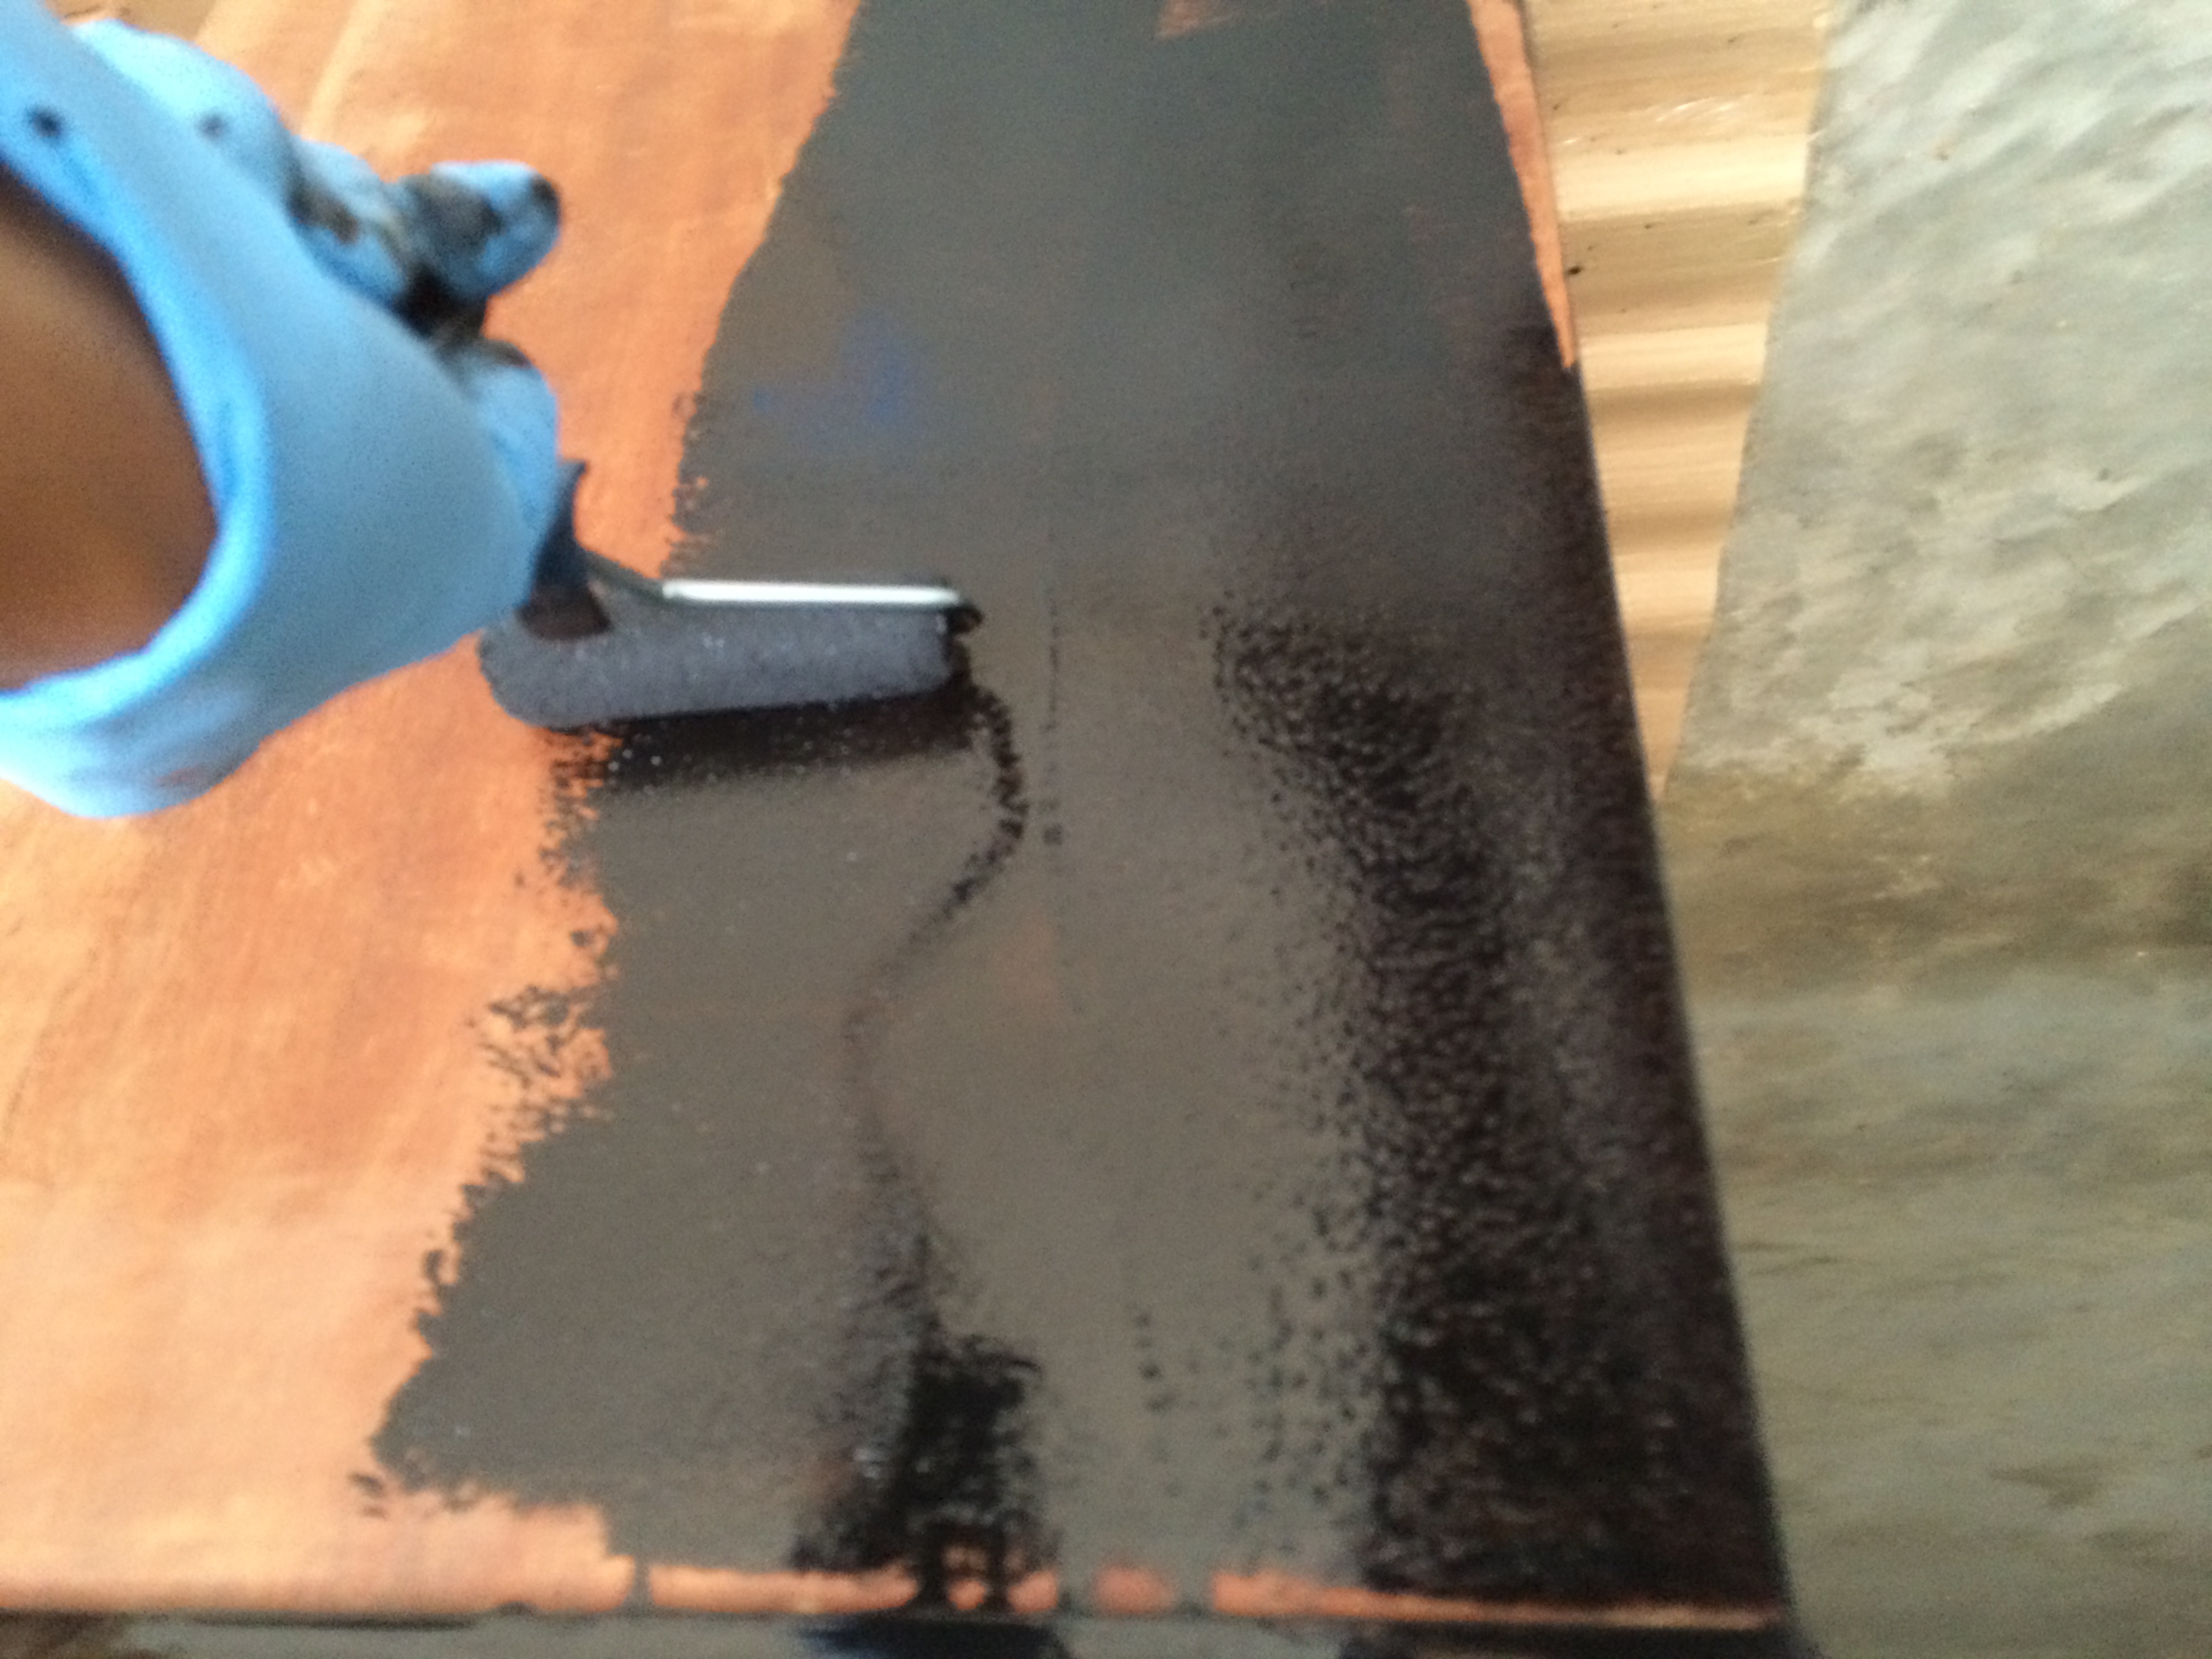 I used a paint roller for that first coat, but I switched to a paint brush because it created a smoother finish I like.
Step 4 – Let the stain (paint) completely dry. Once dry, I actually do a light sanding with the sand block over the pieces and wipe them down again. Then I stain over it again. I do this because I like a smooth professional looking finish.
Step 5 – I let everything dry for 24 hours after applying my last coat of stain. Then you’re done.
(Optional) Step 6 – Measure the inside of the drawer where you want the paper and cut to size.
Use double-stick tape or glue to adher your paper to the inside of the drawer.
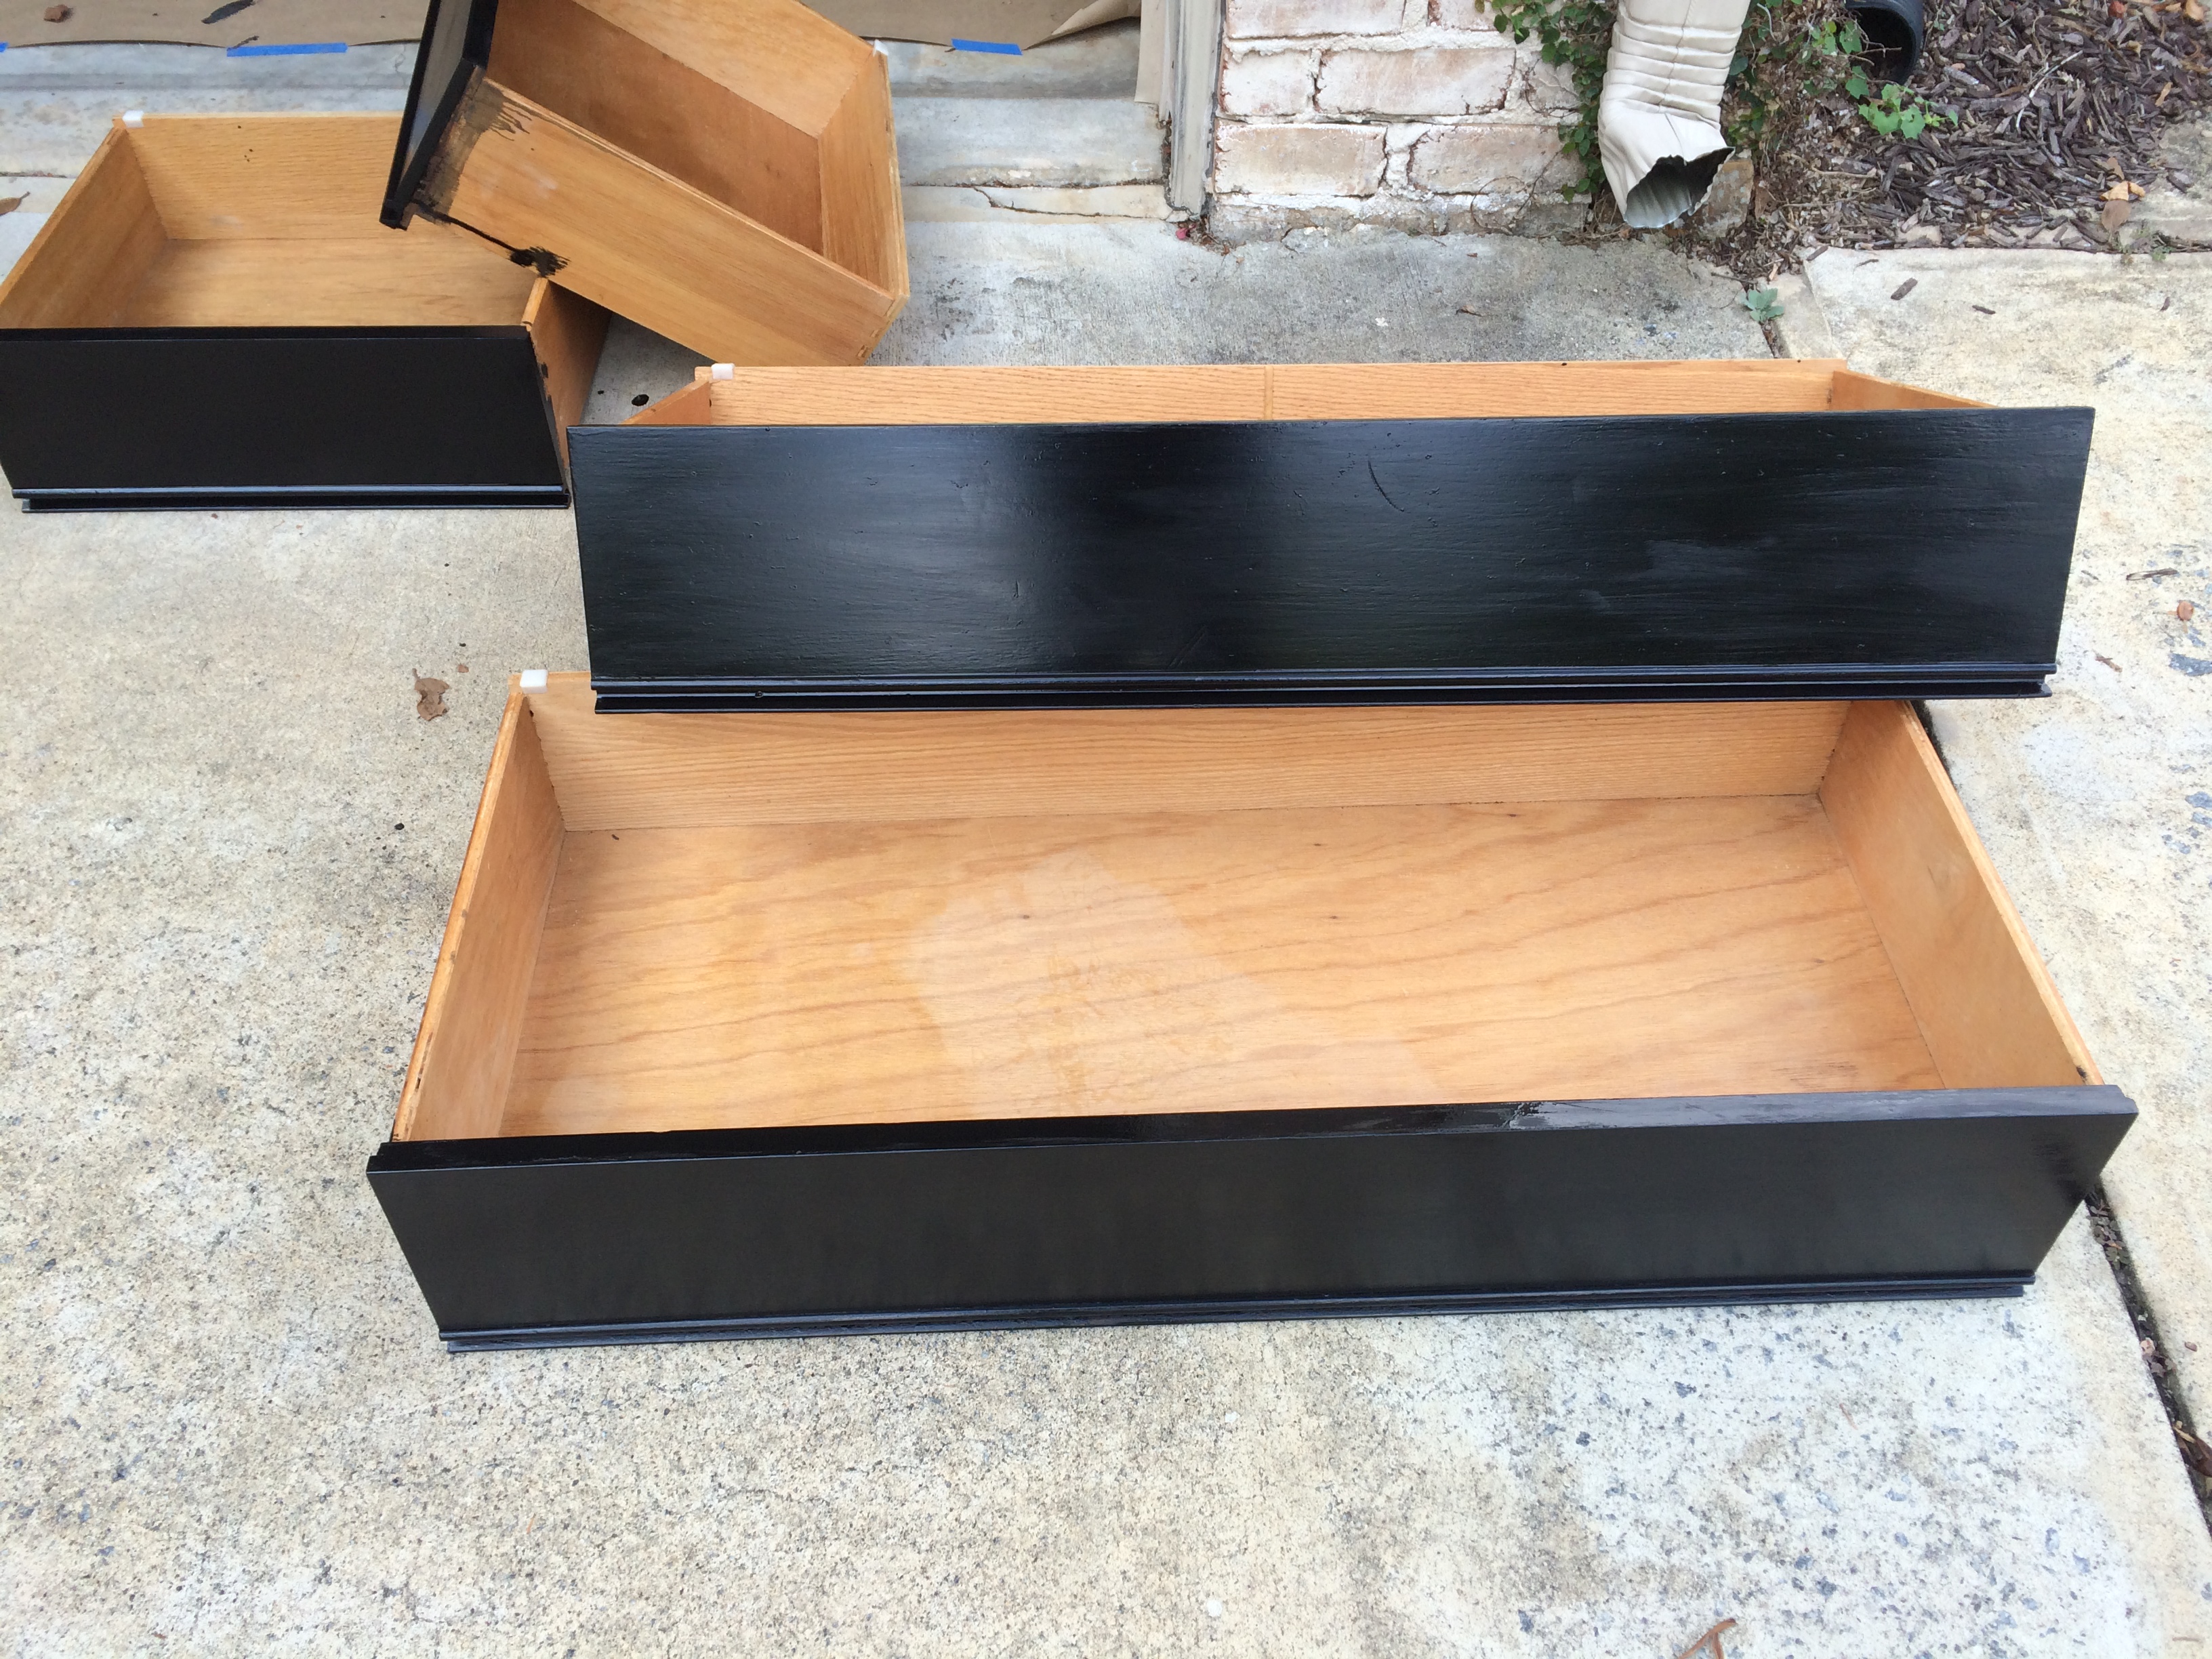
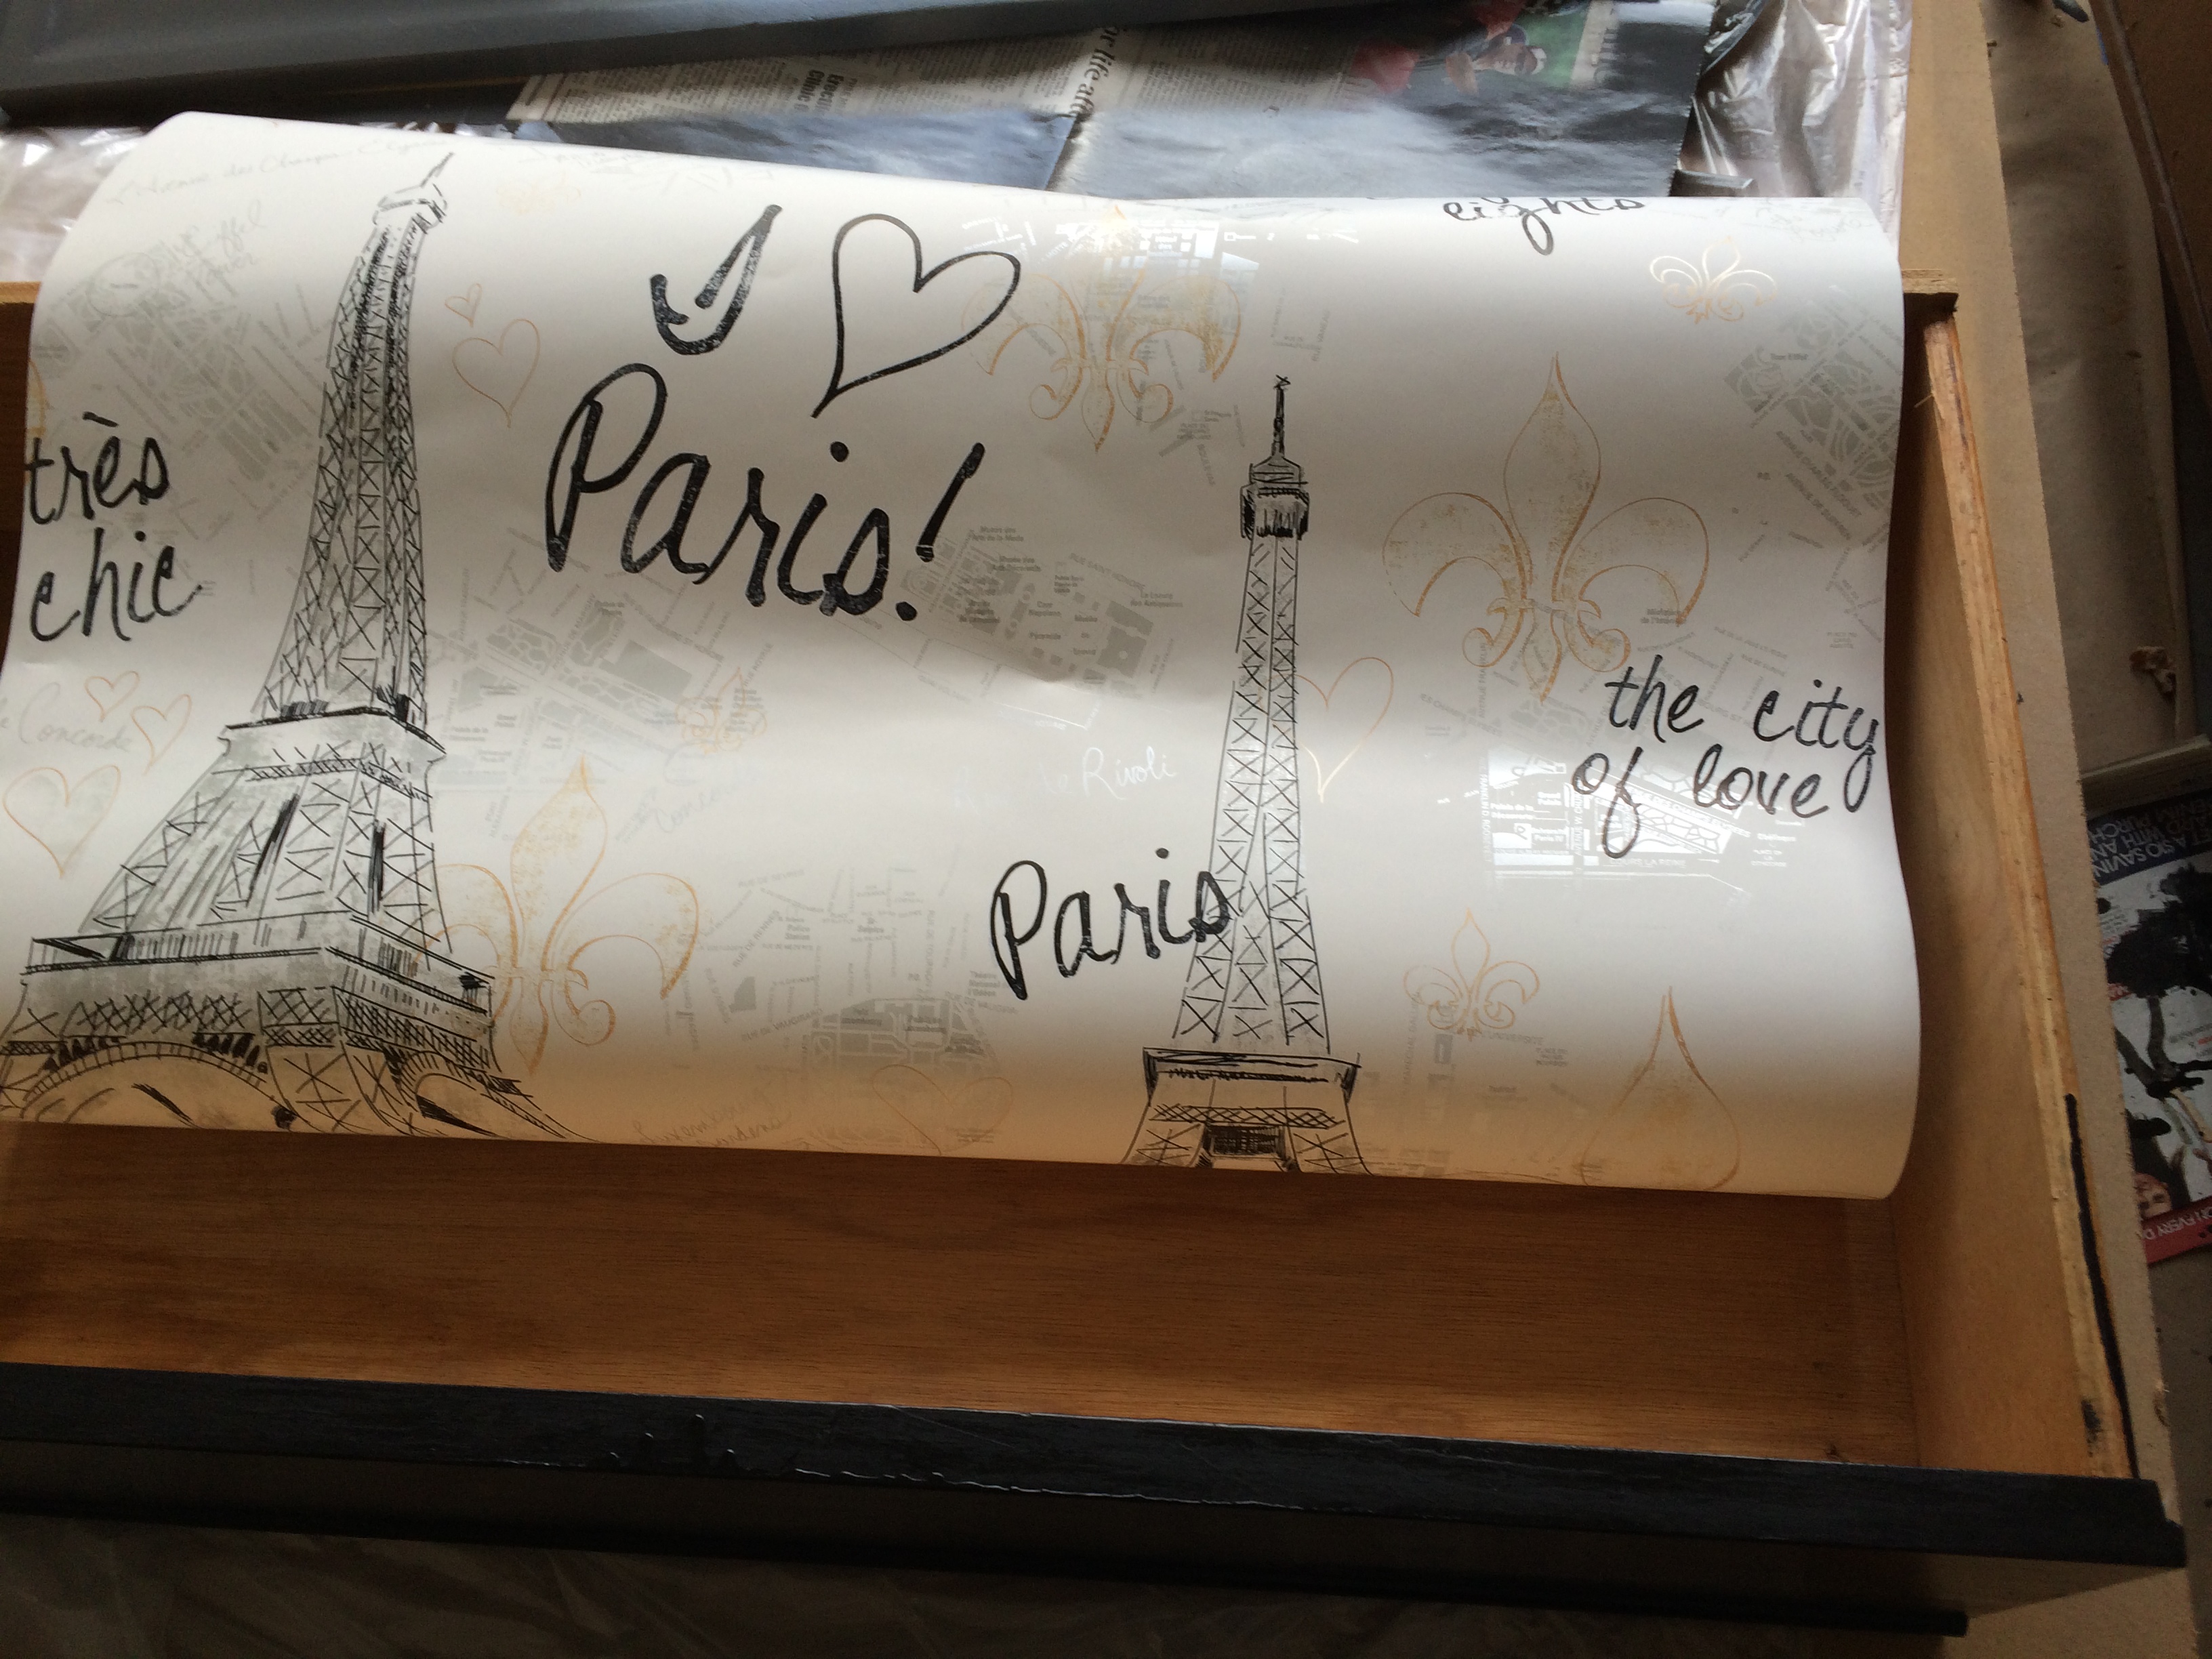 I was so pleased with the results I decided to line the drawers as well. I used wallpaper but other options include gift wrap, contact paper or brown paper you wrap packages with if you like a natural look.
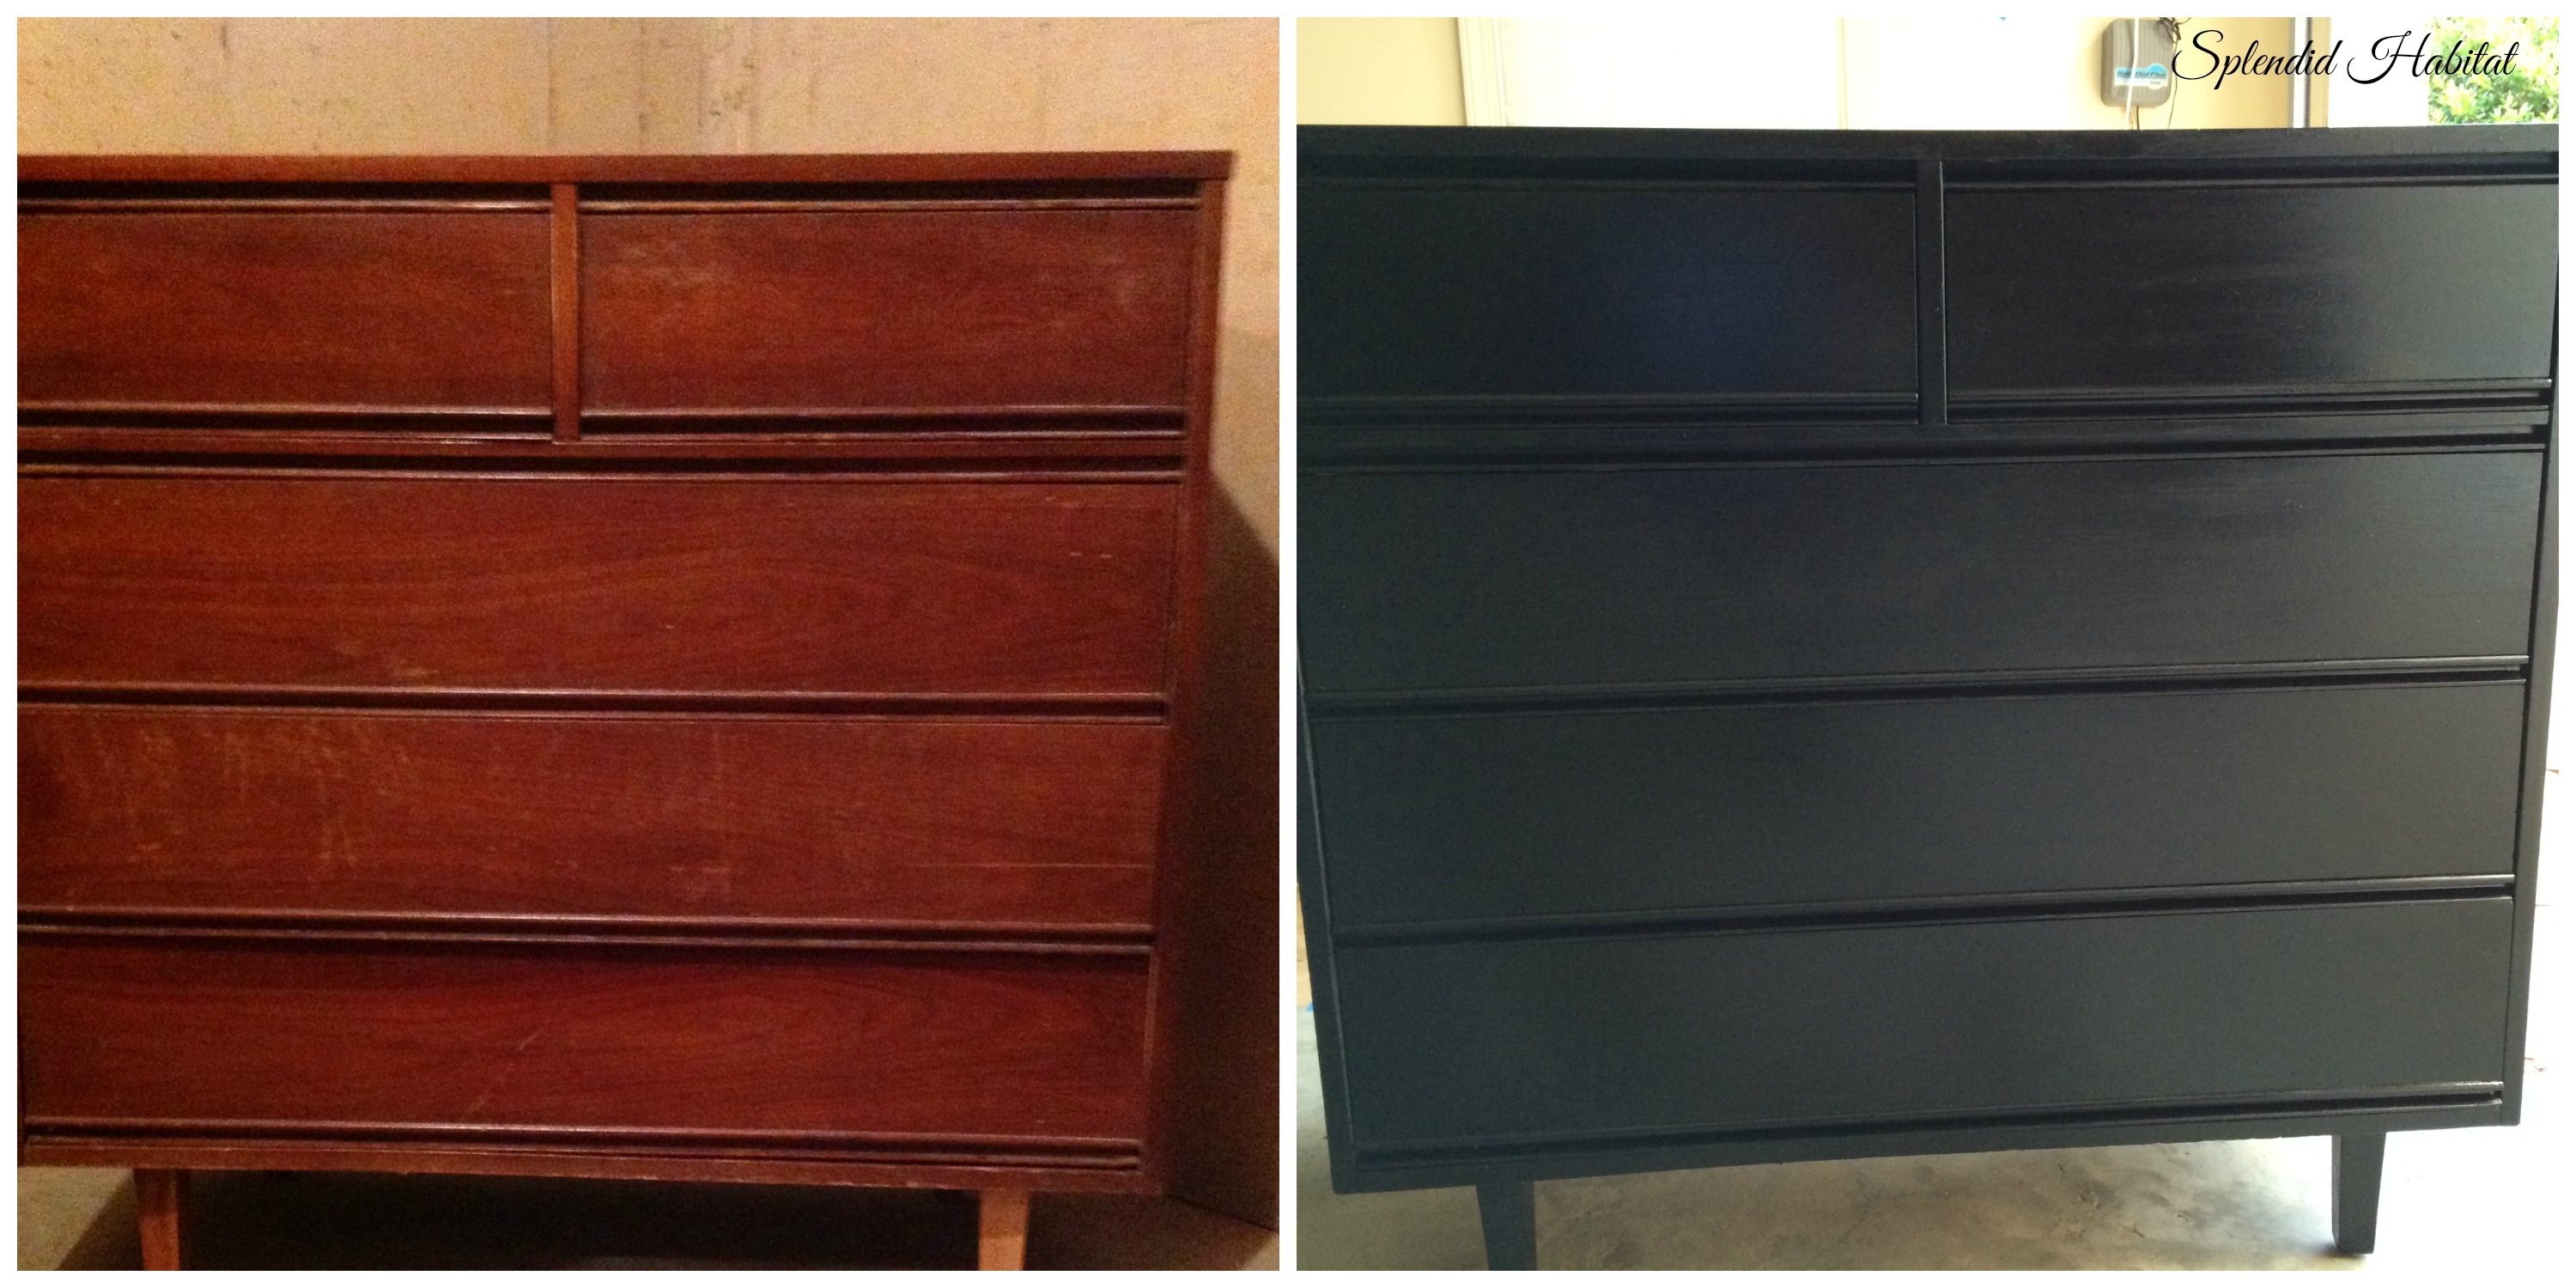
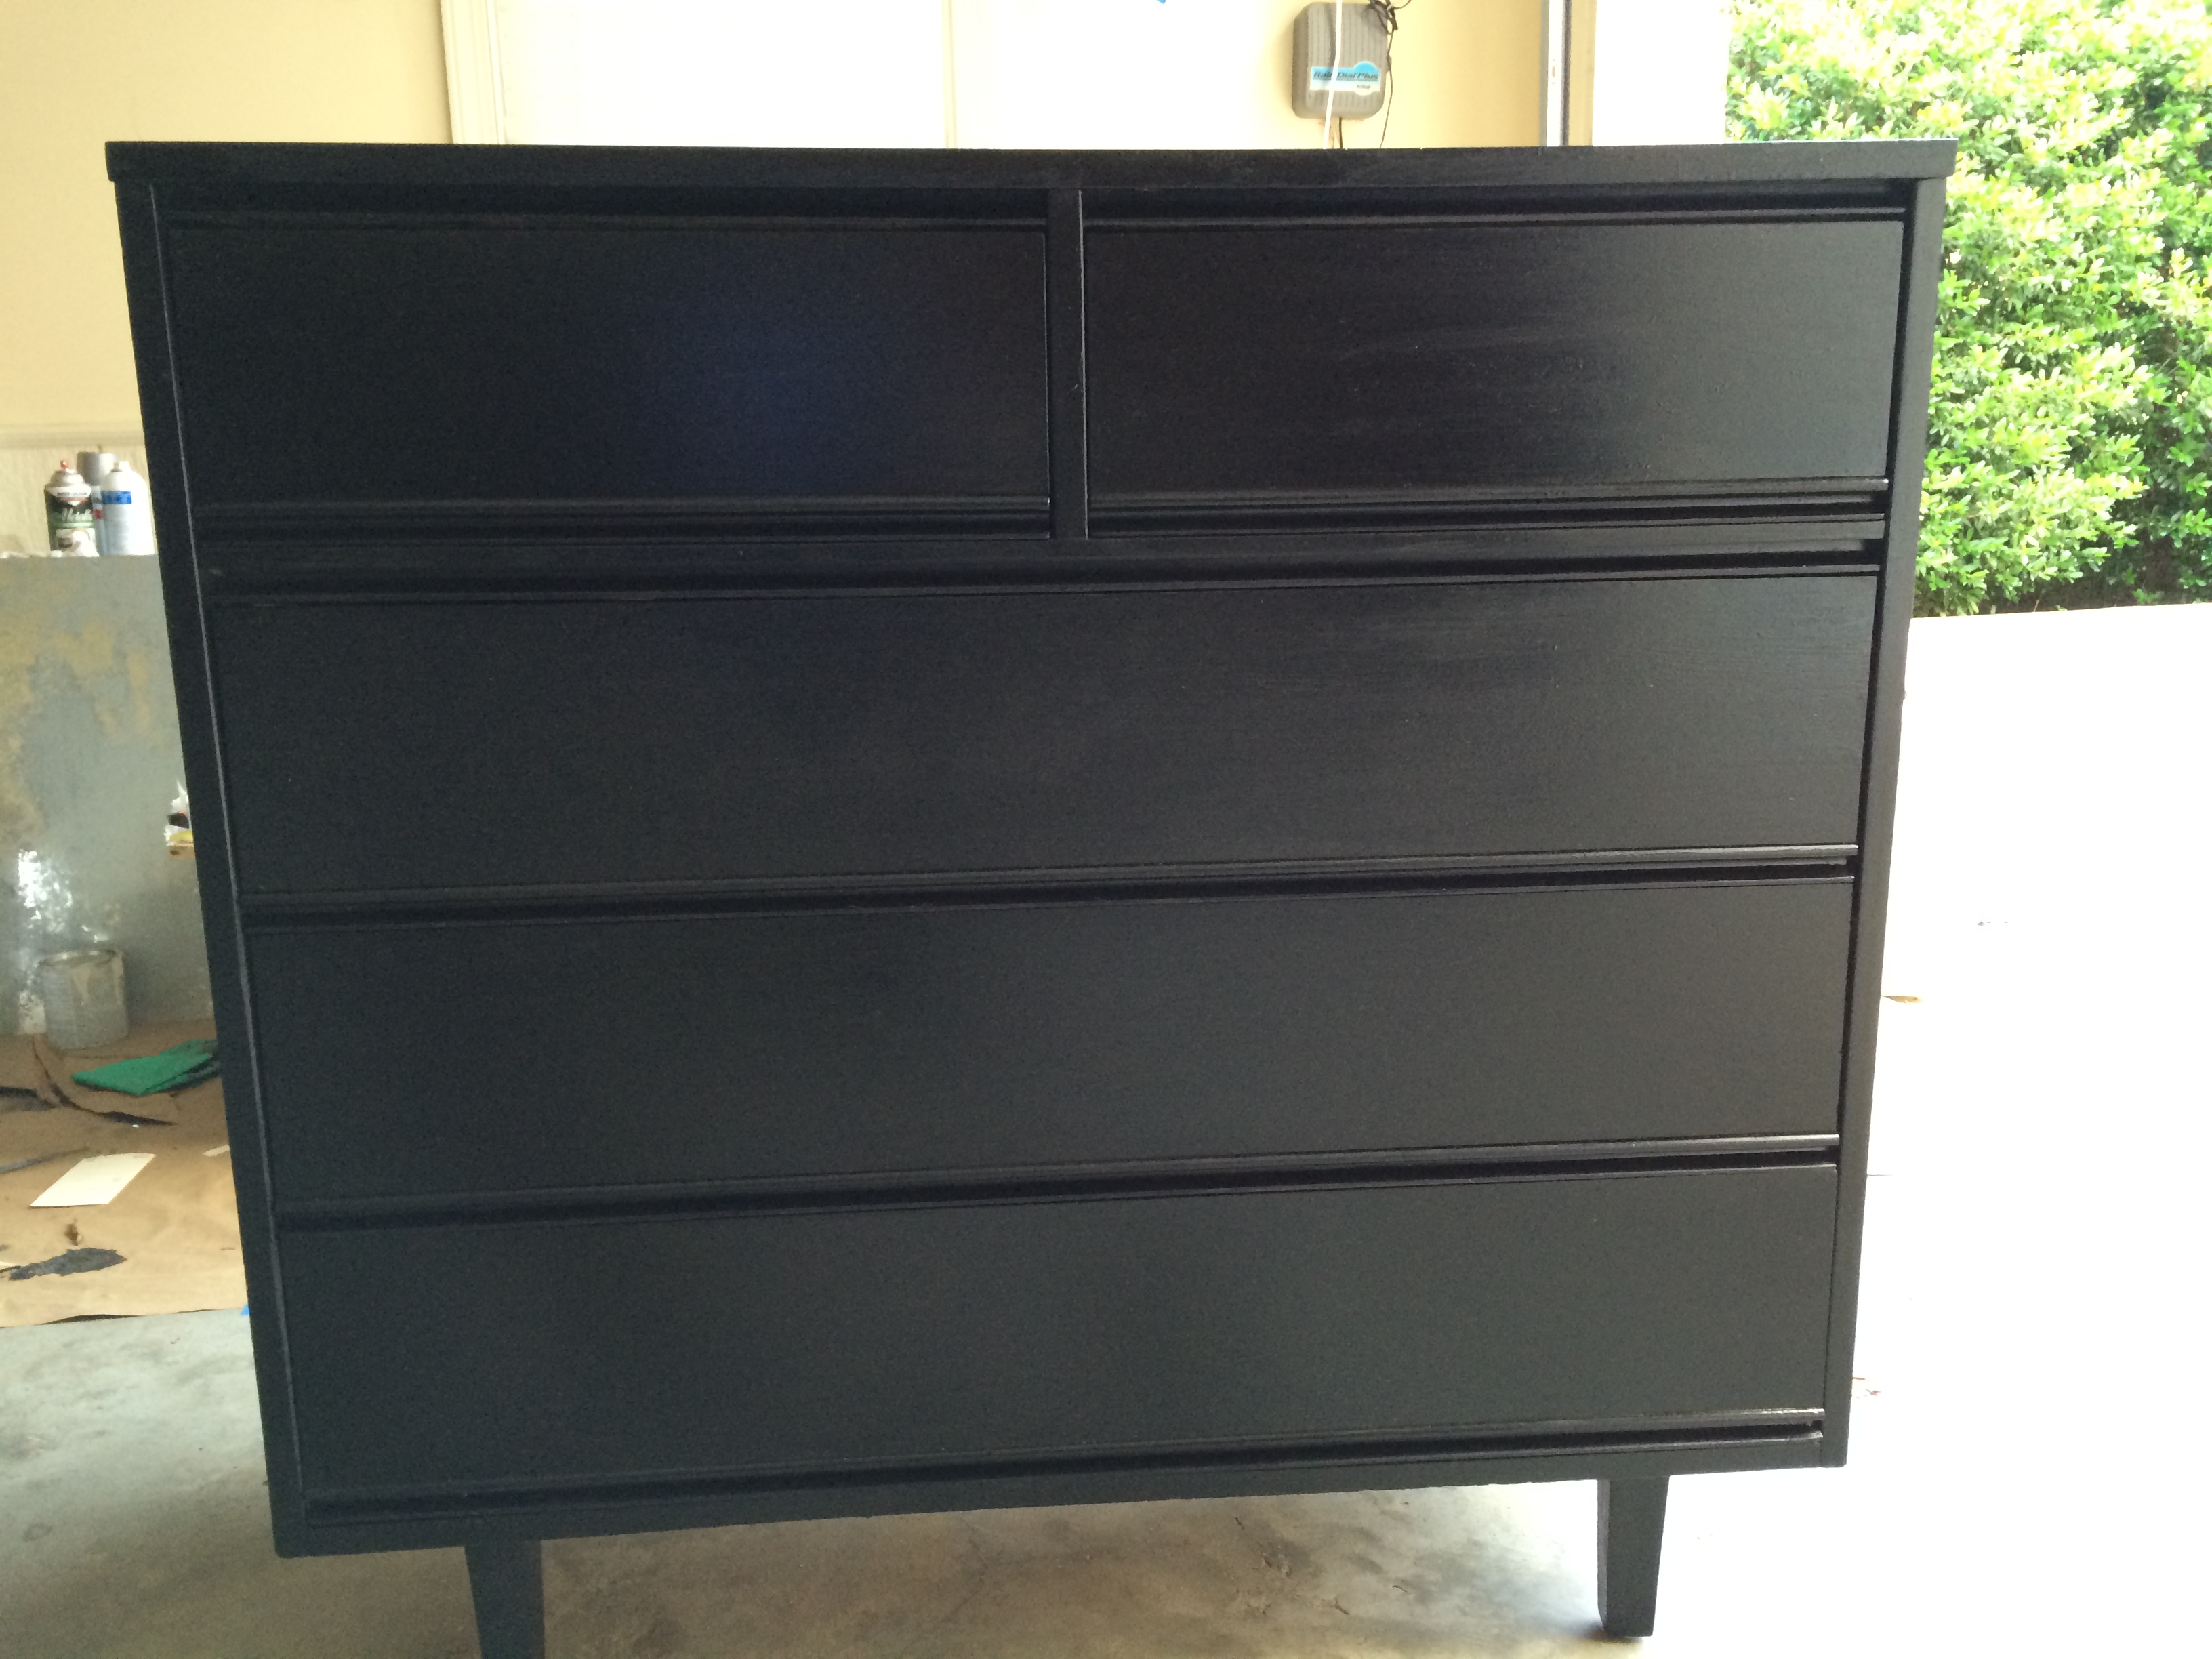
 Results: From Ugly Duckling to a Pure Beauty!
So, what ugly duckling do you want to transform? I’m already on the hunt for my next piece to transform.